Chapter 7
To Open the Access Codes Menu LCD Display
1. Press [*][5]
OR
press [*] and use the scroll keys to navigate to Access Codes and press [*].
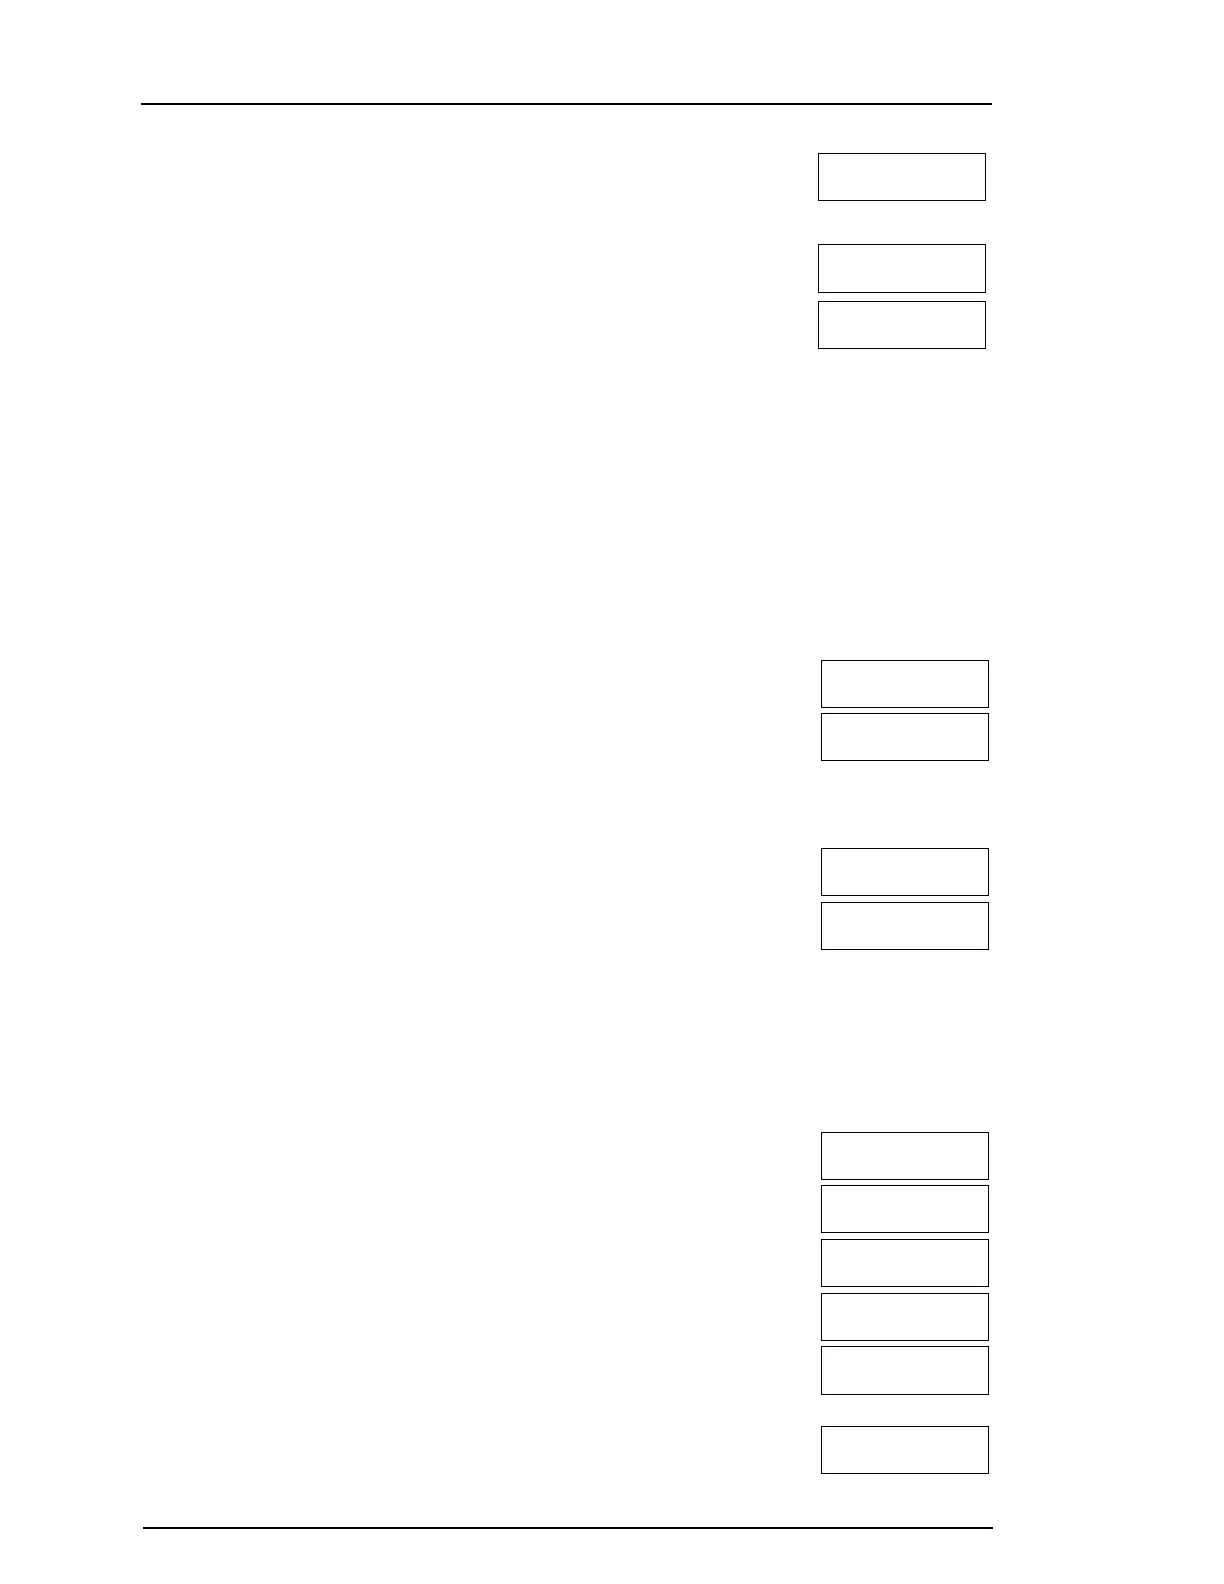
Press (*) for <>
Access Codes
2. Enter [Master or supervisor code].
Present Tag or
Enter Code
3. Enter [User #]
OR
scroll through the list of users and press [*]. On an LED keypad the user number
will begin flashing.
Press (*) for <>
{User Label}
4. To go back to the Ready state press [#].
7.1.1 Adding, Changing and Deleting Access Codes
Each configured user is assigned a number as follows:
l 01-48 for HS2016/HS2016-4
l 01-72 for HS2032
l 01-95 for HS2064/HS2128
l 001-500 for HS2064 E
l 0001-1000 for HS2128 E
Access codes cannot be duplicated.
To Add or Change User Access Codes LCD Display
1. From the desired user press [*] or [1].
Press (*) for <>
Access Code
2. Enter a new 4, 6, or 8-digit access code. After entering a new code you will be auto-
matically returned to the previous menu, and on an LCD display the flag is changed
to P from -. On an ICN or LED keypad the programmed user will have their digits
displayed. If a duplicate code is entered the error tone will sound. After the code is
programmed, the keypad returns to the previous LCD display.
Enter New Code
AAAA
To Delete a User Access Code LCD Display
1. From the desired user press [*] or [1].
Press (*) for <>
Access Code
2. Press [*]. The code is deleted, and you are returned to the previous screen. The flag
is changed to - from P. On an ICN or LED keypad the programmed user’s digits will
cease being displayed. After the code is programmed, the keypad returns to the pre-
vious LCD display.
Enter New Code
030516
Note:Any proximity tags associated with deleted user codes will need to be re-enrolled.
7.1.2 Enrolling and Deleting Proximity Tags
When enrolling or deleting proximity tags for a user, the system provides a choice of option depending on if tag is already enrolled
or not. For more information on see: "Using Proximity Tags".
To Enroll a Proximity Tag LCD Display
1. From the desired user press [2] or scroll to Prox Tag and press [*].
Press (*) for <>
Prox Tag
2. If no tag is enrolled for this user you will be asked to present the tag to the
reader.
Present Tag or
Press # to Exit
l If the card successfully enrolls the blue LED bar flashes.
Tag Enrolled
Successfully
l If the tag is invalid the following message is displayed.
Invalid Tag
Not Enrolled
l If the tag already is enrolled with another user the following message is dis-
played.
Duplicate Tag
Not Enrolled
To Delete a Proximity Tag LCD Display
1. From the desired user press or scroll to Prox Tag and press [*].
Press (*) for <>
Prox Tag
- 23 -
 Loading...