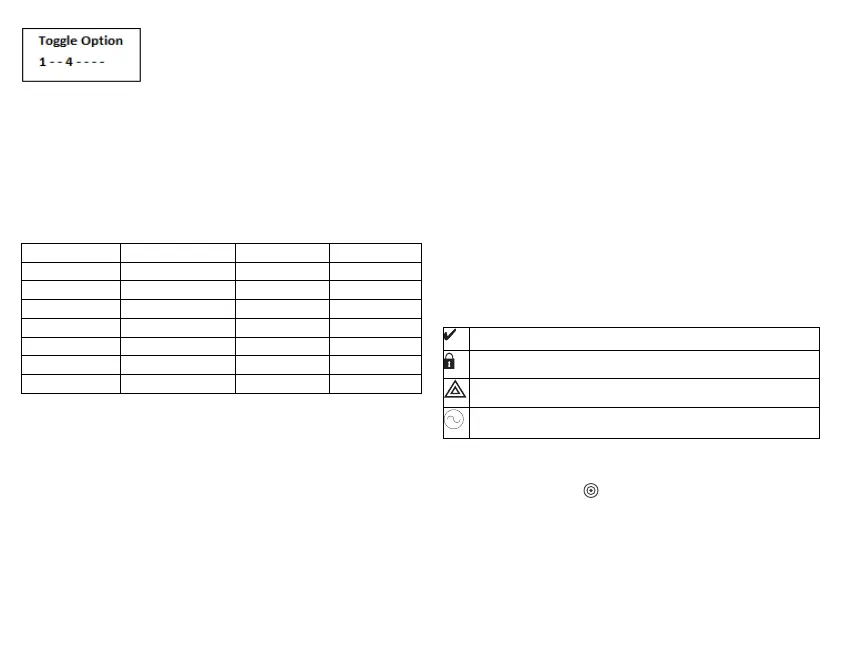
Toggle Options
To program the keypad, press [*][8][Installer Code] then use the [<][>] keys to navigate
through the menus or jump directly to a specific section by entering the section number.
To input data, use the [<][>] keys to select a character then press the keypad button for the
number/letter.
Setting the Keypad Language
Enter [000][000] then the two-digit language number.
Languages
01 = English 08 = Czech 16 = Turkish 25 = Ukrainian
(default) 09 = Finnish 17 = FFU 26 = Slovak
02 - Spanish 10 = German 18 = Croatian 27 = Serbian
03 - Portuguese 11 = Swedish 19 = Hungarian 28 = Estonian
04 - French 12 = Norwegian 20 = Romanian 29 = Slovenian
05 = Italian 13 - Danish 22 - Bulgarian
06 = Dutch 14 = Hebrew 23 = Latvian
07 = Polish 15 = Greek 24 = Lithuanian
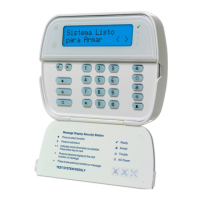
Enrolling the Keypad
Keypads can be enrolled automatically or manually. In either case, the serial number of
the device is used as an identifier.
Note: If there is no keypad enrolled on the system, once you power up, the keypad will display the
message: Press the Enroll button on the touchscreen. Other keypads can then be enrolled from the
first keypad. Use one of the following enrollment options:
[902][000] Auto Enroll
When this mode is selected, the total number of keypads currently enrolled is displayed
on the keypad.
1.
Enter [902][000] to begin the auto-enrollment of new keypads. As each device is
enrolled, the keypad displays the model type, serial number and slot assignment.
Keypads are assigned to the next available slot.
[902][001] Manual Enroll
1.
Enter [902][001] or use the [<][>] keys and press [*].
2.
When prompted, enter the serial number of the keypad found on the back of the
device.
3.
An error tone is sounded if an invalid serial number is received. Once enrolled, the
device model, serial number and slot assignment are displayed. Keypads are
enrolled into the next available slot for the device. The slot assignment can be
changed using the [<][>] keys.
4.
To cancel the enrollment of a module, press [#].
Note: Once the maximum number of devices have been enrolled, an error tone sounds and a warning
message is displayed.
[902][101] Unenroll Keypads
1.
Enter [902][101] or use the [<][>] keys and press [*].
2.
Use the [<][>] keys to scroll to the specific keypad to delete.
3.
Press [*] to select the keypad and, when prompted, press [*] again to delete it.
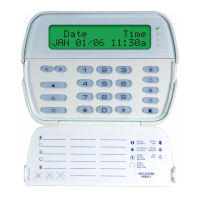
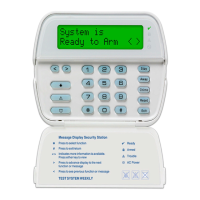
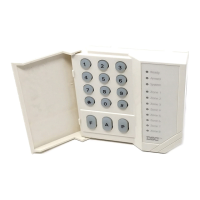
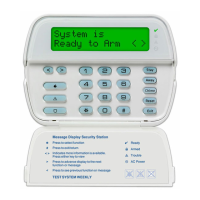
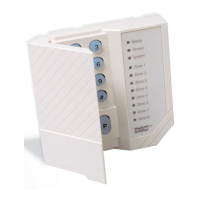
Keypad Display Symbols
Ready Light (green) – If the Ready light is on, the system is ready for arming.
Armed Light (red) – If the Armed light is on, the system has been armed successfully.
System Trouble – Indicates that a system trouble is active.
AC – Indicates that AC is present at the main panel.
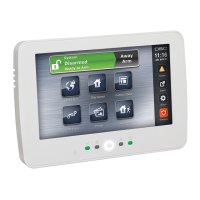
Proximity (Prox) Tags Support
The tag can perform any keypad function that would normally require a user access code.
Present the tag to the tag reader .
Assign Proximity Tags
Using an LCD keypad:
1.
Press [*][5]Master/Supervisor Code].
2.
Enter a 2-digit user code.
3.
Press 2.
4.
Pass the enrolled tag near the tag reader.
 Loading...