2.
Select the desired text color by enabling or disabling Dark Text. (This will make
the text white).
Note: This feature affects only the text on the Classic (square) button home page.
Perform a Firmware Upgrade
1.
Insert an SDcard in the HS2TCHP with the new firmware.
2.
Press Options, Installer Menu [Installer Code], Keypad Programming, then Firm-
ware Upgrade.
3.
Select OK to perform a firmware upgrade (if a new firmware version is available).
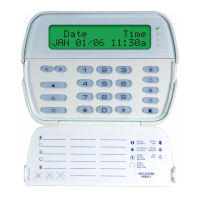
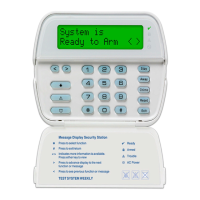
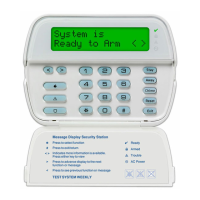
Keypad Programming
To enter keypad programming:
1.
Press Options then Keypad Mode. The virtual keypad is displayed.
2.
Press [*][8][Installer Code].
3.
Enter one of the following keypad programming sections:
l [860] Keypad Slot Number. This section is for display only.
l [861]-[876] to program keypads 1-16 respectively.
Once a keypad is selected, the following programming options are available:
[000] Keypad Partition Mask
Valid entries are 00-08. |___|___|
[011] Keypad Input/Output Programming
Zoneor PGM Number Default 000 I___I___I___I
[012] Local PGM Output Pulse Activation Time
I___I___I Minutes (00-99) I___I___I
Seconds (00-99)
[021] First Keypad Options
Default Value Option ON Off
ON I__I 1 FireKey Enabled FireKey Disabled
ON I__I 2 Medical Key Enabled MedicalKey Disabled
ON I__I 3 Panic Key Enabled Panic Key Disabled
ON I__I 4
Display Access CodeWhenPro-
gramming
Display Xs When Programming
AccessCodes
[022] Second Keypad Options
Default Value Option ON Off
ON I__I 1 LocalClock Display ON Local Clock Display OFF
OFF I__I 2 LocalClock Displays 24-hr Clock Displays AM/PM
Default Value Option ON Off
ON I__I 3 Auto Alarm Mem Scroll ON Auto Alarm Mem ScrollOFF
ON I__I 4 ForFutureUse For FutureUse
OFF I__I 5 Power LEDEnabled Power LEDDisabled
ON I__I 6
Power LEDIndicates AC Present
ON
Power LEDIndicates AC Present
OFF
ON I__I 7 Alarms DisplayedWhileArmed Alarms Not Displayed WhileArmed
OFF I__I 8 Auto-ScrollOpen Zones ON Auto-ScrollOpenZonesOFF
Note:For UL/ULC installations, bit 5 (PowerLED)and bit 6 (Power LED Indicates AC Present)
shallbe ON.
[023] Third Keypad Options
Default Value Option ON Off
OFF I__I 1 ArmedLEDPower Save Armed LEDOff inSleepMode
ON I__I 2 KeypadStatus ShowsStay Arm
KeypadStatus Shows Stay/Away
Arm
OFF I__I 3
5thTerminal is KeypadPGM Out-
put
5thTerminal is KeypadZone Input
ON I__I 4 Prox tag willarm/disarm Proxtagdoes not arm/disarm
OFF I__I 7 LocalDisplay of Temperature NoLocalDisplay of Temperature
OFF I__I 8 Low TemperatureWarningEnabled Low TemperatureWarning Disabled
[030] Download LCD Messages
I___I___I___I___I___I___I___I___I___I___I___I___I___I ___I
I___I___I___I___I___I___I___I___I___I___I___I___I___I ___I
[031] Download LCD Message Duration
Default: 000 I___I___I___I
(Valid entriesare 000-255, 000=Unlimited Msg Display)Thisnumberrepresentsthe number
of timesthe downloaded message must be cleared before it is permanentlyremoved. This
message can be cleared by pressing anykey.
[041] Indoor Temperature Zone Assignment
Default: 000 I___I___I___I
(Valid entries are 000-128)
[042] Outdoor Temperature Zone Assignment
Default: 000 I___I___I___I
(Valid entries are 000-128)
[101] - [228] Door Chime for Zones 1 - 128
The keypad can be programmed to make up to four different chime sounds for individual
zones(e.g., for Zone 1, enter section [101], for Zone 2 enter section [102]).
Default: 01 I___I___I
 Loading...