get as high as 350° C. Always check that the lamp is cold before attempting to remove it.
In any case, only open the appliance 10 minutes after it has been turned off.
Philips 575 MSR/2
Power 575W
Luminous flux 49,000 lm
Colour temperature 5600°K
Lampbase GX9,5
Rated life 1,000 hours
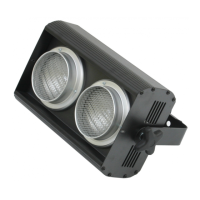
1) Using a Philips screwdriver, remove the 3 screws (X,Y, Z) (photo 1, black screws)
which hold the lampholder in place and are located at the rear of the projector head.
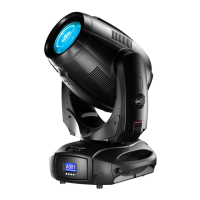
2) Remove the lampholder unit. Locate the lampholder (photo 2).
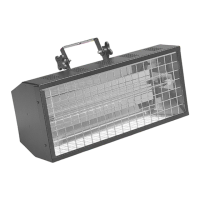
3) Insert the lamp (photo 3).
The lamp used is manufactured from quartz glass and should be handled with care.
Always adhere to the instructions supplied in the lamp's packaging. Never touch the
glass directly but use the tissue provided in the lamp's packaging. The GX 9.5 lampbase
is symmetrical.
DO NOT USE UNDUE FORCE ON THE GLASS. In case of difficulty, re-read the instructions
and repeat the procedure.
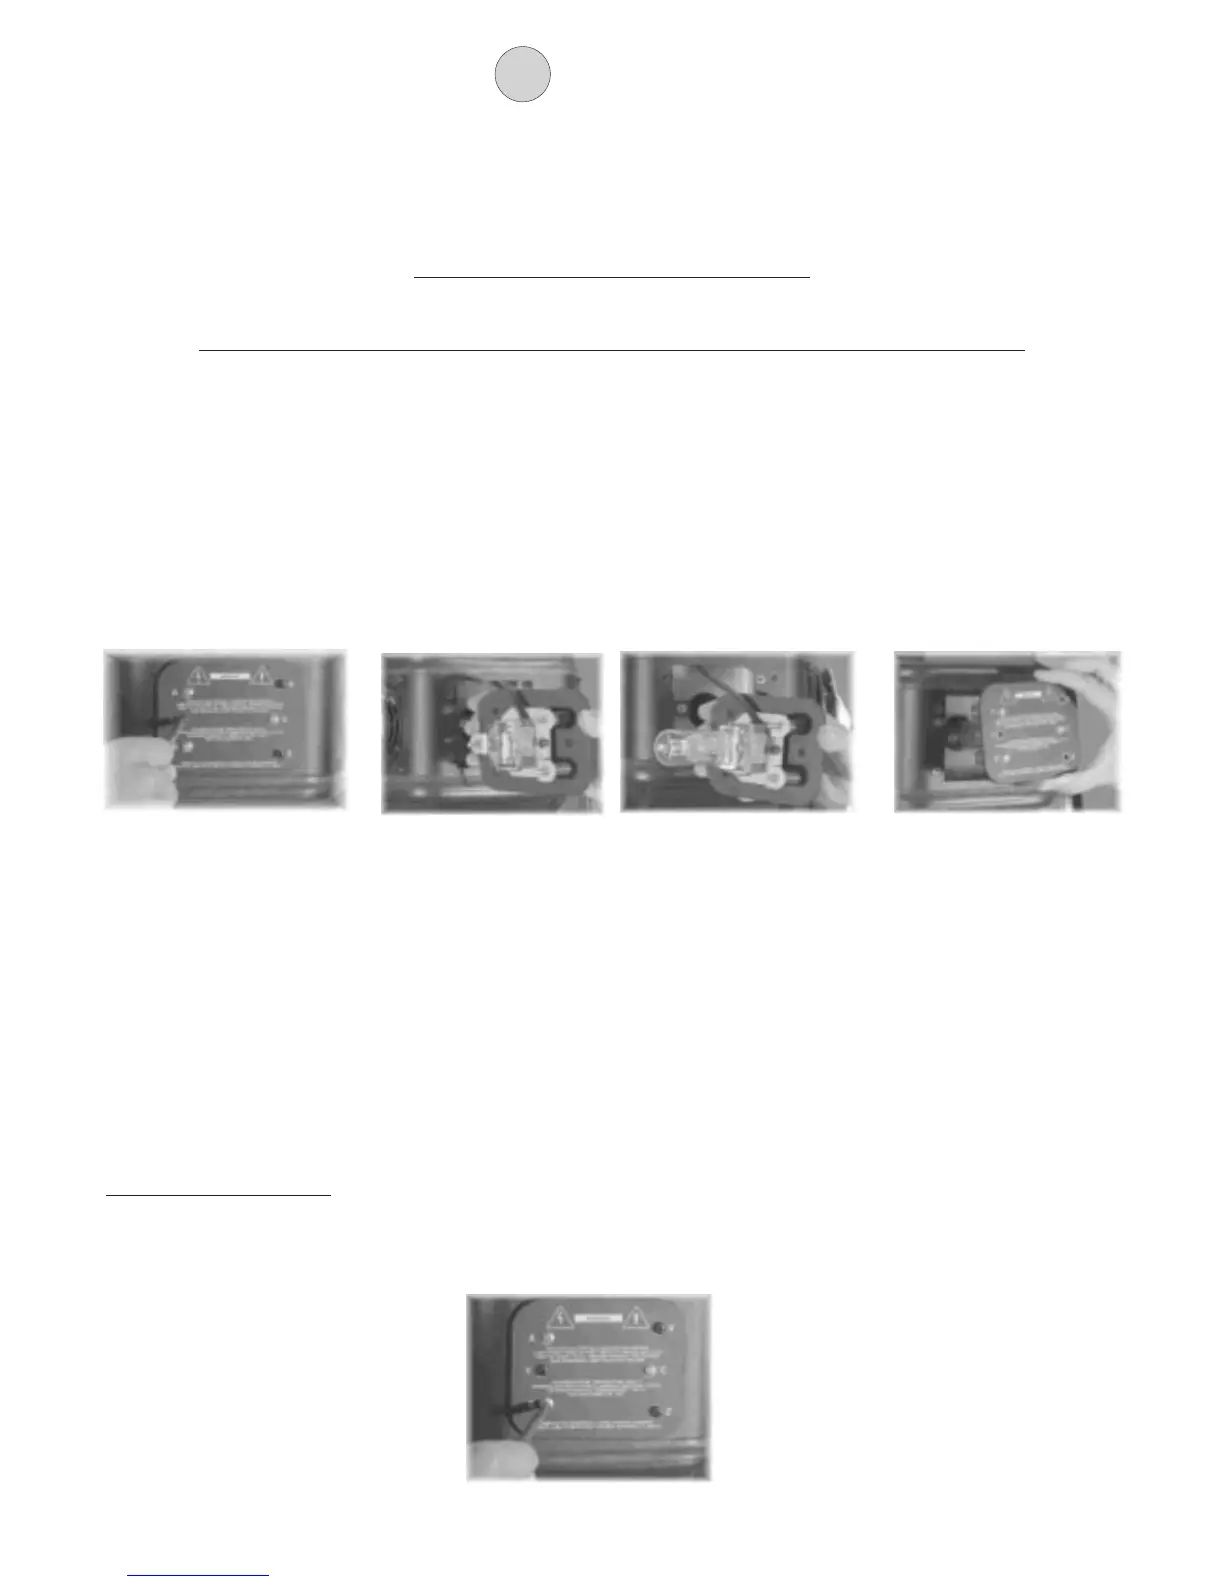
4) Replace the lamp assembly (photo 4) and replace and tighten the screws (X,Y,Z),
which were previously removed (photo 1).
Warning: we recommend that the lamp be realigned in the optical train of the unit to
avoid overheating of the dichroic filters and other components inside the unit. (Photo 5).
3- MOUNTING THE LAMPS
Warning: turn power off before opening the appliance.
3.1 Lamp alignment
Photo 2Photo 1 Photo 4Photo 3
Photo 5
3
 Loading...