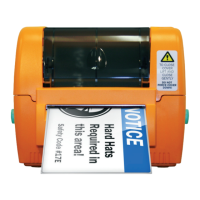
12 | 5.2 Die-cut Label Printing Instructions
DuraLabel.com | 800.788.5572
Configuring printer drivers
5.2 Die-cut Label Printing Instructions
5.2.1 LABEL SUPPLY CALIBRATION
Label supply must be calibrated to print die-cut labels.
A. With the power OFF, hold the Feed button down while turning ON the printer. The
LED will flash red 5 times, amber 5 times, green 5 times, alternating green and
amber 5 times, alternating red and amber 5 times and then turn solid green.
B. Release the Feed button while the LED blinks red and amber.
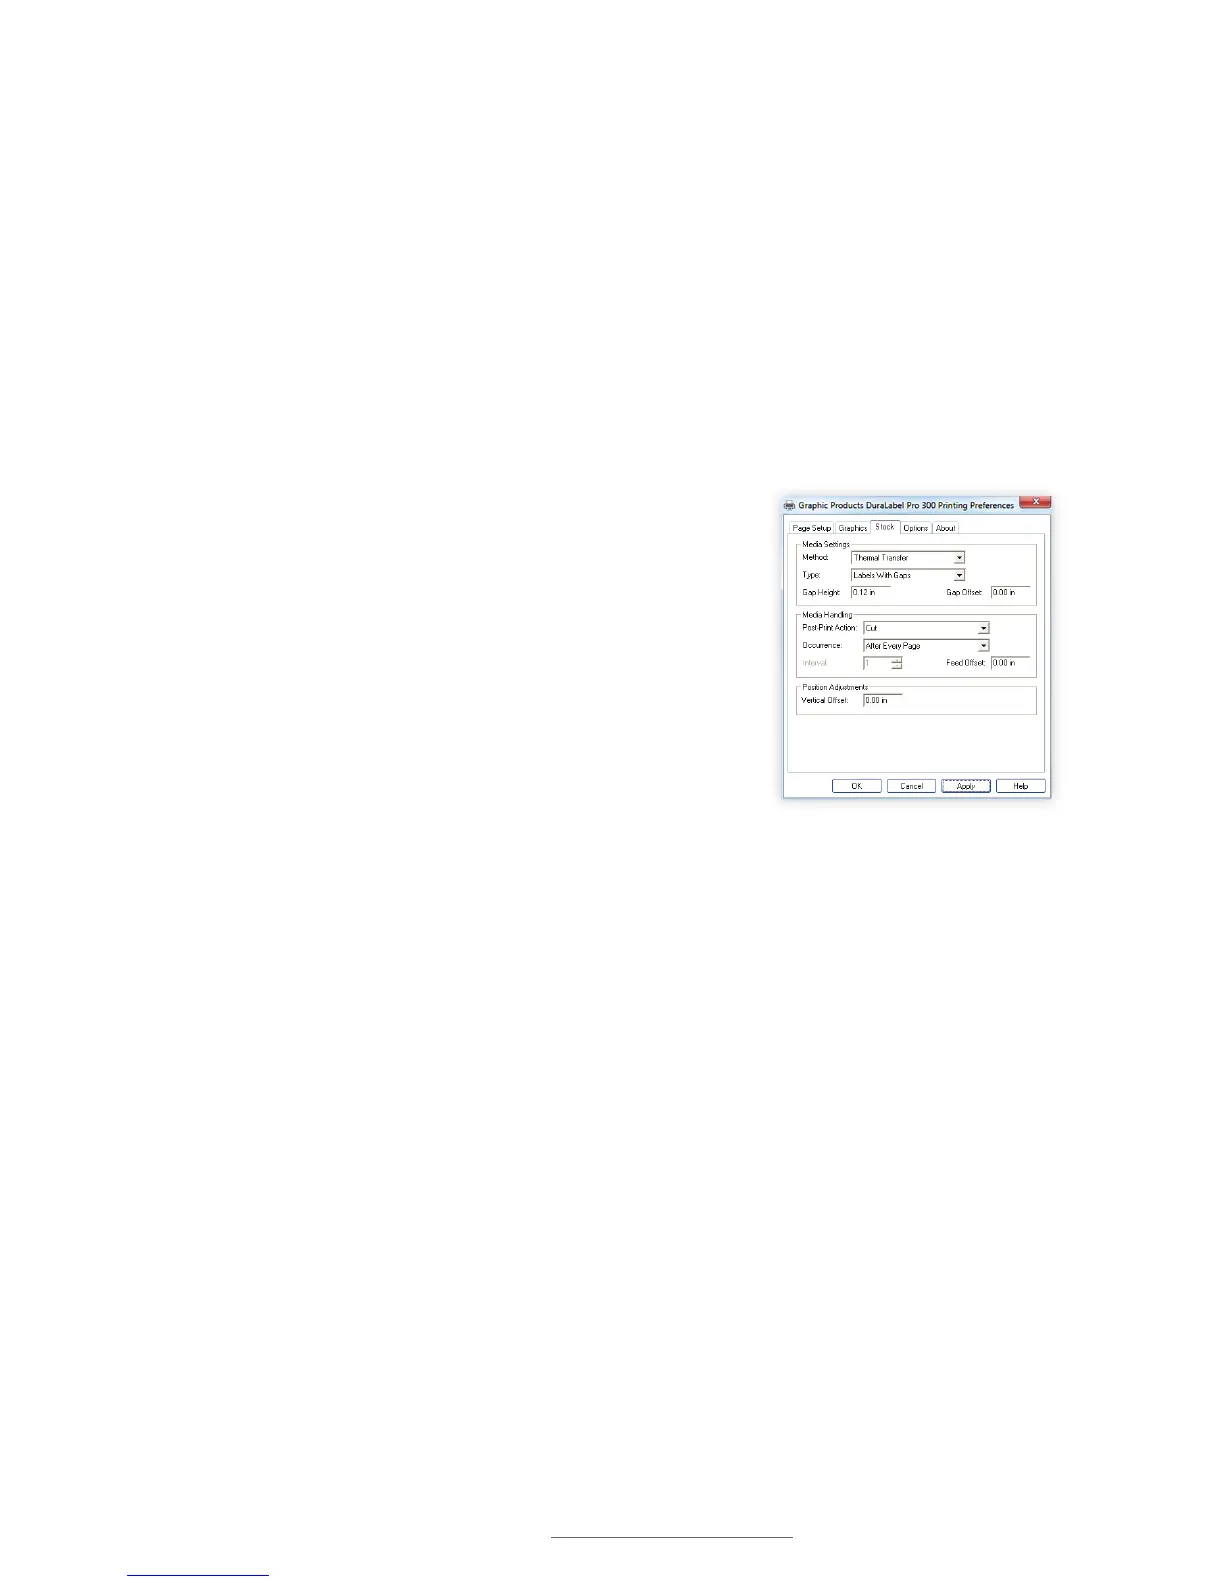
5.2.2 DRIVER SETTINGS
Your printer driver has been preset to reduce the number
of steps to be completed manually. You can change your
settings by following these steps:
A. Select Labels With Gaps from the Type drop-down
menu.
B. Set Gap Height to 0.12 inches and Gap Offset to 0
inches (default).
C. Click Apply, then OK.
5.3 B Mark Label Printing Instructions
5.3.1 LABEL SUPPLY CALIBRATION
Label supply must be calibrated to print B Mark labels.
A. With the power OFF, hold the Feed button down while turning ON the printer.The
LED will flash red 5 times, amber 5 times, green 5 times, then begin to alternate
between green and amber 5 times.
B. Release the Feed button while the LED blinks green and amber.
5.3.2 DRIVER SETTINGS
Your printer driver has been preset to reduce the number of steps to be completed
manually. You can change your settings by following these steps:
A. Select Labels With Marks from the Type drop-down menu.
B. Set Mark Height to 0.12 inches and Mark Offset to 0 inches (default).
C. Click Apply, then OK.
Printing Preferences dialog box, with
Type set to “Labels With Gaps”