DuraLabel.com | 800.788.5572
4.3 Using a Parallel Cable | 9
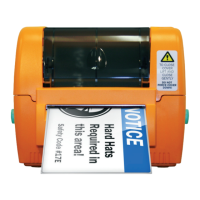
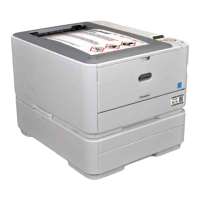
ConneCting the printer
J. A Driver Wizard Completed Successfully window appears, confirming the printer
driver installation was completed successfully. Now click Close.
K. The previous window closes and a Completing the DuraLabel Driver Setup Wizard
window appears. Click Finish to complete the new driver installation.
4.3 Using a Parallel Cable
NOTE: Skip this step if using a USB cable.
IMPORTANT! You may need IT administrator privileges to perform this installation.
A. Insert the DuraLabel PRO or DuraLabel PRO 300 Installation CD in your computer’s
disk drive. A DuraLabel PRO/PRO 300 startup screen appears.
NOTE: If the CD does not run automatically, go to Start > Computer and double-click on
your CD/DVD drive, which should show the DL icon.
B. Click on Driver Wizard, then click Next on the new Driver Wizard window.
C. Click I Agree on the Windows Printer Driver License Agreement window that
appears.
D. Select DuraLabel PRO or DuraLabel PRO 300 and click Next on the DuraLabel
Driver Setup window that appears.
E. Choose the install location and click Install on the Choose Install Location window
that appears.
F. Select Install printer drivers on the Driver Wizard window that appears and click Next.
G. Select Graphic Products DuraLabel PRO or DuraLabel PRO 300 on the Specify
Printer Model window that appears and click Next.
H. Select the LPT1 port on the Specify Port window that appears and click Next.
I. Enter Printer Name and set it as the default printer by checking the adjoining box
in the Specify Printer Name window that opens. Choose a sharing option, then click
Next.