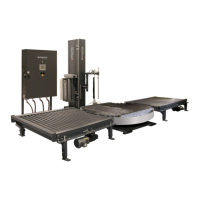
Page | 19
INSTALLATION OF IN-LINE TOP SHEET
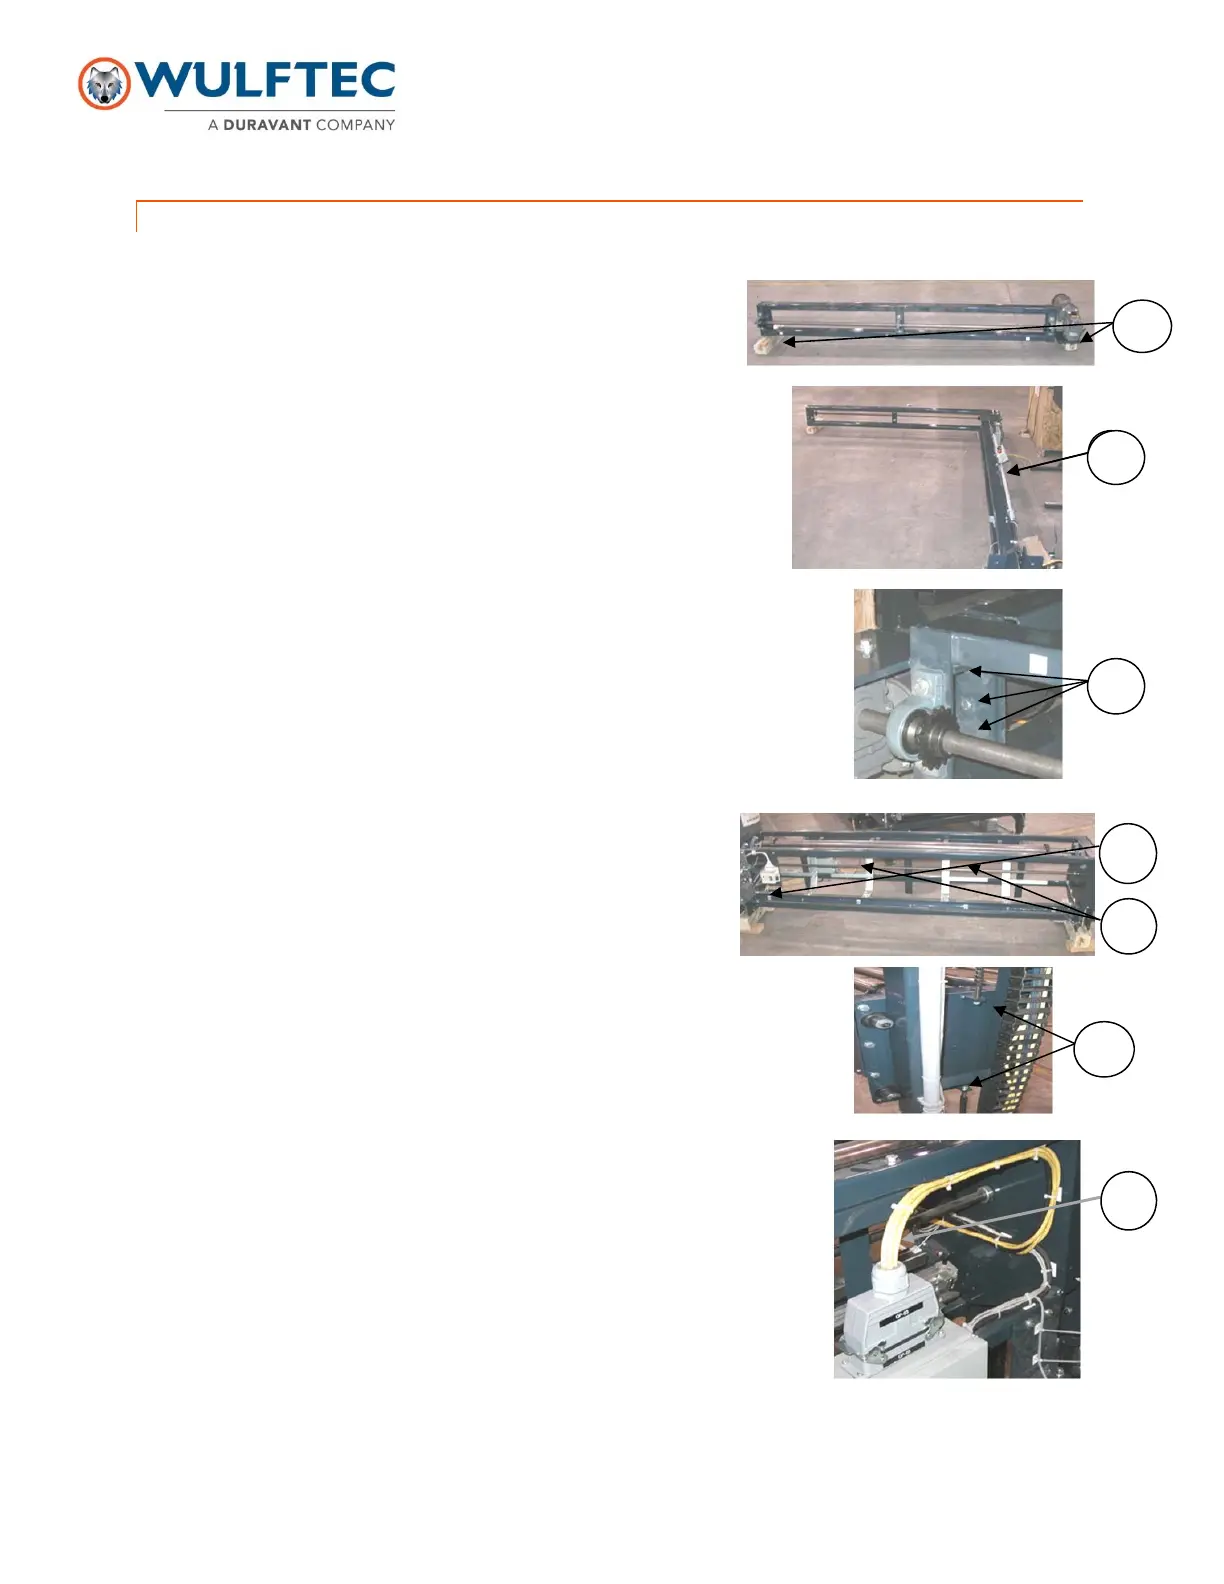
1.
Remove the top sheet head and put it on 4X4 on the floor (A)
2.
Install the first top sheet leg to the top sheet head. The leg with the
junction box and control box with the E-stop goes on the motor side
facing the outside (B)
3.
Install the second leg
4. Put the 3 bolts, locks and nuts to hold the legs. Do not tighten the bolts to
allow the cradle to be placed between the legs (C)
5. Using a forklift, lift the top sheet structure up carefully. Take the top sheet cradle
with the forklift. The dispenser motor goes on the same side of the up/down motor
(D). Lift the cradle by placing the forklift forks as shown (E)
6. Put the cradle between the top sheet legs.
Make sure the legs are open to fit the cradle in between.
When the cradle is in position, push the legs inward.
Tighten the 3 bolts on each leg using a 2 ¾” key.
You can rest the cradle on the stopper angle.
7.
Install the chains on both sides, holding the chain with a pair of
pliers. Tighten the nuts to increase tension (F).
8. Install the powertrack bracket on the cradle. Install the reflectors
and the photoeyes. The reflectors go on the opposite side of the
motor. The photoeyes and photoeye cables are identified. Refer to
the top view on the electrical schematics for photoeye placement and
identification.
9. Reconnect the quick plug from the power track (G). Reconnect the wire for the
brake and top sheet up/down motor (electrical brake on top, top sheet up/down
motor at the bottom).
10. Slide the conveyor under the top sheet.
11. Anchor top sheet to the floor.
C
D
E
B
F
G
 Loading...