GYX
3.5 HDD Installation/Exchange
Warning: If you change the HDD of a TViX equipped with an HDD, the warranty will be voided.
1. Assembling the TViX HD is very easy. Just follow the instructions below:
Use a driver and screw the hard disk on to the guide board.
Set the jumper to ‘Single Master’.
TViX M-4000S model is supporting the SATA hard disk and M-4000P model
is supporting the PATA(General IDE) hard disk
< Jumper Settings for TViX M-4000P>
The ‘Jumper Setting’ differs according to the HDD manufacturers, so please refer to the instructions
of the specific HDD provided by the HDD manufacturers.
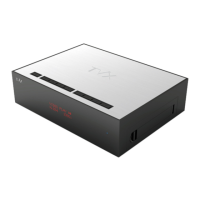
2. Open the lid of the TViX by sliding the lid like pictures.
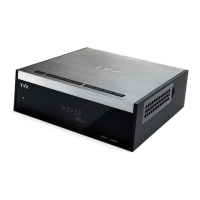
3. Set the jumper to Master and connect power cable and IDE cable
zhtz|unGGGGGzGGGGGGGpitGGGGGG~Gk
Power Connector