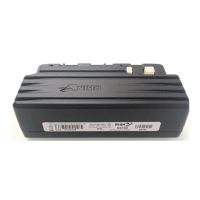
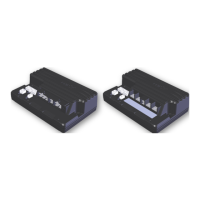
Rhino to RHINO2 Conversion Guide Page 15
For example, when swapping a DS72K to a RHINO2 DS90, set the Current Limit to 70A, Boost Current
to 10A, and the Boost Time to 3 seconds.
Set up park brake management parameters
Set RHINO2 Park Brake Testing (4.4.6.1) to “Driving” if the Rhino’s PB Open Circuit Drive Test
is set to “Yes”, otherwise, set it to “Pre-drive”. DO NOT set it to “None” as this will
contravene an ISO7176 requirement.
Set RHINO2 Park Brake Neutral Delay (4.4.6.2) to a similar value to Rhino’s Park Brake Delay.
Note that the RHINO2’s value is displayed in milliseconds, rather than seconds.
Set RHINO2 Park Brake Release Delay (4.4.6.3) to “0”.
Set up battery management parameters
Set RHINO2 Undervoltage Rollback Start (4.4.7.1) to 19.6V.
Set RHINO2 Undervoltage Rollback End (4.4.7.1) to 17.6V.
Set RHINO2 Battery Gauge Low Warning (4.4.7.3) to 23.4V.
Set up actuator parameters (where fitted)
Set RHINO2 Actuator Time-Out (4.4.8.2) to “60” to match the Rhino. This value can be
decreased for greater protection if the travel of the actuator takes less than 60 seconds to
complete under full load.
Fine tune Load Compensation
Fine tune Load Compensation (4.4.5.5). Do not over compensate. For more details, see the
RHINO2 Installation Manual (4.4.5.5 Load Compensation).
To finish
Save a copy of the profile to your computer, and write the profile to the controller.
Calibrate the throttle with the DX-HHP or the Wizard's HHP emulator
If you do not have access to the DX-HHP, then use the Wizard’s HHP emulator. This can be found by selecting
"Tools", "Plug-ins", "HHP Emulation" and clicking on the 4 soft keys, or pressing the "1", "2", "3" or "4" numeric
keys on the keyboard.
Warning:
Follow these instructions carefully. The RHINO2’s current capability is higher
than Rhino. Ensure that these motor management parameters are set to that
of the existing motor and no greater than that of the table below. Failure to
follow these settings can result in damage to the scooter or serious injury to
the user.