Rhino to RHINO2 Conversion Guide Page 7
Step 1 – Capture the existing Rhino’s profile
Connect the existing Rhino system to a PC or laptop, and with the Wizard application, read the
existing Rhino’s configuration profile. You will use some of the existing configured parameters to set
up the RHINO2 controller in later steps. For more information on programming, see Programming, in
the Further information section. Save and print out the profile for reference later on.
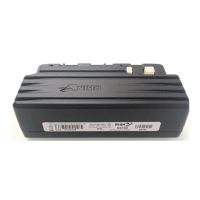
Step 2 – Replace the Rhino controller with the RHINO2 controller
Replace the existing Rhino controller with the new RHINO2 controller. Note that the mounting holes
of the RHINO2 are different from the Rhino. For more information on this and the recommended
mounting orientation, please see the RHINO2 Installation Manual (section 3.1.1 & 3.1.2).
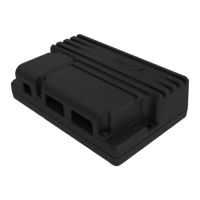
Step 3 – Adapt the cables
Install the motor, park brake and battery cable adaptors
RHINO2 uses different cable connectors compared with the Rhino. For this reason, you will need to
adapt the existing looms. Dynamic Controls have produced a number of adaptors to help you. The
table below summarises the cable adaptors to use with the RHINO2 variants.
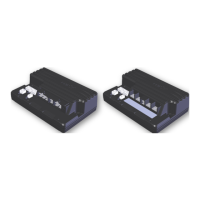
Rhino to RHINO2
Adaptor Loom
Use for DS72KA to DS90-ACT
Suitable for motor looms
using Tyco 170258-2 housing.
Suitable for motor looms
using Dynamic Controls
GCN51315 housing.
RHINO2 BATT/ACT ADAPT
LOOM
RHINO2 MTR-4/RING ADAPT
LOOM
RHINO2 BATT-6/RING ADAPT
LOOM
Warning:
Check the motor connector on the existing motor to ensure that the
receptacles are not loose or damaged. Loose or damaged receptacles can lead
to over-heating, and the connector housing melting.