Rhino to RHINO2 Conversion Guide Page 6
Procedure
The procedure for swapping a Rhino system to a RHINO2 system involves both adapting the cabling,
and programming some specific parameters. A summary is outlined below:
In step 3, choose and install the correct cable adaptors for your scooter system.
For step 4, the Wizard programming tool is required to program specific parameters (see
Programming, in the Further information section). For each parameter, a reference is provided next
to the parameter’s name (for example, Speed Limit Pot (4.4.2.11)). This refers to the section in the
RHINO2 Installation Manual where you will be able to find out more information on that particular
parameter.
Step 1 – Capture the Rhino’s existing profile
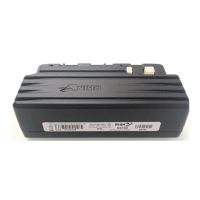
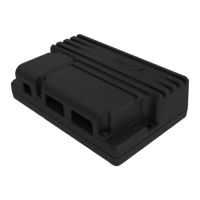
Step 2 – Replace the Rhino controller with the RHINO2 controller
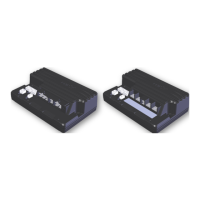
Step 3 – Adapt the cables
Install the motor, park brake and battery cable adaptors
Install the logic cable adaptor
Step 4 – Set up the scooter profile
Set up throttle parameters
Set up motor management parameters
Set up battery management parameters
Set up drive performance parameters
Set up park brake management parameters
Set up actuator parameters
Step 5 – Test drive
Make sure that you have a copy of the RHINO2 Installation Manual at hand. This is important for
details of mounting the new controller, setting the controller’s profile, and detailed further