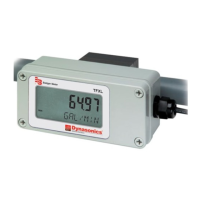
TRANSDUCER CONNECTIONS
Figure 7: Transducer connections
To access terminal strips for wiring, first loosen the four screws holding the top of the case to the bottom.
OTE:N The four screws are “captive” screws and cannot be removed from the top of the case.
If the unit has a display, remove the four Phillips head screws that hold the display to the main circuit board and carefully
move it out of the way. Do not over stress the ribbon cable located between the display and the microprocessor
circuit boards.
Guide the transducer terminations through the transmitter conduit hole located in the bottom-left of the enclosure. Secure
the transducer cable with the supplied conduit nut (if flexible conduit was ordered with the transducer).
OTE:N TFXL meter with integral transducers have the transducers connected at the factory and the transducer connections
section can be skipped.
The terminals within the TFXL meter are of a screw-down barrier terminal type. Depending on the type of transducers being
used there are two terminal strip arrangements possible.
Remote mount small pipe transducers are connected to the terminals on the main circuit board.
Remote mount transducers are connected to a daughter board on the left side of the meter.
Connect the appropriate wires at the corresponding screw terminals in the transmitter. Observe upstream and downstream
orientation and wire polarity. See Figure 7.
OTE:N High temperature transducer cables come with red and black wire colors. For the red and black combination, the red
wire is positive (+) and the black wire is negative (–).
OTE:N The transducer cable carries low level, high frequency signals. In general, it is not recommended to add additional
length to the cable supplied with the transducers. If additional cable is required, contact the factory to arrange an
exchange for a transducer with the appropriate length of cable. Cables 100…990 feet (30…300 meters) are available
with RG59 75 Ohm coaxial cable.
Transducer Connections
Page 13 April 2016 TTM-UM-00369-EN-03
 Loading...