Setting up your dock
Choose a location
Assemble your dock
It’s important that you locate the dock carefully, as the robot will need clear
access to it.
The dock should be located against a wall, on a level surface, close to a
mains power supply. Make sure the position is out of bright sunlight and
not obscured under a table or other furniture.
The dock also needs to have at least 50 cm of clear space around the sides
and at least 1m in front.
Plug the charger connector in to the back of the dock and connect to the
mains power supply. A blue LED will light up when power is connected.
Wrap any excess cable around the cable tidy on the back of the dock.
Align the back panel of the dock with the floor section and press until it clicks
into place. The back panel is removable if you need to dismantle your dock.
Standby power
To save energy when it’s on the dock, your robot will go into standby mode
and the LCD touchscreen will dim.
You can activate your robot by pressing the LCD touchscreen, or by using
the app or voice control.
Powering off
If you need to turn off your robot’s power, take it off the dock. Press and hold
the screen until the Power off menu appears on the screen. Press and click
the LCD touchscreen to confirm.
Place your robot on the dock to turn the power on again.
Plug in and charge
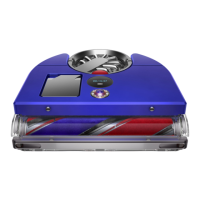
Place your robot on the dock. Your robot will turn on and the
LCD touchscreen will light up.
The power cable
should be inserted
into the socket located
on the top, right hand
side on the back of the
dock.
The robot sits in the
front of the dock
between the floor plate
and the front ridge.

 Loading...