Additional Safety Precautions and Warnings
As the user of this product, you are solely responsible for operating it in a manner that does not
endanger yourself and others or result in damage to the product or the property of others.
This model is controlled by a radio signal that is subject to interference from many sources outside your
control. This interference can cause momentary loss of control so it is advisable to always keep a safe
distance in all directions around your model, as this margin will help to avoid collisions or injury.
• Never operate your model with low transmitter batteries.
• Always operate your model in an open area away from cars, trafc, or people.
• Avoid operating your model in the street where injury or damage can occur.
• Never operate the model out into the street or populated areas for any reason.
• Carefully follow the directions and warnings for this and any optional support equipment
(chargers, rechargeable battery packs, etc.) that you use.
• Keep all chemicals, small parts and anything electrical out of the reach of children.
• Moisture causes damage to electronics. Avoid water exposure to all equipment not specically
designed and protected for this purpose.
• Never lick or place any portion of your model in your mouth as it could cause serious injury
or even death.
Receiver Connection and Installation
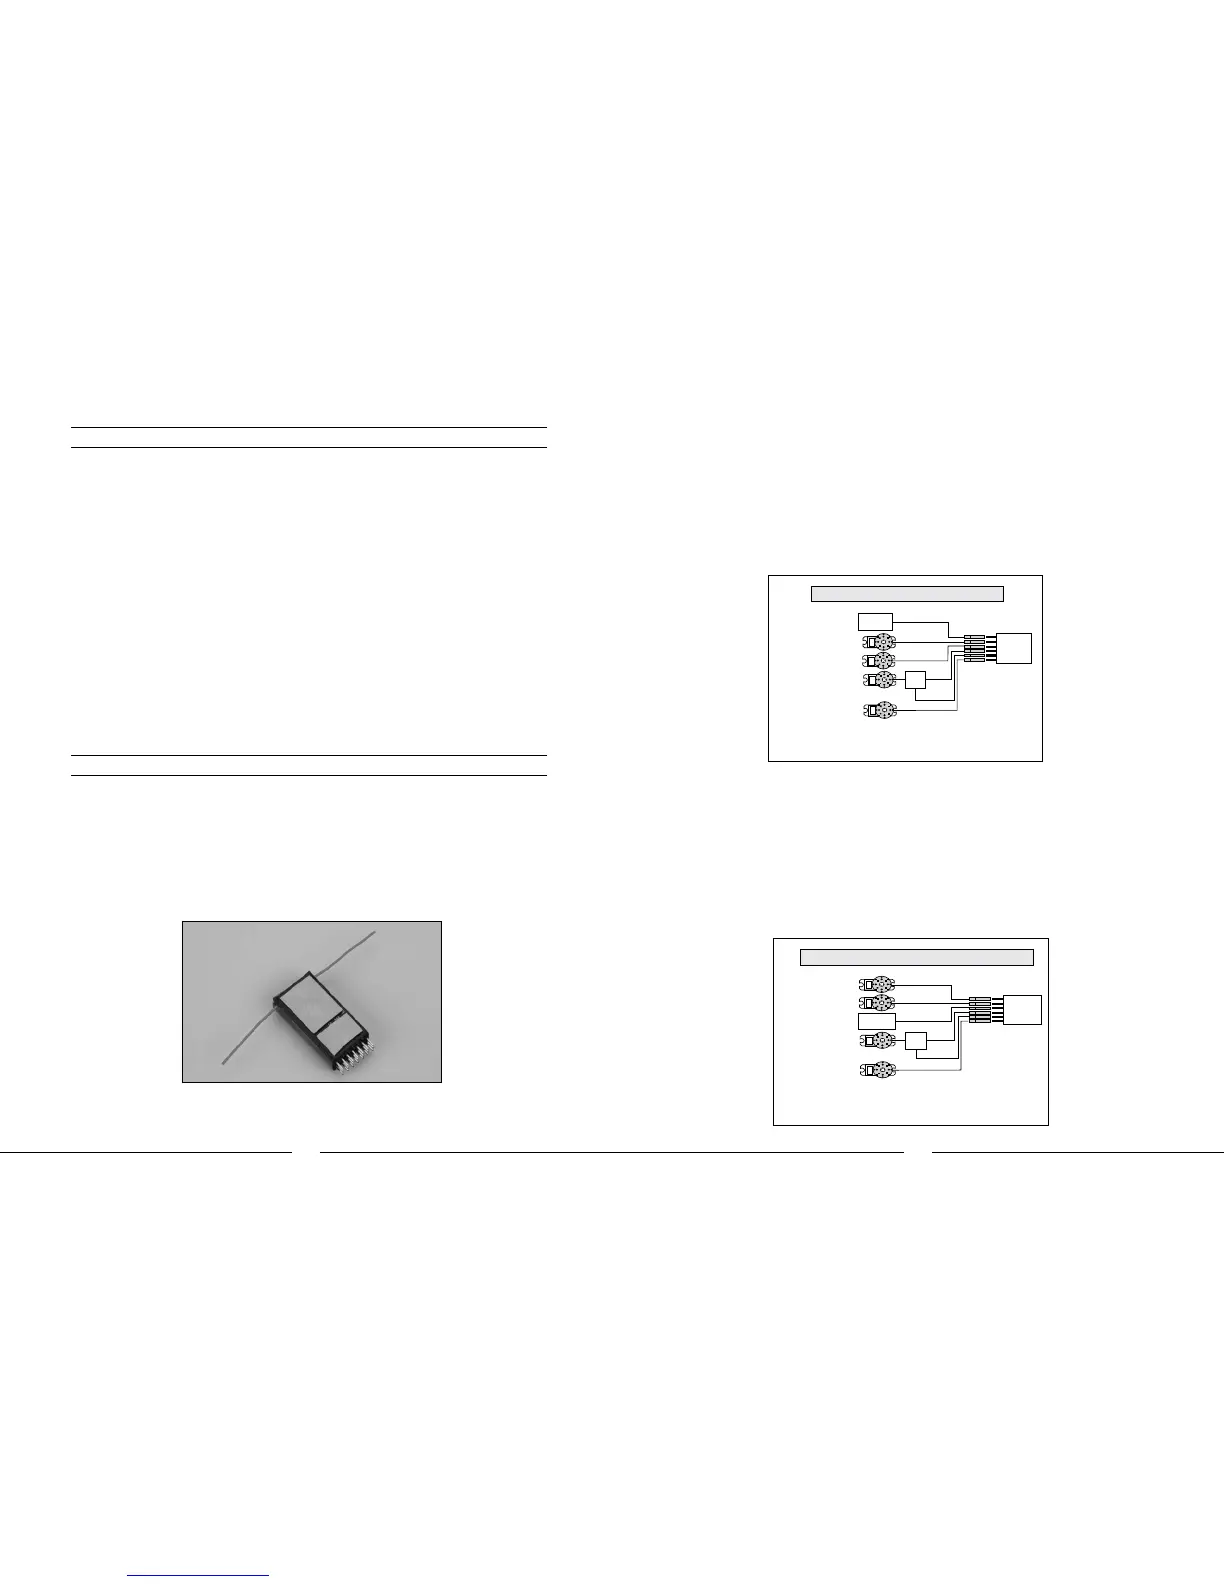
A 6-channel or greater micro receiver is required. We strongly recommend the use of a DSM (Digital
Spectrum Modulation) equipped receiver (like the Spektrum AR6100e) and transmitter on 2.4GHz (like
the Spektrum DX6i or DX7) for the ultimate in glitch-free performance. However, if you will be using a
72MHz radio system, we recommend the use of a PCM receiver. We also recommend that the receiver
be equipped with “end pins” for the best and most convenient installation.
The following steps outline connection and installation of the receiver:
o Apply one or two sections of the included two-sided tape to the bottom of your chosen receiver.
Be sure to leave the paper backing that remains on the other side of the tape in place until after
completing the next step.
o Locate the six wire leads/connectors located near the rear of the main frame. While it is possible
to connect these leads/connectors to the receiver after it’s been installed, it is easier to connect
them to the receiver before installing it in the main frame. Please see the following lists and
illustrations, while also referring to the manual for your transmitter, for proper connections:
For JR
®
and Spektrum
™
Transmitters/Receivers
Channel 1 (THRO) Electronic Speed Control (ESC) ‘throttle’ lead
Channel 2 (AILE) Lower rear-mounted swashplate control ‘aileron’ servo lead
Channel 3 (ELEV) Forward-mounted swashplate control ‘elevator’ servo lead
Channel 4 (RUDD) Gyro ‘rudder’ lead
Channel 5 (GEAR) Gyro ‘auxiliary’ lead (the single yellow wire lead)
Channel 6 (AUX1) Upper rear-mounted swashplate control ‘pitch’ servo lead
For Futaba and Hitec Transmitters/Receivers
Channel 1 (AILE) Lower rear-mounted swashplate control ‘aileron’ servo lead
Channel 2 (ELEV) Forward-mounted swashplate control ‘elevator’ servo lead
Channel 3 (THRO) Electronic Speed Control (ESC) ‘throttle’ lead
Channel 4 (RUDD) Gyro ‘rudder’ lead
Channel 5 (GEAR) Gyro ‘auxiliary’ lead (the single yellow wire lead)
Channel 6 (AUX1) Upper rear-mounted swashplate control ‘pitch’ servo lead
 Loading...