AILE POS–1 80% + 15%
80% + 15%
ELEV POS–1 80% + 15%
80% + 15%
RUDD POS–1 70% + 25%
70% + 25%
Note: These values serve only as starting points. It may be necessary to decrease or increase the
values per your preference.
Servo Reversing (REV.SW)
RUD Reverse (REV.)
CH6 Reverse (REV.)
Travel Adjustment (TRVL ADJ.)
RUDD L 90% R 90%
Swashplate Mixing (Swash Mix)
AILE 65%
ELEV 65%
PIT. 80%
throttle hold (THRO HOLD)
HOLD POS. 0.0%
Throttle Curves (THRO CURV)
Point–L Point–1 Point–2 Point–3 Point–4 Point–5 Point–H
NORM 0.0% INH INH 50.0% INH INH 100.0%
ST–1 100.0% INH INH 85.0% INH INH 100.0%
ST–2 100.0% INH INH 100.0% INH INH 100.0%
Pitch Curves (PIT. CURV)
Point–L Point–1 Point–2 Point–3 Point–4 Point–5 Point–H
NORM 35.0% INH INH 50.0% INH INH 100.0%
ST–1 0.0% INH INH 50.0% INH INH 100.0%
ST–2 0.0% INH INH 50.0% INH INH 100.0%
HOLD 35.0% INH INH 50.0% INH INH 100.0%
Note: In order to perform auto-rotations, it will be necessary to set the Point-L value for HOLD to
25.0% or less.
Gyro Sensitivity (GYRO SENS)
AUTO Pos. 0 70%
Pos. 1 70%
Pos. 2 70%
Note: These values serve only as starting points. It may be necessary to decrease or increase the
values in order to achieve the proper gain setting value.
Timer (TIMER)
DOWN–T
4:30
After programming your chosen transmitter with the suggested initial settings, install the flight battery
and test the controls as outlined in the following sections in order to be sure that the settings are correct
for proper control and performance.
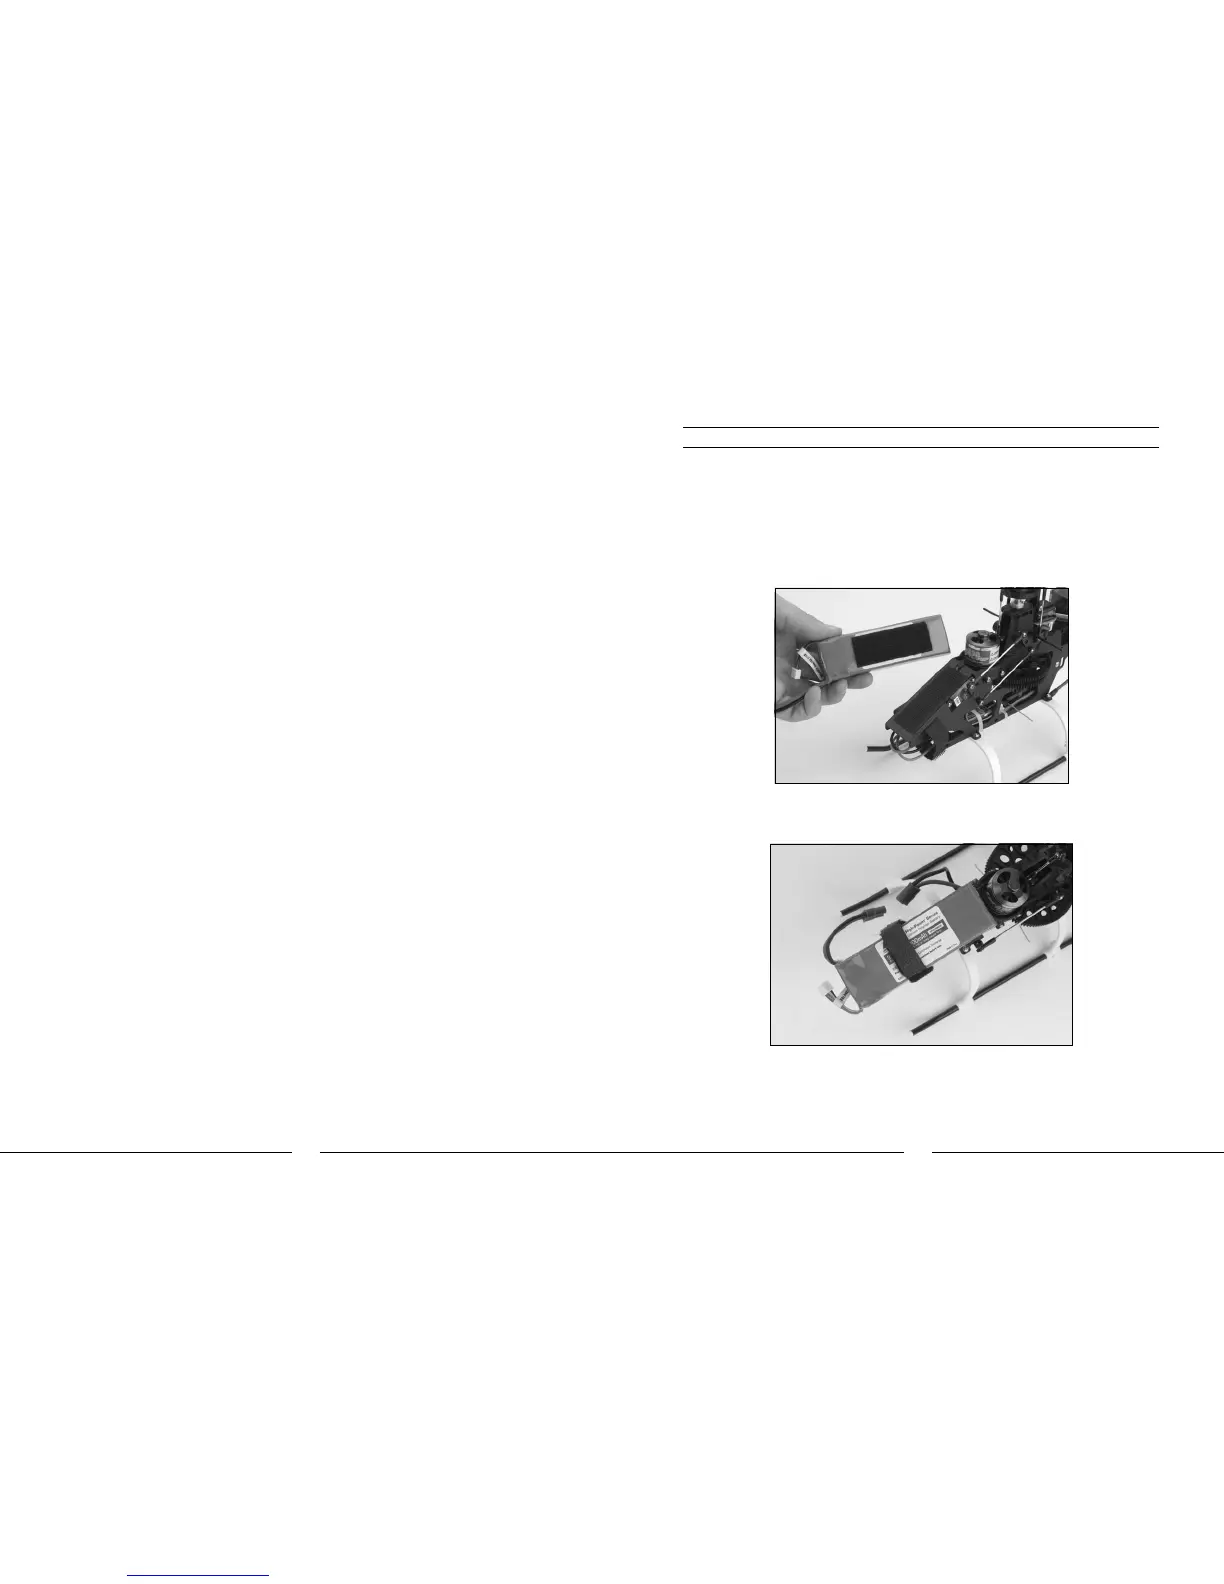
Installing the Flight Battery
Use the included hook and loop material for mounting the Li-Po battery. We suggest installing the
“loop” (fuzzy) material on the battery and the “hook” material on the battery support located at the
front of the main frame. Install the loop material on the battery so the main power wire leads and
connector are oriented to the right side of the helicopter (when viewing the helicopter from behind).
This will help to keep the wire leads from interfering with the elevator servo on the left side of the
model.
Also, be sure that the battery is positioned so that it will not come into contact with the elevator servo
arm and the motor case. If the battery comes into contact with either of these components during flight,
it can result in damage to the battery, motor and/or servo, potentially resulting in a crash.
Once the battery has been properly positioned, fasten the hook and loop strap around the battery for
added security.
 Loading...