Radio Installation
Required Parts
Assembled airframe
Carbon linkage (long), 9
7
/8" (250mm)
Carbon linkage (medium) 8
1
/2" (215mm)
Carbon linkage (short) (2) 5
1
/2" (140mm)
Control horn w/backplate (4)
Nylon clevis (4)
Pushrod control connector w/hardware (4)
Servos w/hardware (4)
3D length servo arms (4)
Radio system w/receiver
Required Tools and Adhesives
Phillips screwdriver (small)
Felt-tipped pen
Drill
Drill bit: 1/16" (1.5mm), 5/64" (2mm)
Hook and loop tape
Hobby knife (#11 blade)
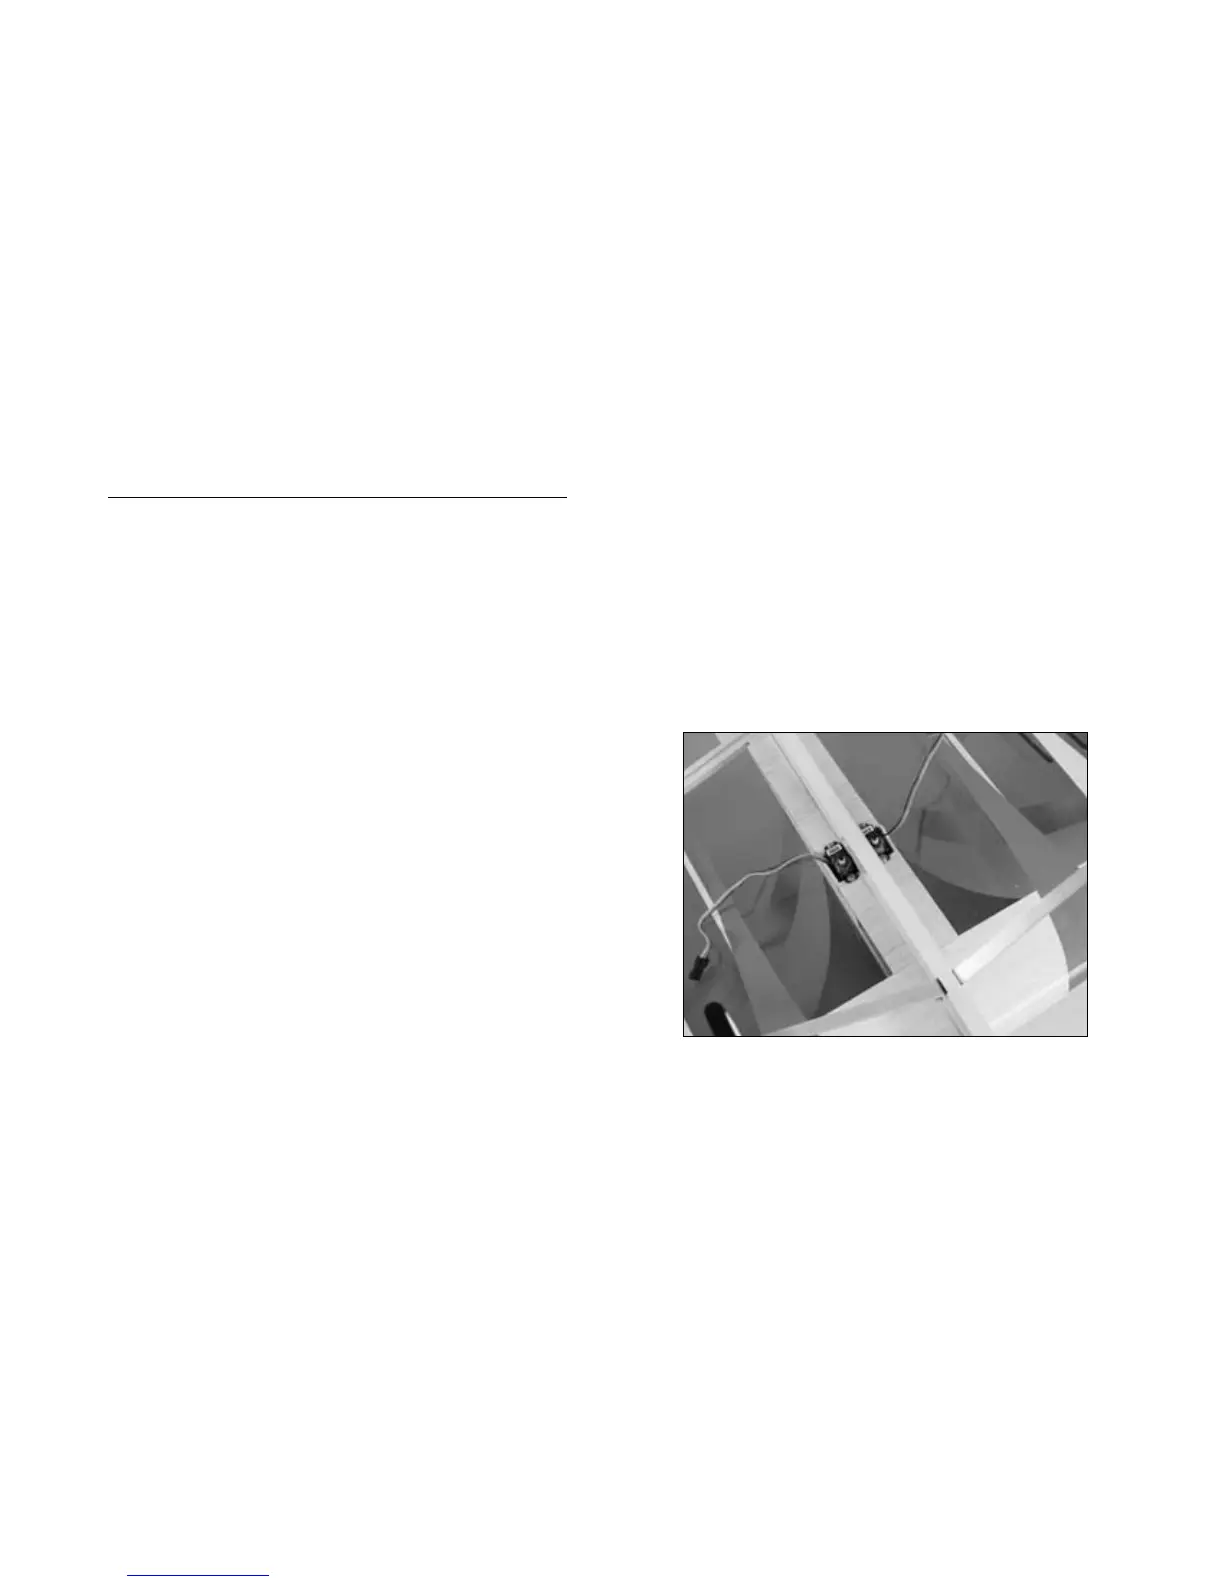
1. Remove the arms from your four servos. Install
two servos into the openings on the bottom of
the wing using the hardware provided with the
servos. Make sure to position the output of the
servo toward the front of the plane, and to have
the servo leads accessible from the bottom of
the airplane. Pre-drill the holes for the servo
mounting screws using a drill and 1/16" (1.5mm)
drill bit.
25