Using The Ego
Using The Ego
Installing an
Adjustable Air system
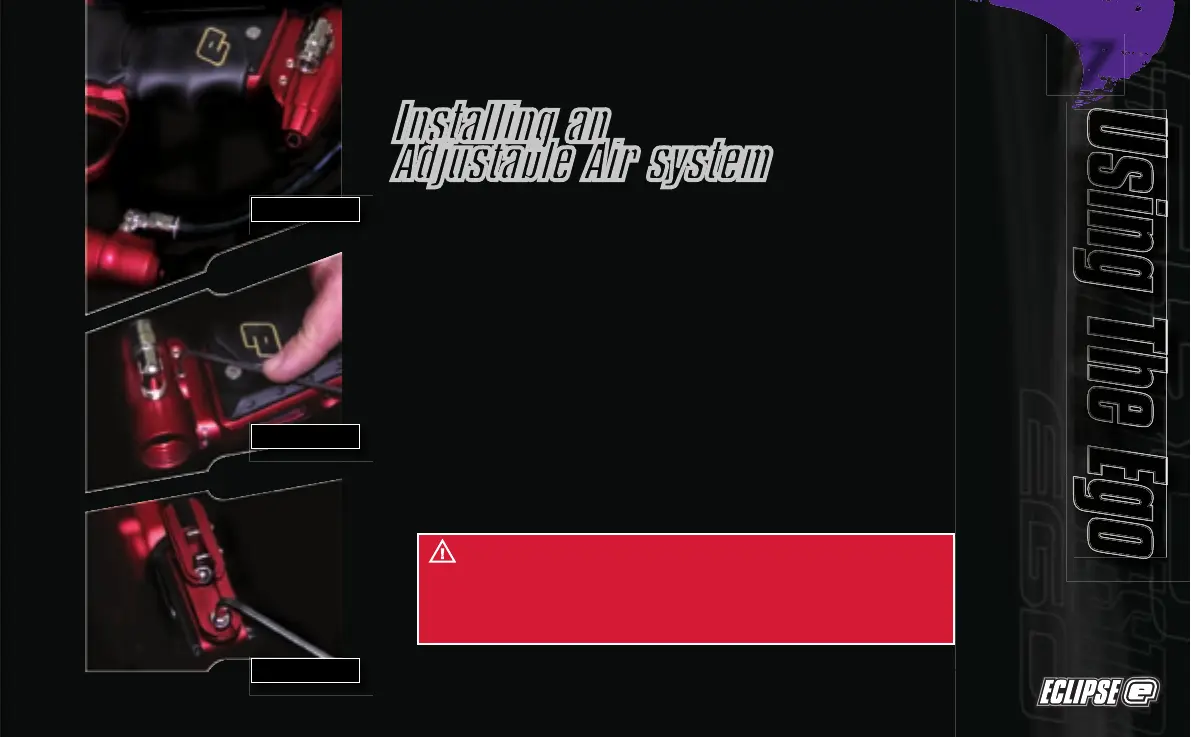
Firstly disconnect the 1/4” hosing from the elbow attached to the OOPS
at the base of the frame
(See Figure 3.4)
. Unscrew the on/off knob from the
OOPS, and using a 3/32” Hex key turn the two screws on the left hand side
of the OOPS rail counter clockwise so that the body of the OOPS can be
removed by sliding it out
(See Figure 3.5)
. Using a 5/32” hex key remove the
two screws that attach the OOPS rail to the bottom of the Eclipse Ego grip
frame and remove the OOPS rail
(See Figure 3.6)
.
Attach the air system of your choice, taking care to ensure that you use
the correct length and size of hosing and elbows to accommodate your
requirements.
WARNING: Before attaching any fixed air system, place
attaching screw in designated slide rail and measure protruding
screw length. Screw length must not protrude more than 10mm/
0.40" otherwise the Ego Printed Circuit Board will become
damaged.
FIGURE 3.4
FIGURE 3.5
FIGURE 3.6