Maintenance
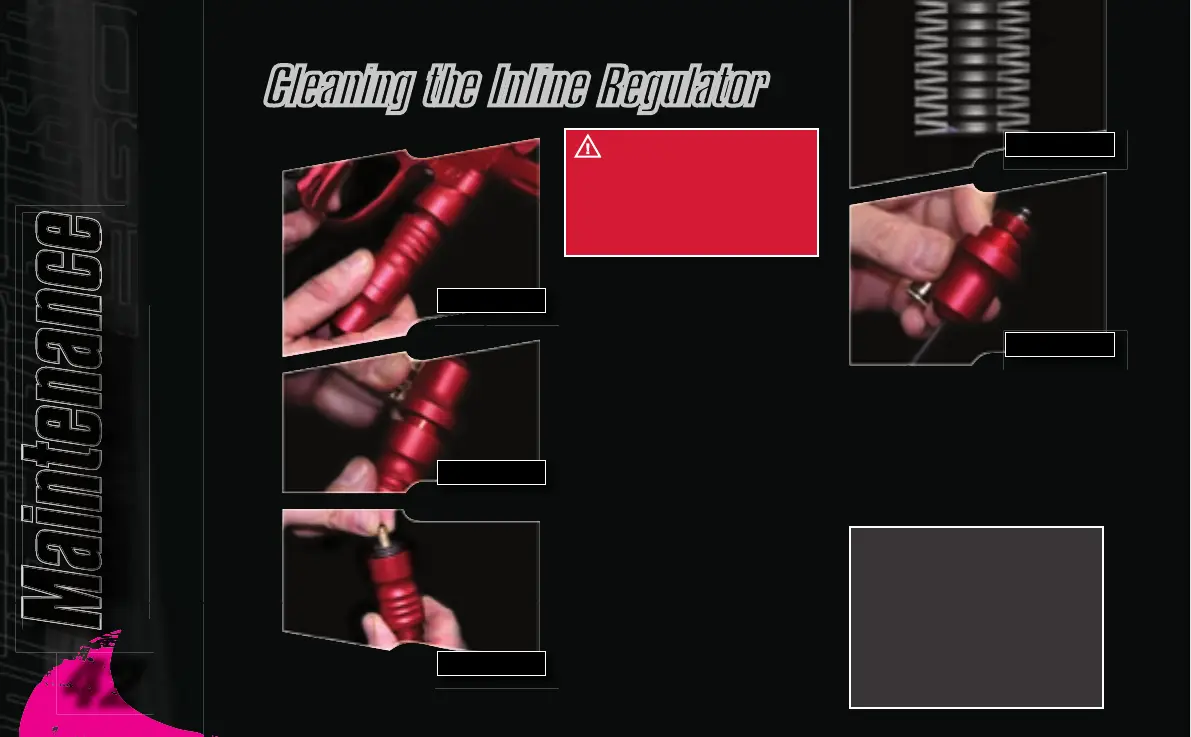
Disconnect the hosing from your
Inline Regulator allowing it to be
unscrewed from the Front Regulator
Mount (FRM)
(See Figure 6.8)
.
Turn the Inline Regulator upside
down and carefully unscrew the two
sections, taking care not to loose
any of the washers that form the
spring pack inside the regulator
(See Figure 6.9)
.
By firmly gripping the exposed
base of the brass regulator piston,
carefully remove the piston
and spring stack in their entirety
(See Figure 6.10)
.
The spring pack comprises of 16
sprung washers, which must be
in the correct configuration for the
inline regulator to perform
at the required pressure range
(See Figure 6.11)
.
Insert a 1/8th inch hex key into the
adjuster screw in the bottom half of
the inline regulator, and wind the
screw clockwise through the bottom
section of the regulator body
(See Figure 6.12)
and pull free when
it will no longer turn upwards
anymore.
Cleaning the Inline Regulator
FIGURE 6.8
FIGURE 6.9
FIGURE 6.10
FIGURE 6.11
FIGURE 6.12
WARNING
:
De-gas
your marker, discharging any
stored gas in a safe direction,
and remove the barrel and
loader to make the Ego easier
to work on.
Note: The adjuster screw
can only be removed by
turning it upwards through
the bottom section of the
inline regulator. The regulator
will become damaged if the
adjuster screw is removed
incorrectly.
Maintenance
Maintenance
42
43