Chapter 2
| Installation Overview
Switch Installation Tasks
– 21 –
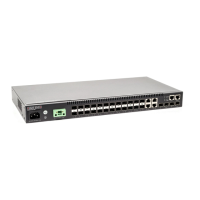
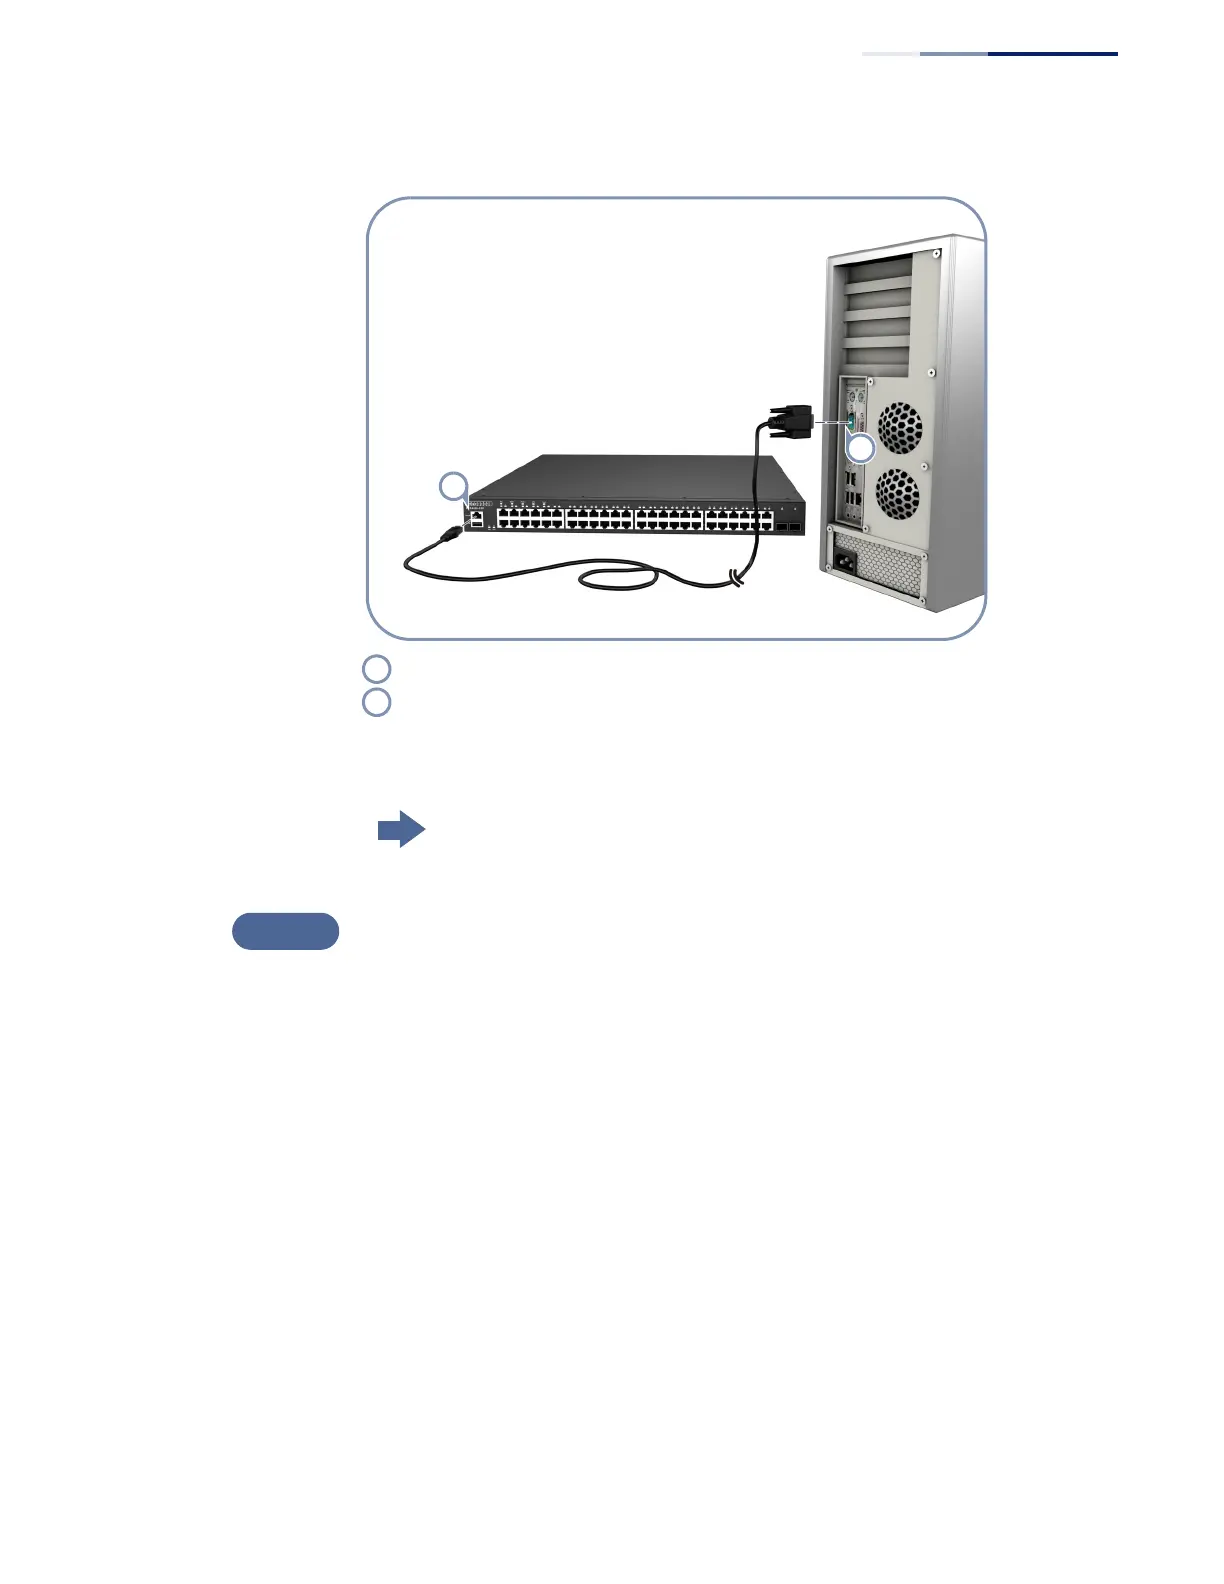
Figure 7: Console Port
For information on initial switch configuration:
Refer to the CLI Reference Guide.
Install Transceivers and Connect Cables
Install SFP/SFP+ transceivers and connect network cables to port interfaces:
◆ For RJ-45 ports, use 100-ohm Category 5, 5e or better twisted-pair cable for
1000BASE-T connections, Category 5 or better for 100BASE-TX connections,
and Category 3 or better for 10BASE-T connections.
◆ First install SFP/SFP+ transceivers and then connect fiber optic cabling to the
transceiver ports. The following transceivers are supported:
■
1000BASE-SX (ET4201-SX)
■
1000BASE-LX (ET4201-LX)
■
1000BASE-ZX (ET4201-ZX)
■
10GBASE-SR (ET5402-SR)
■
10GBASE-LR (ET5402-LR)
■
10GBASE-ER (ET5402-ER)
As connections are made, check the port status LEDs to be sure the links are valid.
Connect console cable to switch’s Console port.
Connect console cable to PC’s DB-9 COM port.
 Loading...