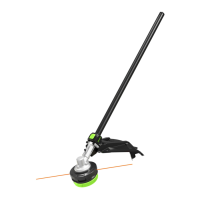
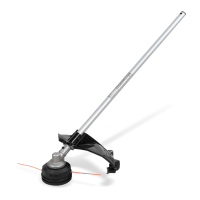
LINE TRIMMER ATTACHMENT — STA1500
11
3. Remove the cutting line from the spool.
4. With one hand holding the Upper cover, use the other
hand to grasp the lower cover assembly and align the
tabs on the upper cover with the holes lower cover
assembly base (Fig. J); use your palm to press and
rotate the lower cover assembly left and right until
the tabs lock with the upper cover (Fig. K).
5. Following the instructions in “LINE REPLACEMENT” to
reload the cutting line.
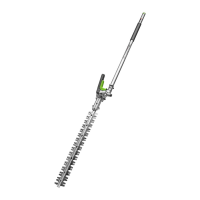
3-TEETH BLADE REPLACEMENT
1. Remove the lower cover assembly as Fig. H & I
2. Insert the stabilizer then use an impact socket
wrench to loosen the nut as Fig. K & L.
3. Remove all parts except inner ange and nut Fig. N,
mount the blade onto the motor shaft as Fig. O.
4. Tighten the blade as Fig. P.
MAINTENANCE
WARNING: Before inspecting, cleaning or servicing
the unit, stop the motor, wait for all moving parts to stop,
and remove the battery pack. Failure to follow these
instructions can result in serious personal injury or
property damage.
WARNING: When servicing, use only identical
replacement parts. Use of any other parts can create a
hazard or cause product damage. To ensure safety and
reliability, all repairs, other than the items listed in these
maintenance instructions, should be performed by a
qualied service technician.
GENERAL MAINTENANCE
Avoid using solvents when cleaning plastic parts. Most
plastics are susceptible to damage from various types of
commercial solvents and may be damaged by their use.
Use clean cloths to remove dirt, dust, oil, grease, etc.
CLEAN THE UNIT
◾ Clear any grass that may have wrapped itself around
the motor shaft or trimmer head.
◾ Use a small brush or a small vacuum cleaner to clean
the air vents on the rear housing.
◾ Clean the unit using a damp cloth with a mild
detergent.
◾ Do not use any strong detergents on the plastic
housing or the handle. They can be damaged by
certain aromatic oils, such as pine and lemon, and by
solvents such as kerosene. Moisture can also cause
a shock hazard. Wipe off any moisture with a soft dry
cloth.
TRANSMISSION GEARS LUBRICATION
The transmission gears in the gear case need be
lubricated periodically with gear grease. Check the gear
case grease level about every 50 hours of operation by
removing the sealing screw on the side of the case.
If no grease can be seen on the anks of the gear, follow
the steps below to ll with gear grease up to 3/4 capacity.
Do not completely ll the transmission gears.
1. Hold the line trimmer on its side so that the sealing
screw is facing upwards (Fig. O).
2. Use the multi-function wrench provided to loosen and
remove the sealing screw.
3. Use a grease syringe (not included) to inject some
grease into the screw hole; do not exceed 3/4
capacity.
4. Tighten the sealing screw after injection.
STORING THE UNIT
◾ Remove the battery pack from the trimmer.
◾ Clean the tool thoroughly before storing it.
◾ If the line trimmer attachment is removed from the
power head and stored separately: Fit the end cap
on the attachment shaft to avoid dirt getting into the
coupler.
◾ Store the unit in a dry, well-ventilated area, locked-up
or up high, out of the reach of children. Do not store
the unit on or adjacent to fertilizers, petrol or other
chemicals.
Protecting the environment
Do not dispose of electrical
appliances as unsorted municipal
waste, use separate collection
facilities.
Contact your local government for
information regarding the collection
systems available.
If electrical appliances are disposed
of in landlls or dumps, hazardous
sub stances can leak into the
groundwater and get into the food
chain, damaging your health and
well-being.
 Loading...