rotated later if required. If you use only one screw,
ensure the base is secure on the ceiling before
proceeding further with the installation. Remember to
complete the installation by securing with the second
screw after the system has been checked).
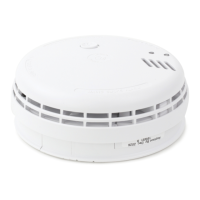
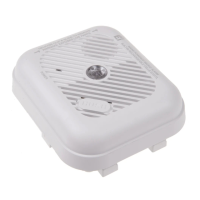
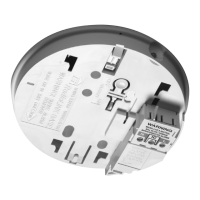
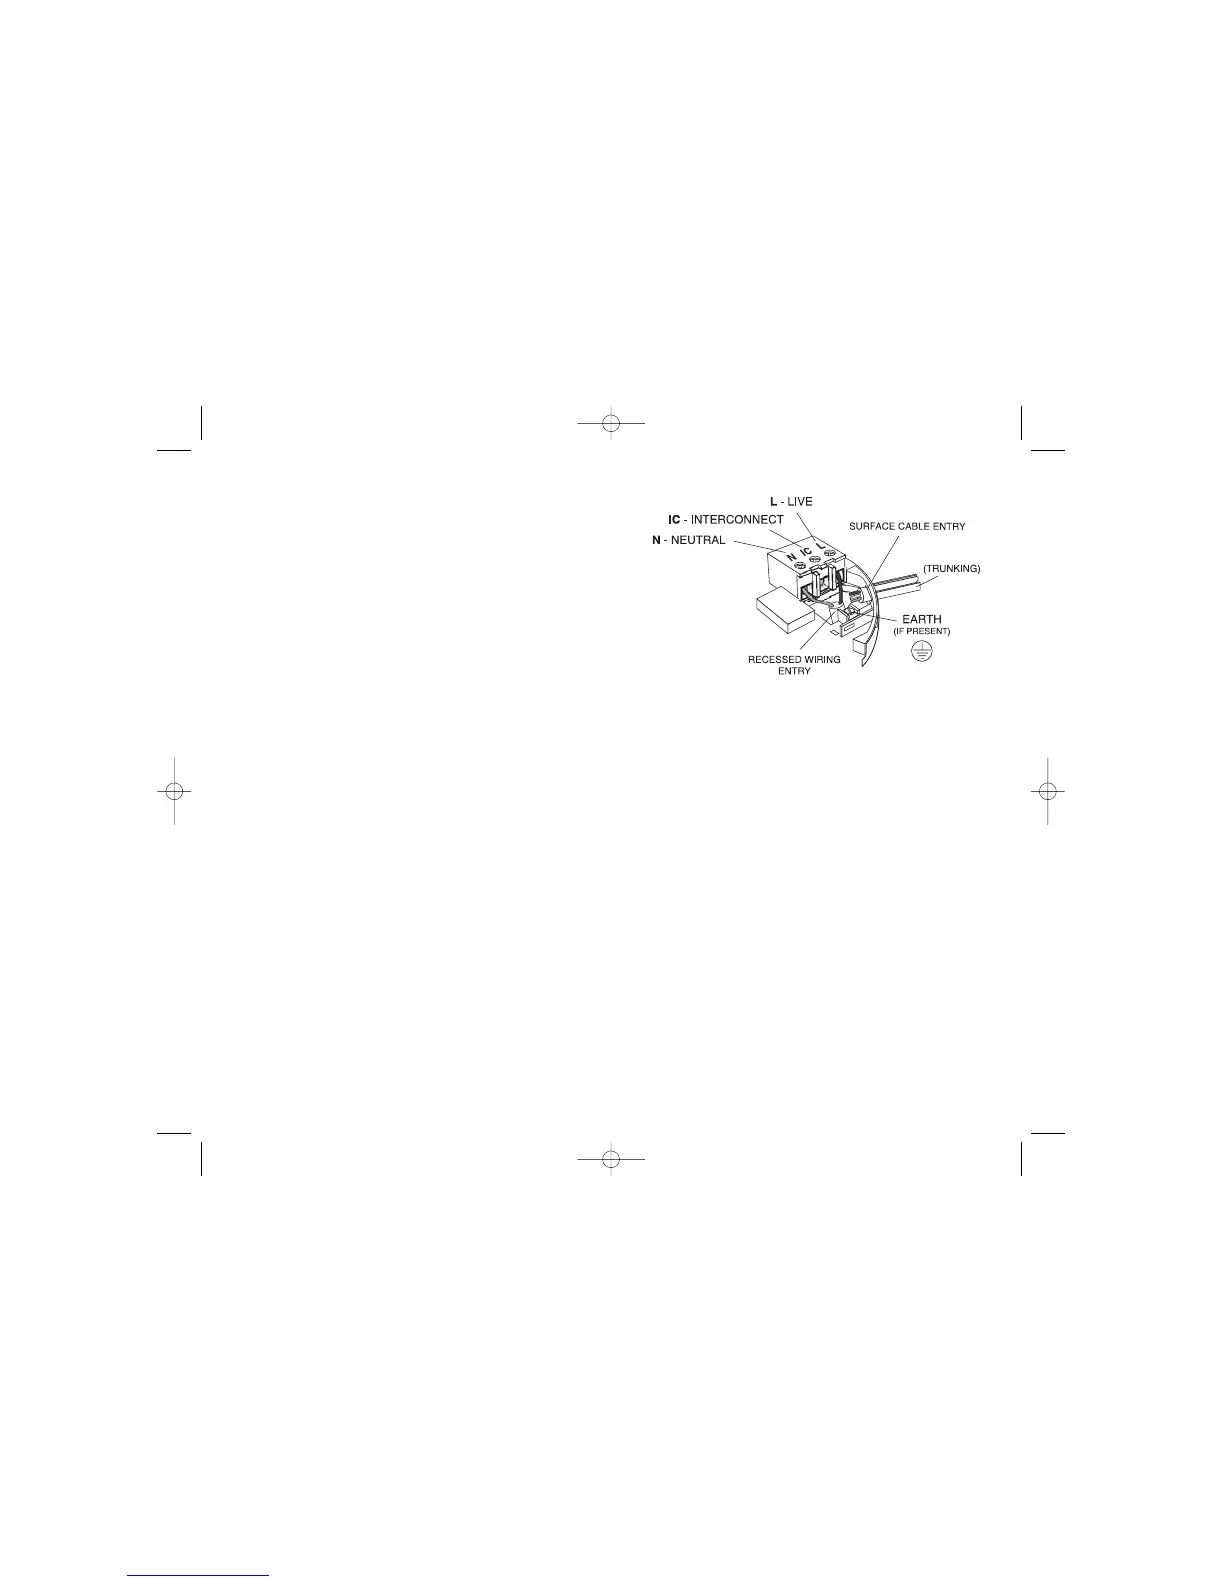
4. Lift off the wiring cover as shown in Figure 2.
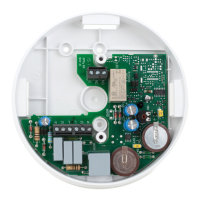
5. If the mains wires are recessed (coming
through a hole in the ceiling), bring the wires
to the terminal block through the rear hole in
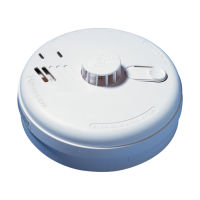
the mounting plate as shown in Figure 3.
Ensure the rear foam gasket seals around the edge of the hole in the ceiling. This
is to prevent air draughts affecting the smoke or heat entering the alarm. If the hole
is too large it should be sealed with silicone rubber or equivalent (when the rest of
the installation is complete).
If the mains wires are being brought along the surface:
(a) position the mounting plate so the cable trunking is as shown in Figure 3.
(b) Carefully cut and trim the knockouts in the RadioLINK Base side walls to blend
with the contours of the trunking.
Important: Only cut the thinned down knockout section and leave the top intact as
shown. There is only one position suitable for the surface wiring to enter the alarm.
6. The house wiring must then be connected to the terminal block on the Ei168RC
RadioLINK Base as follows (see Figure 3):