3 Basic System Operation
iConnect
Installation Manual
16
Table 3-7: Alarm Patterns
Alarm Alarm Pattern Description Sounds
Burglary ON (continuously) Siren
Fire ON - ON - ON, 1.5-second pause, ON - ON – ON... Siren
Gas ON - ON - ON - ON (short bursts), 5 second pause, ON - ON - ON
- ON...
Siren
Medical ON (continuously) – only applicable for MedicalEmergency alarm
from zone
Siren
Flood/Environmental 4 rapid tones sounded once per minute (same as Trouble tones) Buzzer
3.6. Arming and Disarming
The following section explains how to arm and disarm the Control System using the front panel keypad and wireless
LCD keypad.
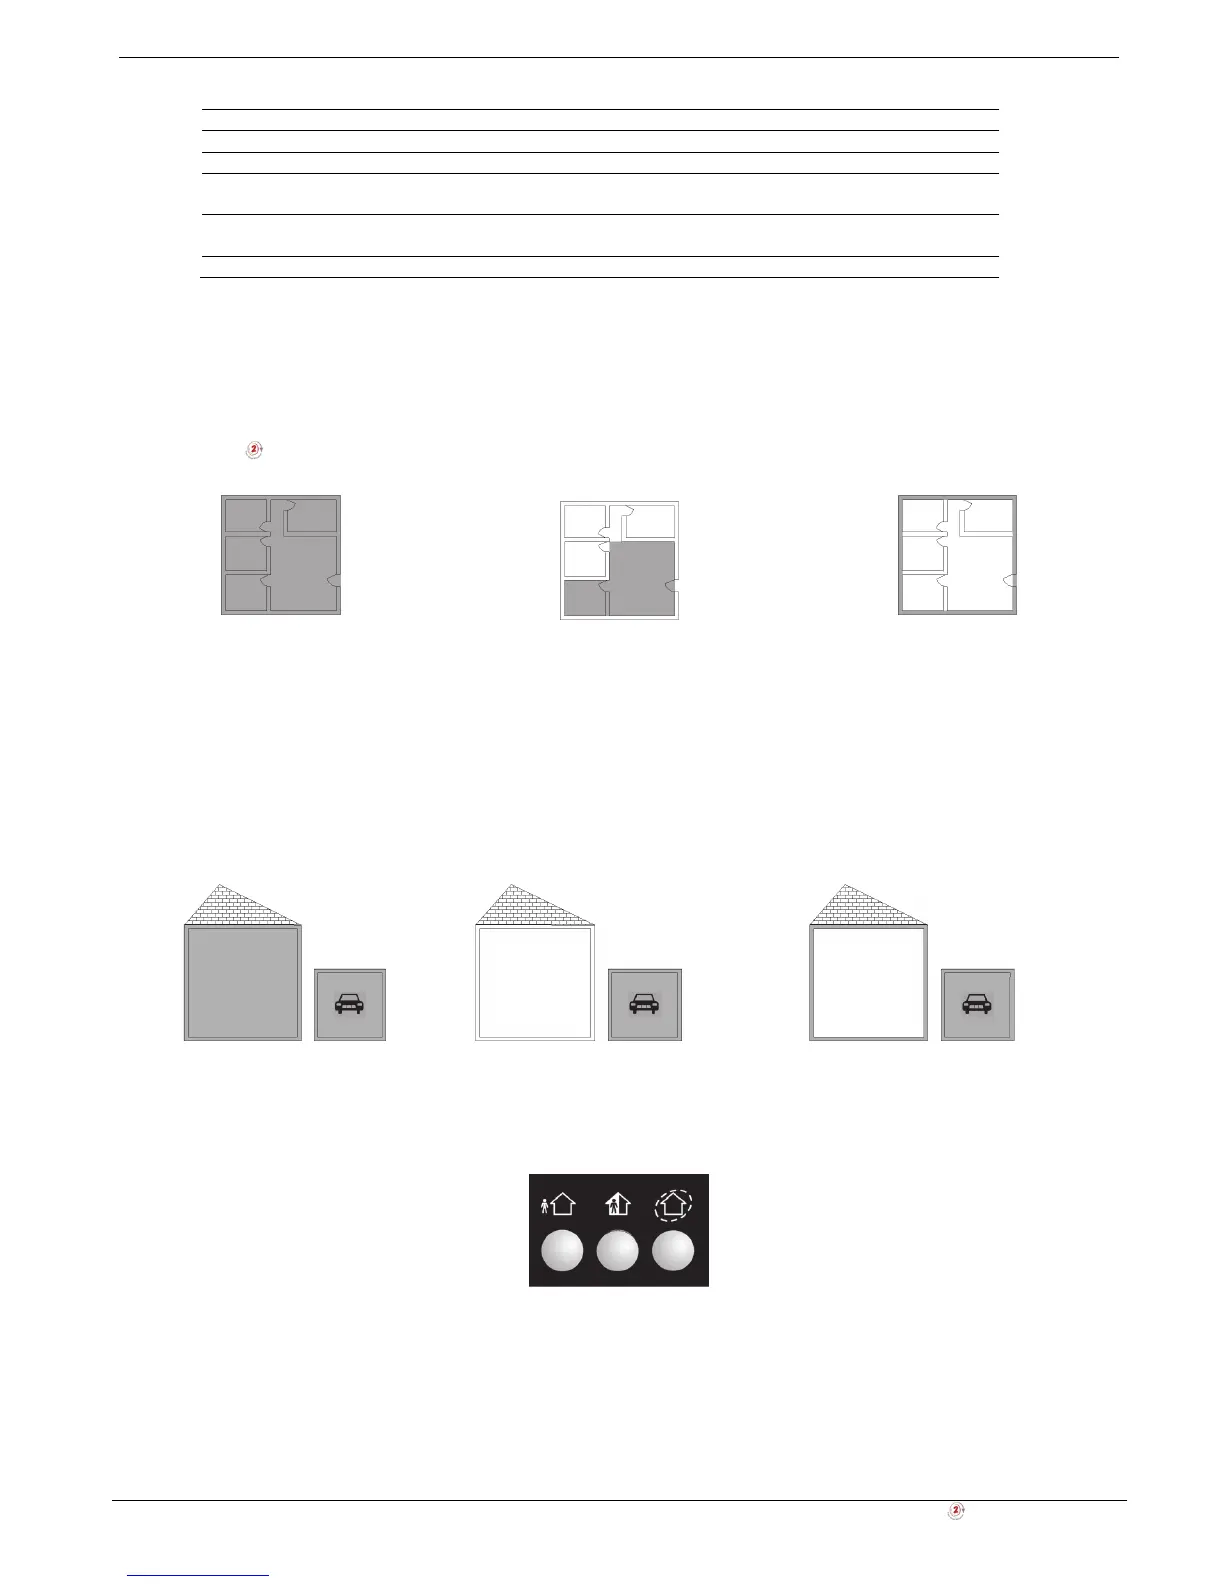
3.6.1. Arming
The iConnect
Control System offers three arming modes that you can define to suit the application. Figure 3-4
illustrates the three arming modes. In each diagram, the protected area is shaded.
Full Armed
Part Armed Perimeter Armed
Figure 3-3: Arming Modes
The arming options are entirely flexible. You can program each detector to be included in any combination of the three
arming modes – see p. 37, 7.3.2 Arm Set. Additionally, each arming mode has a separate exit and entry delay.
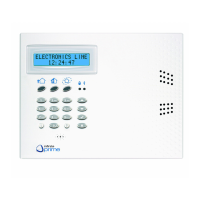
Below you can see another, more complicated example of how can the premises be divided. In this example, the garage
is included in full + part + perimeter arming, the house perimeter zones are included in full + perimeter arming, and the
house interior zones, in full arming only. So, part arming allows the user to arm the garage, perimeter arming is used to
secure the house perimeter at nights, and the full arming is used when leaving the house. Figure 3-4 illustrates this
example. In each diagram, the protected area is shaded.
Figure 3-4: Arming Modes: Garage Example
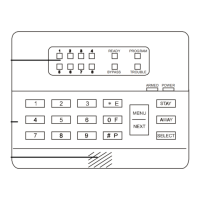
3.6.2. Arming Keys
The Arming keys enable you to arm the system using any of the three arming methods: -- Full, Part and Perimeter.
Full / Part / Perimeter
Figure 3-5: Front Panel and Wireless LCD Keypad Arming Keys