7 Rotor installation and usage
Installation: Place the rotor on the axis. On top of the rotor place a special spacer. Note
that the pin of the spacer must get into the groove of the axis. Place the rotor nut on the axis
and tighten it with the included rotor key. Before each start check that the rotor is firmly
tightened. Disassembly is made in reverse sequence.
Usage: Always load the rotor symmetrically. Each test tube should be counterbalanced by
another test tube. By minimizing the difference of weight between the filled test tubes, you
reduce the wear of mechanical parts of the centrifuge. If the overall imbalance of test tubes
in the rotor exceeds allowed value, centrifuge will start emergency braking and the display
will show Erdb – error code for imbalance.
Do not use damaged rotors!
ATTENTION! Samples may contain pathological material, including pathogens of serious
diseases. Always check test tubes for damage before centrifugation, to prevent
centrifuge contamination.
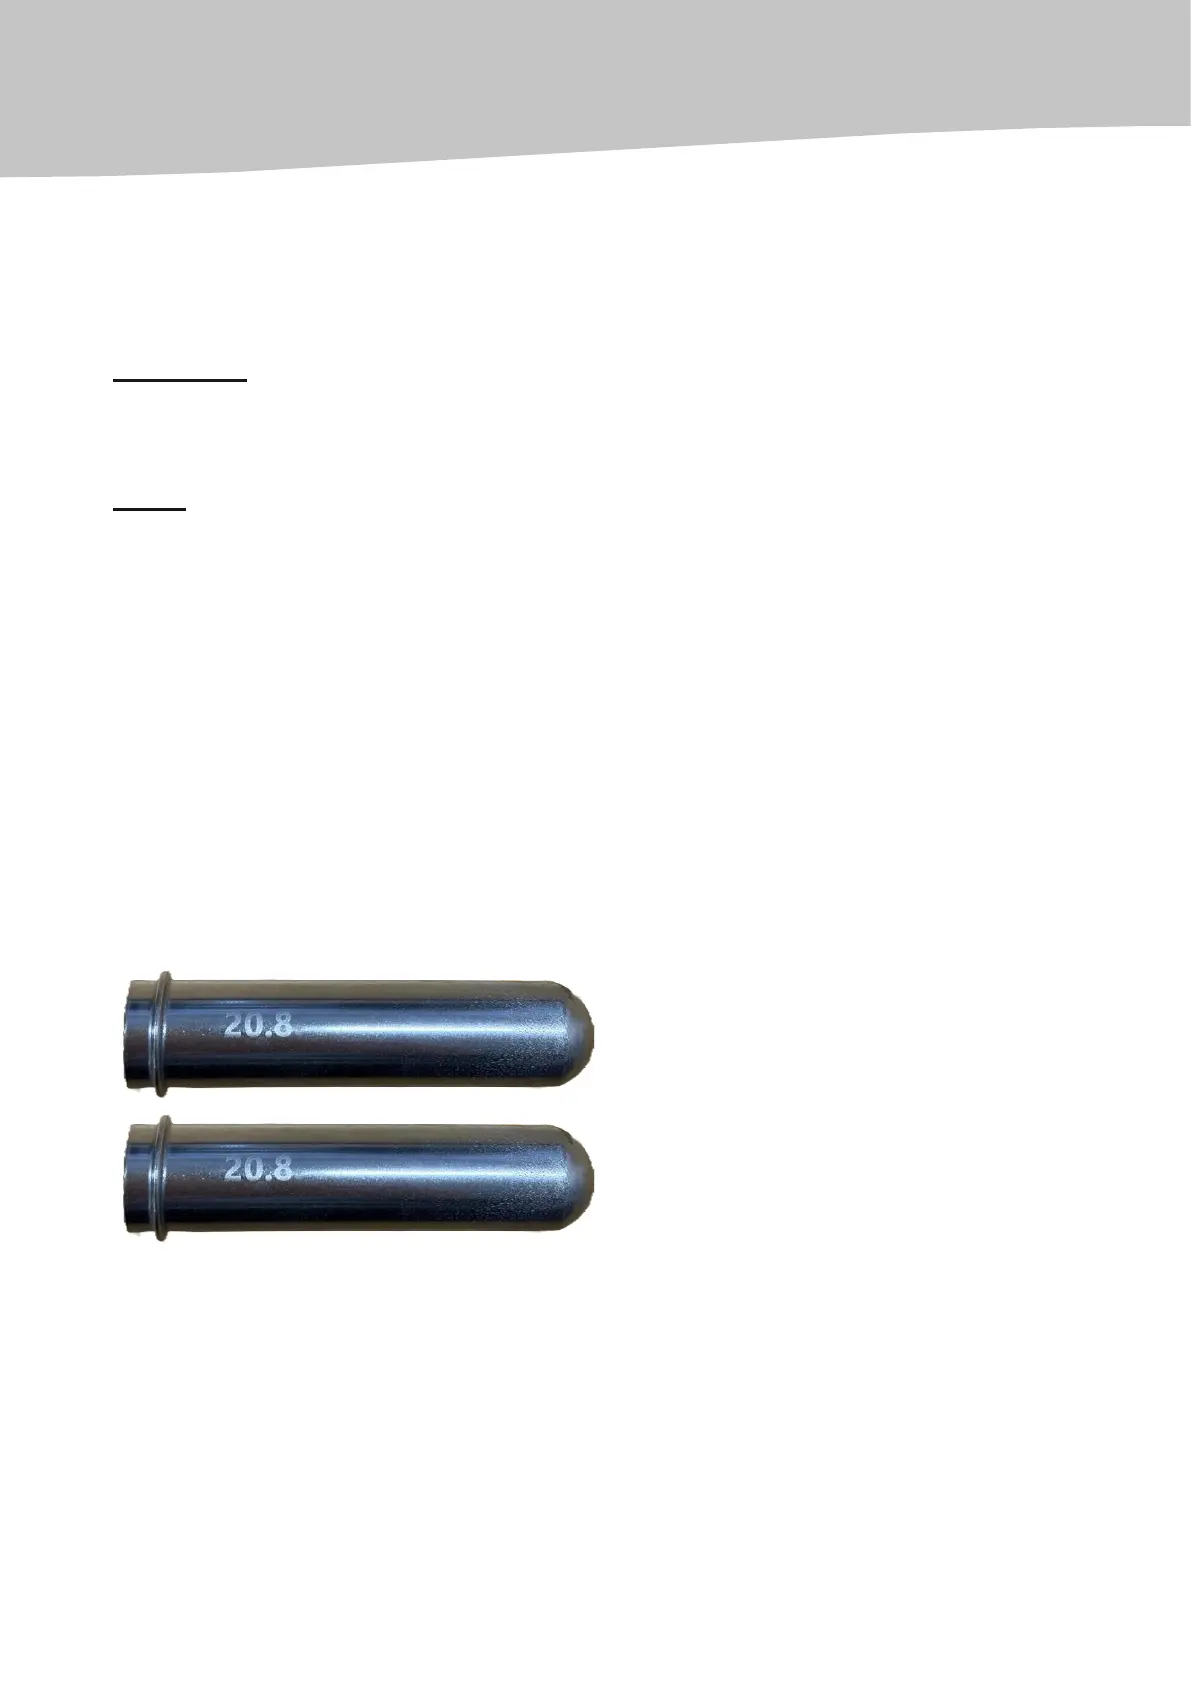
Attention! To avoid imbalance of the rotor, all adapters should be of equal weight when
loaded (according to the marking on the adapter, see the picture below). If this
requirement is not observed, a strong imbalance of the rotor can occur. The weight is
indicated on the adapter, see the picture below.