OHCの使い方(How to use OHC)
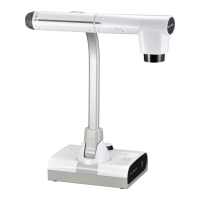
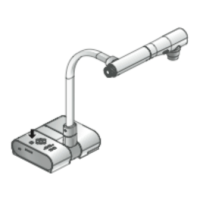
① 教卓の引き出しから、OHC本体、ACアダプタ、HDMIケーブルを取り出す
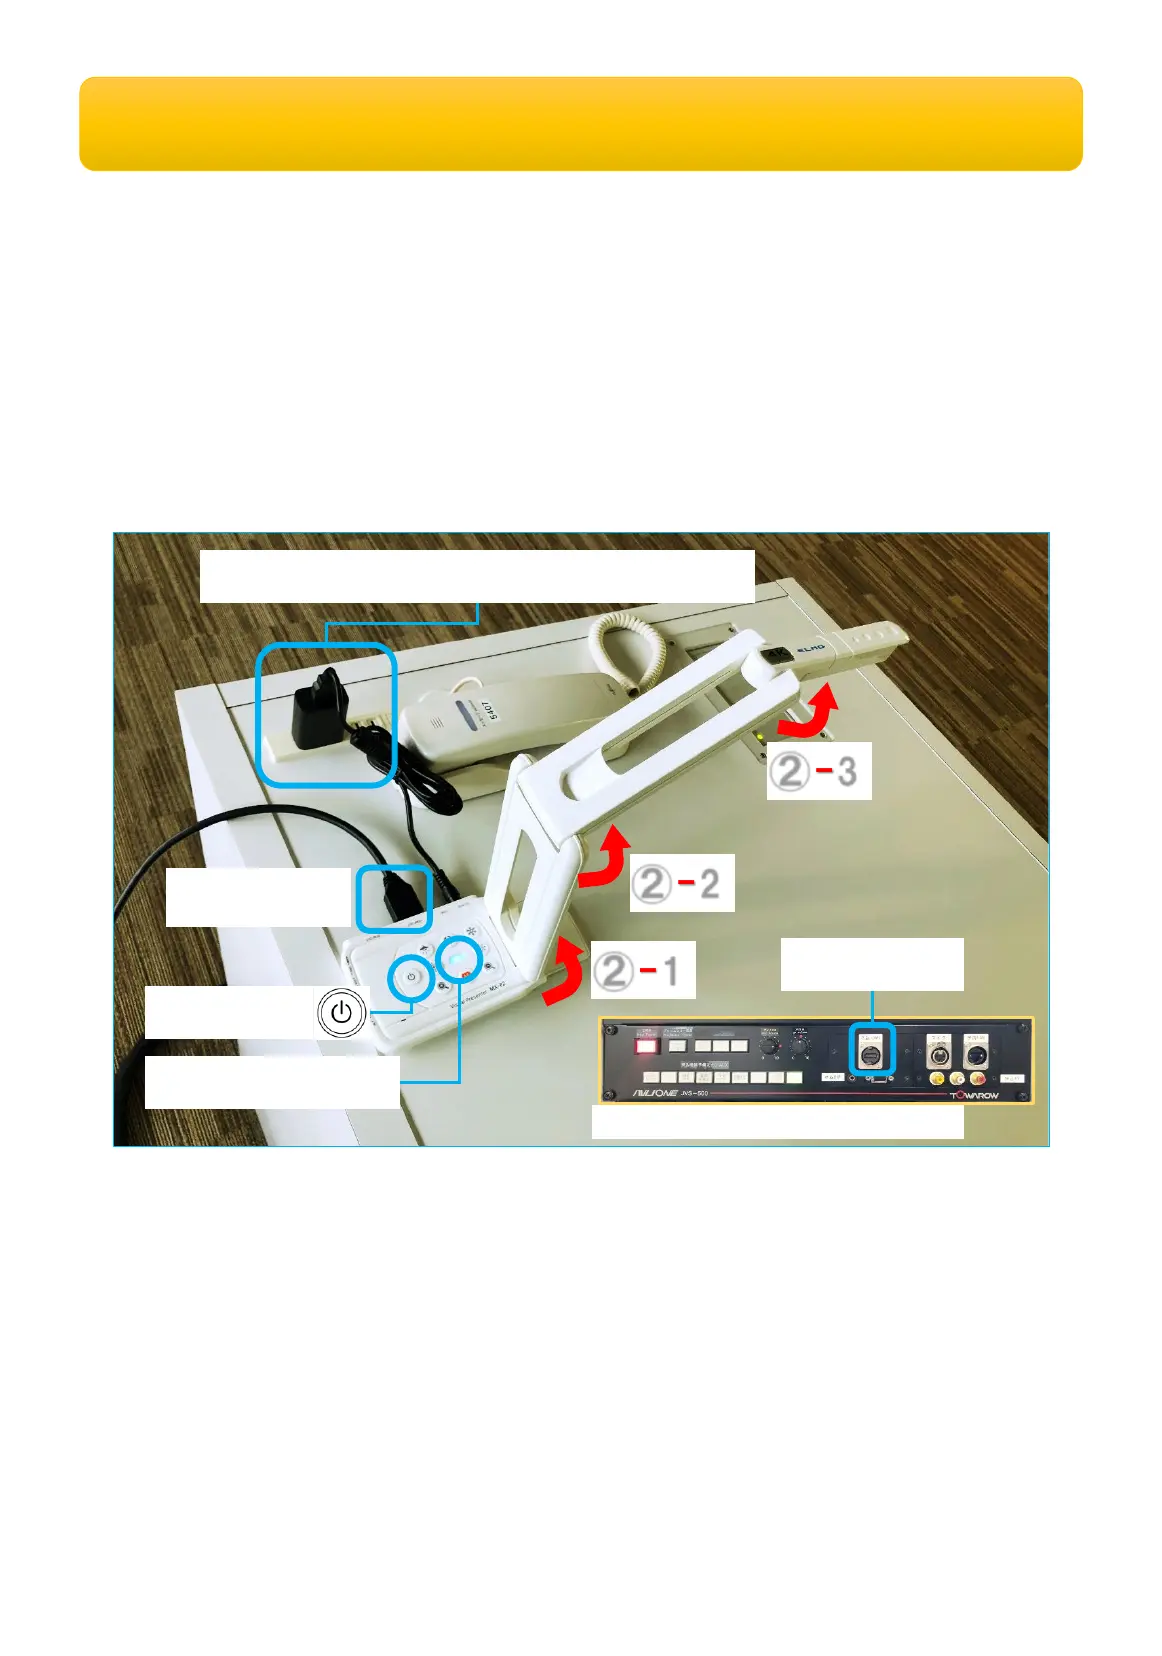
② 本体を押さえて、カメラヘッドを上げる(無理な方向に引っ張らないこと)
③ 電源アダプタを接続する
④ HDMIケーブルを接続する(教卓側は「持込HDMI」端子へ)
⑤ OHCの電源を入れる(電源ランプが青く点灯する)
⑥ コントロールパネルのボタンを次の順に押す:
「主電源」→「プロジェクタ電源」→「持込HDMI」
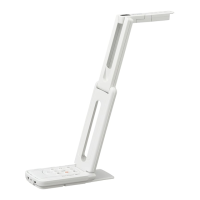
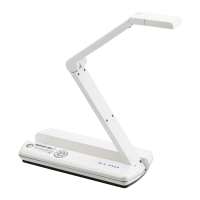
Model Name: ELMO MX-P2
和泉ラーニングスクエア LS203-LS206、LS306、LS407、LS408、LS504、LS605、LS607、LS705
This manual is for classrooms No. LS203-LS206, LS306, LS407, LS408, LS504, LS605, LS607, LS705 in Izumi Learning Square
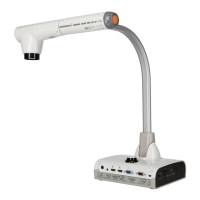
⑤電源ボタン
(Power Button)
⑤電源ランプ(Pilot lamp)
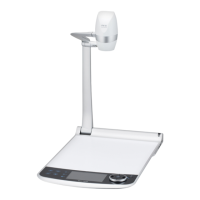
③電源コンセント、電源アダプタ(Plug Socket, AC Adapter)
④ HDMIケーブル
(HDMI cable)
⑥コントロールパネル(Contro lPanel)
④持込HDMI端子
(AUX HDMI )
-2
②
-1
②
-3
②
① Take out OHC itself, AC adapter, HDMI cable from the drawer.
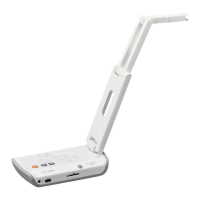
② Hold down OHC body while raising its camera.
Please do not pull it forcefully in wrong direction.
③ Plug AC adapter into the OHC body and a socket nearby the phone.
④ Plug HDMI cable into the OHC body. The other side will be 「持込HDMI」
on the control panel.
⑤ Press OHC power button (the pilot lamp will turn blue).
⑥ On Control Panel press buttons in following order:
[Main Power]→ [Projector Power]→ [持込 HDMI].