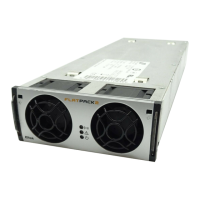
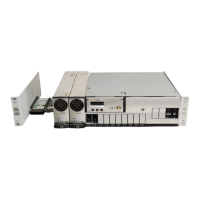
Quick Start Guide Flatpack2 PS System, 4U, SP2-based 356825.103, 2v0 -2011-09
21
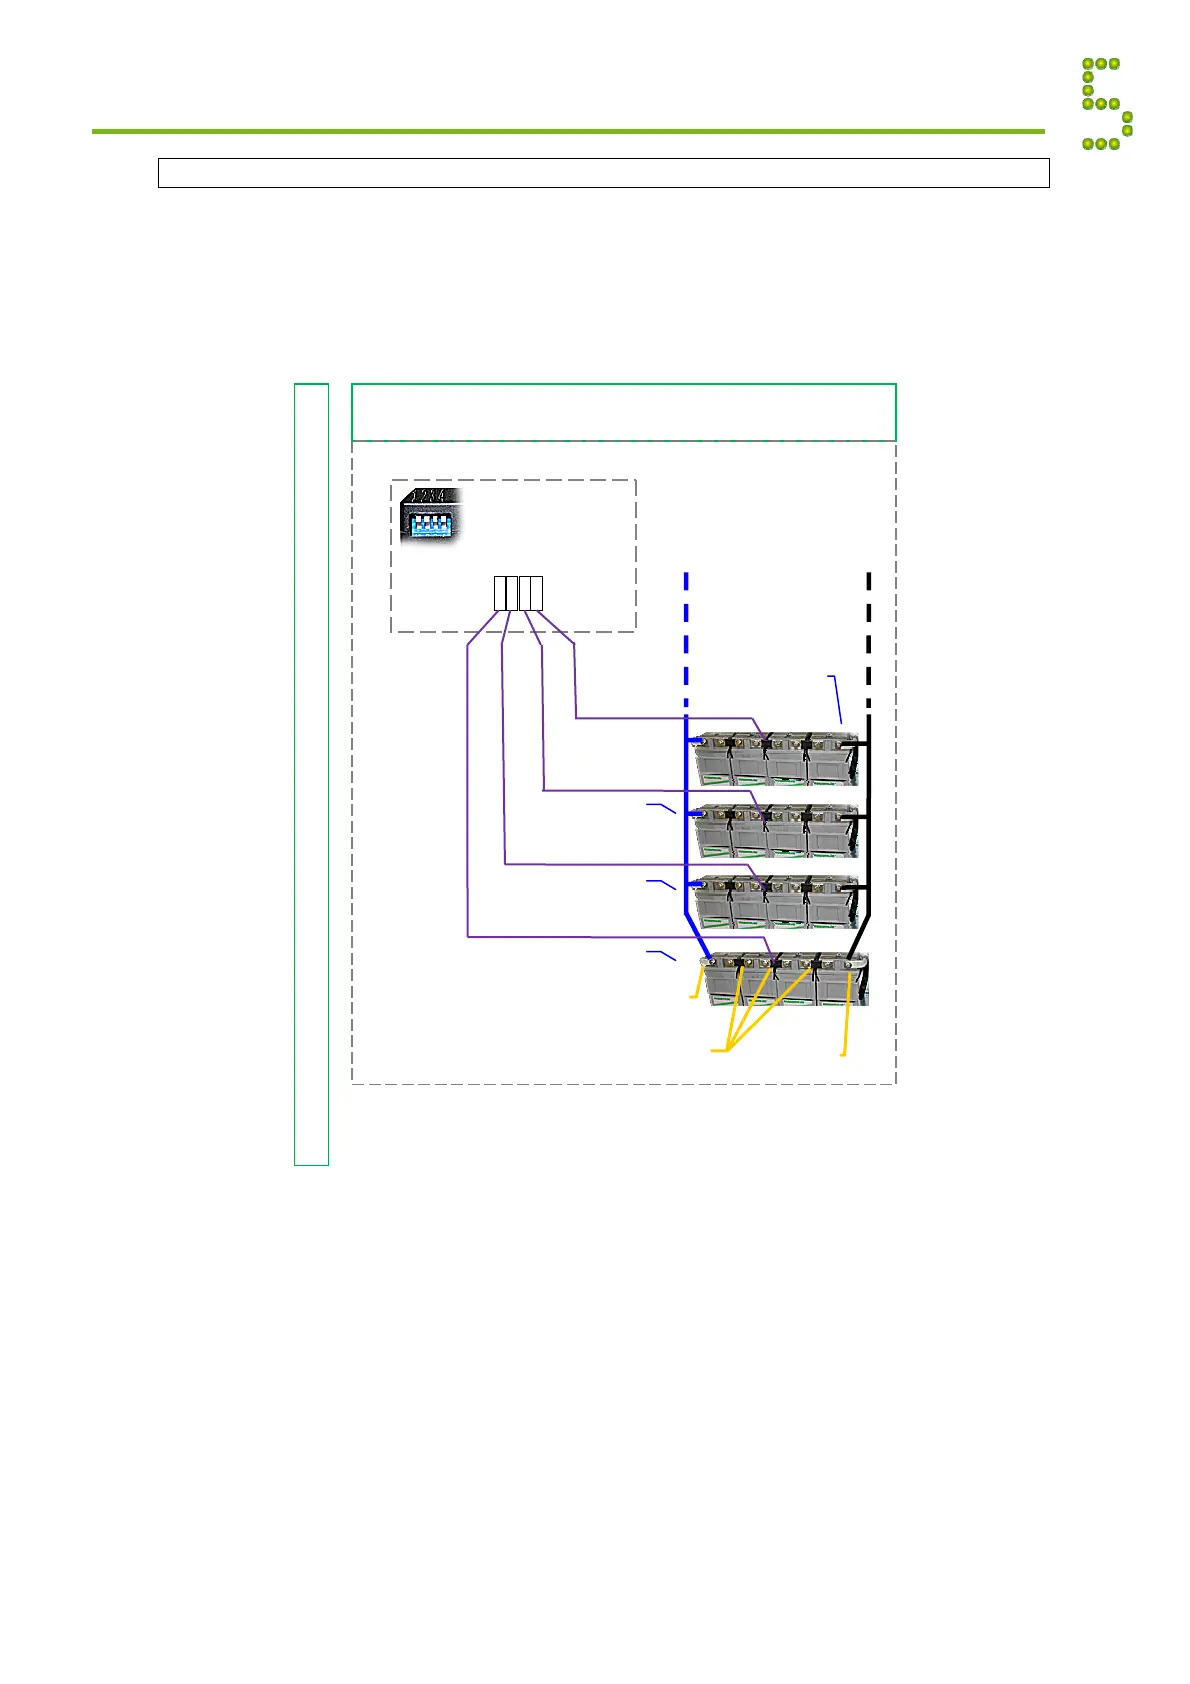
Battery Monitor’s Symmetry Connections 48V (Mid-Point Measurement)
Each Battery Monitor is equipped with 4 battery symmetry inputs, enabling symmetry
measurement of 4 battery strings using the Mid-Point Measurement Method.
Read the “Installation Guide Battery Monitor CAN Node”, document number 351507.033. Refer
also to “Installation Guide Battery Monitor – Symmetry Kit”, document number 351497.033, which
is included with the kit. The Battery Fuse and Battery Current cables are not shipped with the
Battery Monitor ~ Symmetry Kit.
Battery Monitoring Appendix
Battery Symmetry — String 1 to 4
Mid-point Measurement
One measurement per string, four strings
Battery Monito
Part 242100.300
ID# <33>
Set all 4
DIP
switches
OFF (up)
(-48V) Oute
Terminal
+
0V Oute
Terminal
Intercell Links
Block1
-+ +-+-+-
Block4 Block3
Symmetry 1.1
+
+ +
+
4321
Symmetry 1.2
Symmetry 1.3
Symmetry 1.4
Battery String 1
Battery String 2
Battery String 3
Battery String 4
Notice:
When monitoring many battery strings, always connect Battery Monitor with
ID#<33> to battery strings 1 (lowest), 2, 3 and 4. Then Battery Monitor with
ID#<34> to string 5, 6, 7 and 8. And so on. The controller will then refer to
the correct battery string.
Example of Battery Symmetry Connections on the Battery Monitor, 48V Systems