Mounting and Installation Instructions
Page 34 of 62 User Manual QT50 Doc ID 1321 version 2.0 Sept. 2018
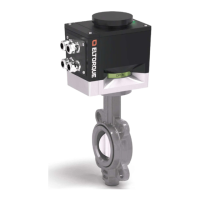
Figure 16: Hatch front view
Note! On older versions of the QT50 the screws may not be attached to the hatch. Be
careful not to lose them.
Note! When removing the lid, take care not to lose the gasket in the hatch.
Due to a design improvement of the QT50, there are two different ways of
connection. The latest version is a harness where all connections are made on
the outside of the actuator, while the PCB board is inside. The installation
procedure for an actuator without a harness is described in the older version of
this manual, QT50 User Manual, version 1.9. Verify which version to use and
follow the procedure accordingly.
1. Loosen the four hatch screws on the side of the QT50.
2. Remove the lid by pulling it straight out.
3. Pull the harness carefully out to access the connectors.
4. Strip all wire-ends to 8 – 9 mm/0.31 – 0.35 in.
5. Verify that the cable glands are properly mounted, see chapter 0