Mounting and Installation Instructions
User Manual QT50 Doc ID 1321 version 2.0 Sept. 2018
Page 35 of 62
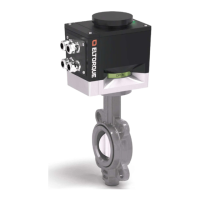
6. Cable glands.
7. Install the power supply cables through the cable glands according to the
description in chapter 0 and connect them to the L, N and G/ PE terminals
on the power connector in the hatch, see chapter 4.6 Power supply
connection on page 37.
8. Install the control signal cables through the cable glands on the left and
connect them according to the interface terminals available on the
harness. See chapter4.8 Communication connection interfaces on page
39.
9. Connect the configuration medium to X2 the configuration connector if
applicable.
10. Put the harness back into the housing. Verify that the cables fit loosely
into the housing and leave space for the hatch to be reattached.
11. Replace the hatch, taking care to position the gasket correctly.
12. Fasten the hatch and tighten the fastening screws, torque 1.8 Nm.
Figure 17: CANopen harness