Copy right © 2018 Shenzhen Emakefun Technology co., Ltd.
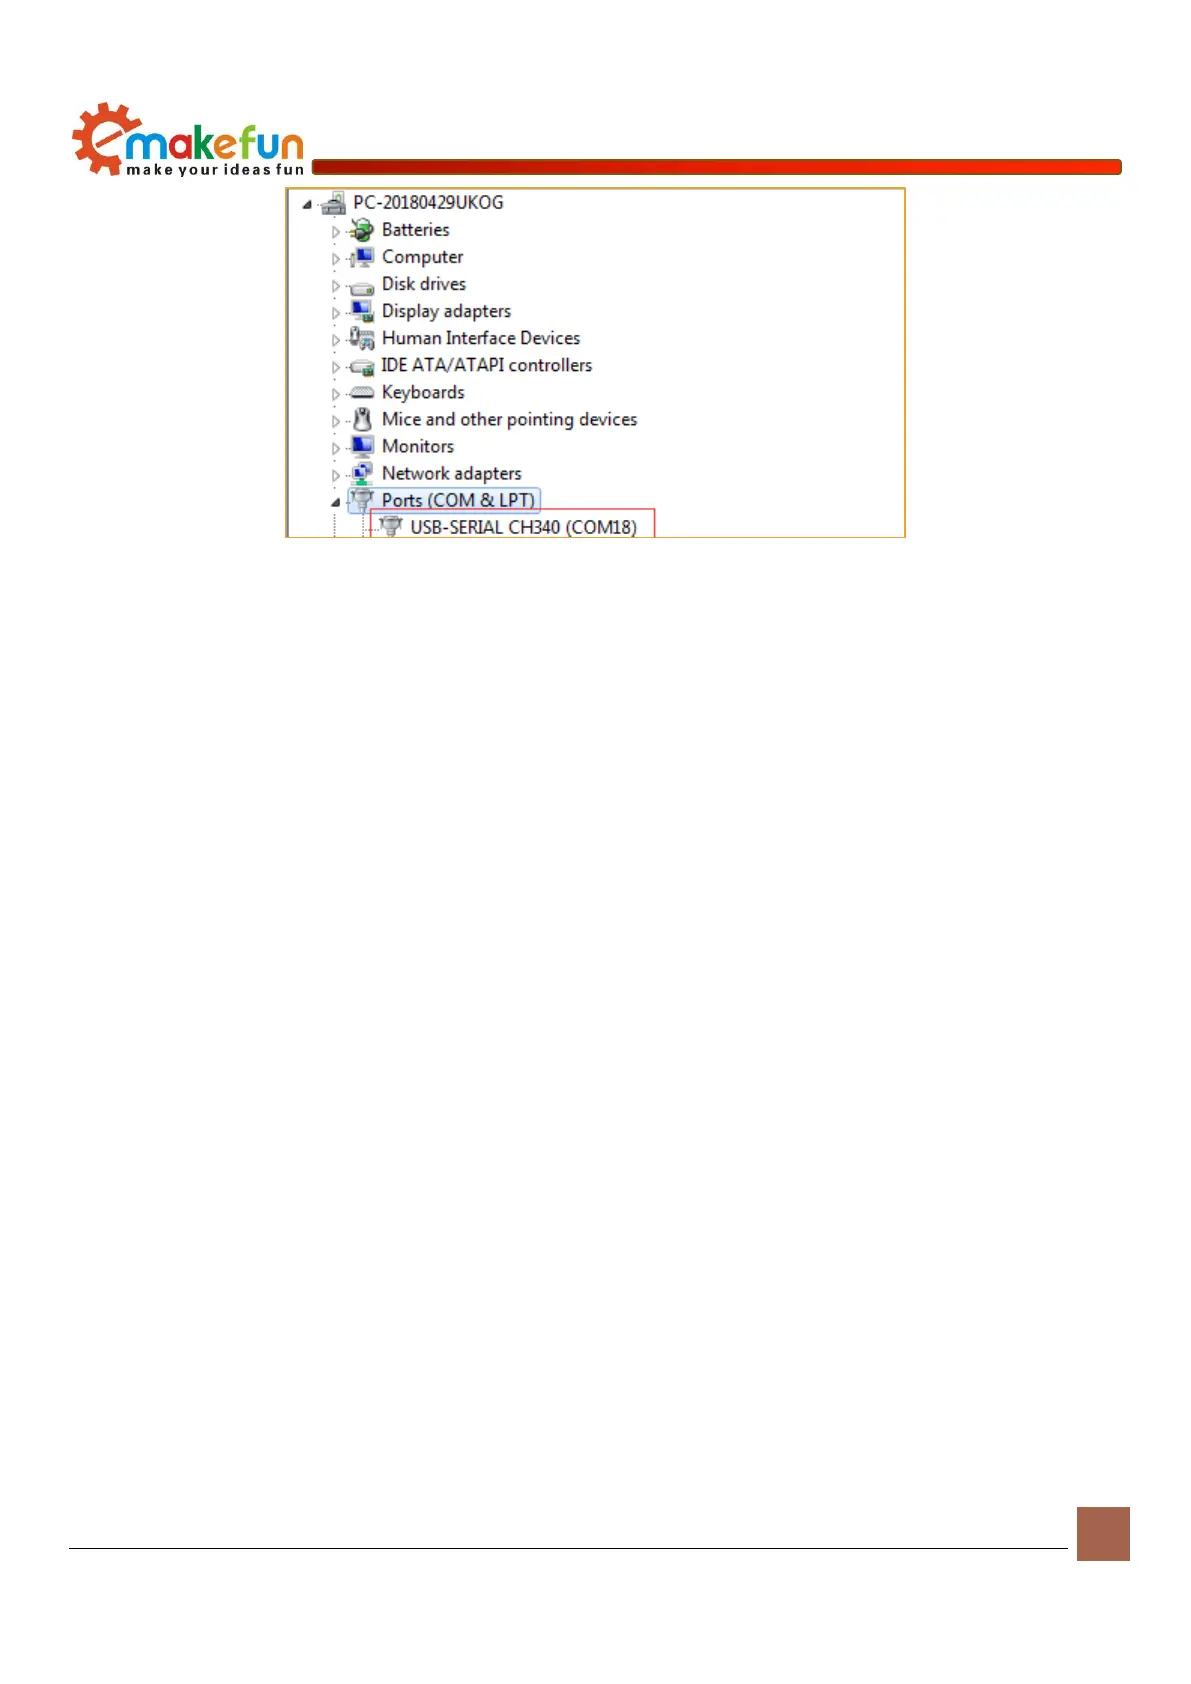
Figure 1-3-11
Note: in the Win10 system, part of the Arduino in access to the computer (not the original chips are difficult
to identify), after the system will automatically download the corresponding drive, don't need to install the
driver himself, but in the Windows 7 system, you need to follow the steps above to manually install the
driver as shown in the above we can see the USB serial port is identified as the COM15, but different
computers may not be the same, you may be the COM4 COM5 etc., but the Arduino Nano this must be the
same if you didn't find the USB Serial port, may be you install the wrong, or the system is not compatible
Windows8 System driver installation steps
If your computer is Windows8: before installing the driver, you should save the files you are editing
because there will be several shutdowns during operation
1) press the Windows key + R
2) type shutdown. 00 exe/f/t/R/o
3) click ok button
4) the system will restart to choose an option screen
5) pick an option from the screen, select the troubleshooting
6) from the troubleshooting screen select advanced options to select Windows startup Settings from the
advanced options screen
7) click the restart button
8) system to restart to
9) to select advanced startup options screenDisable driver signature enforcement
10) once the system starts, you can install the Arduino driver as with Windows7