4. Right click and select Properties.
5. Select Internet Protocol (TCP/IP), then Properties.
6. From the General tab, select Use the following IP address button.
7. Set the IP Address to 192.168.1.12, then Tab on the keyboard.
8. Select OK to close the Internet Protocol (TCP/IP) window.
9. Select Close on the Local Area Connection window.
Internet proxies will need to be disabled through the PC/laptop’s default internet browser.
Disable the proxies with the following procedure:
Procedure
1. Find and open the default internet browser.
2. Find the Tools menu and select Internet Options.
3. From the Connections tab, select the LAN Settings button.
4. Under Proxy Server, the boxes for Automatically Detect Settings and Use a proxy server
for your LAN should be unchecked.
5. Select OK to close the Local Area Network (LAN) Settings window.
6. Select OK to close the Internet Options window.
The PC/laptop is now set up to form a private network and to communicate with
the Gateway.
Note
Connecting to the Gateway's secondary Ethernet port will require different network
settings. See Table 2-1 for additional network settings.
Table 2-1: Default IP Addresses
Gateway PC/laptop Subnet
Ethernet 1 192.168.1.10 192.168.1.12 255.255.255.0
Ethernet 2 192.168.2.10 192.168.2.12 255.255.255.0
2.3.2 Connections and power
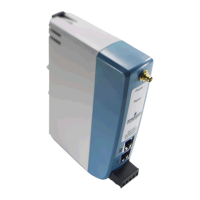
Physically connect the PC/laptop to the Gateway with an Ethernet cable by connecting one
end to the Ethernet port on the back of the PC/laptop. Connect the other end to the
Ethernet 1 port on the Gateway. Configure the gateway shows the standard terminal block
diagram. Once the Gateway and PC/laptop are connected, wire a 24 VDC (nominal) power
supply with a capacity of at least 250 mA to the Gateway power input terminals.
Configuration Reference Manual
September 2020 00809-0200-4410
8 Emerson.com/Rosemount

 Loading...