Installation Proline Prosonic Flow 91W
10 Endress+Hauser
#
Warning!
Risk of damaging plastic or glass pipes if the nuts of the U-shaped screws are tightened too
much! The use of a metal half-shell is recommended (on the opposite side of the sensor)
when working with plastic or glass pipes.
6. The visible pipe surface "A" must be sm
ooth to ensure good acustic contact.
A0011524
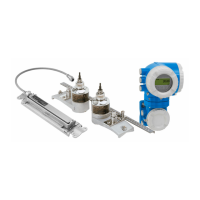
Fig. 5: Mounting the Prosonic Flow-sensor holder (DN 15 to 65 / ½ to 2½") with U-shaped screws
2.6.2 Mounting the sensor holder with strapping bands (small nominal diameters)
For mounting on a pipe with a nominal diameter of DN 32 (1¼")
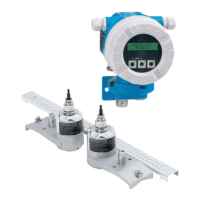
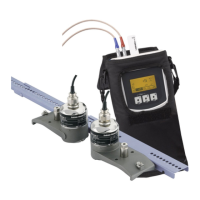
For sensor (DN 15 to 65 / ½ to 2½")
1. Disconnect the sensor from the sensor holder.
2. Position the sensor holder on the pipe.
3. Wrap the strapping bands around the sensor holder and pipe without twisting them.
4. Guide the strapping bands through the strapping band locks (strapping screw is
pushed up).
5. Tighten the strapping bands as tight as possible by hand.
6. Set the sensor holder to the correct position.
7. Push down the strapping screw and tighten the strapping bands so that they cannot slip.
8. Where necessary, shorten the strapping bands and trim the cut edges.
#
Warning!
Risk of injury. To avoid sharp edges, trim the cut edges
after shortening the strapping
bands.
9. The visible pipe surface "A" must be smooth to ensure good accustic contact.