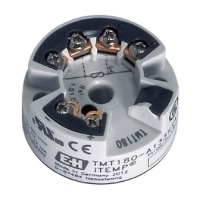
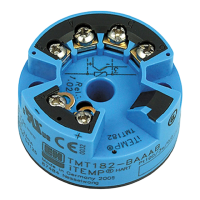
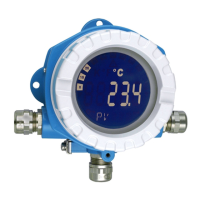
Installation instructions TMT142 HART®
22
2.3 Installation instructions
2.3.1 Direct wall mounting
Proceed as follows to mount the device directly on wall:
• Drill 2 holes. Drill template and drill hole distance Fig. 1.
• Attach the device to the wall with 2 screws (M6).
2.3.2 Pipe installation
The mounting bracket is suited for pipes with a diameter between 1.5 in to 3.3 in. Proceed as
follows to mount the device on a pipe ( Fig. 1):
• Attach the mounting bracket to the pipe.
• The additional mounting plate must be used for pipes with a diameter of 1.5 in to 2.2 in.
• Fix the device to the mounting bracket with the two screws supplied. The mounting plate is
not needed for pipes with a diameter of 2.2 in to 3.3 in.
2.4 Post-installation check
After installing the device, always run the following final checks:
Device condition and specifications Notes
Is the device visibly damaged (visual check)? -
Does the device comply to the measurement point specifications, such as
ambient temperature, etc.?
Chap. 2.2