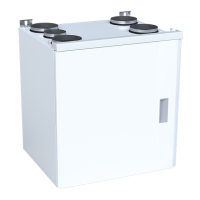
41Installation instructions for professionals
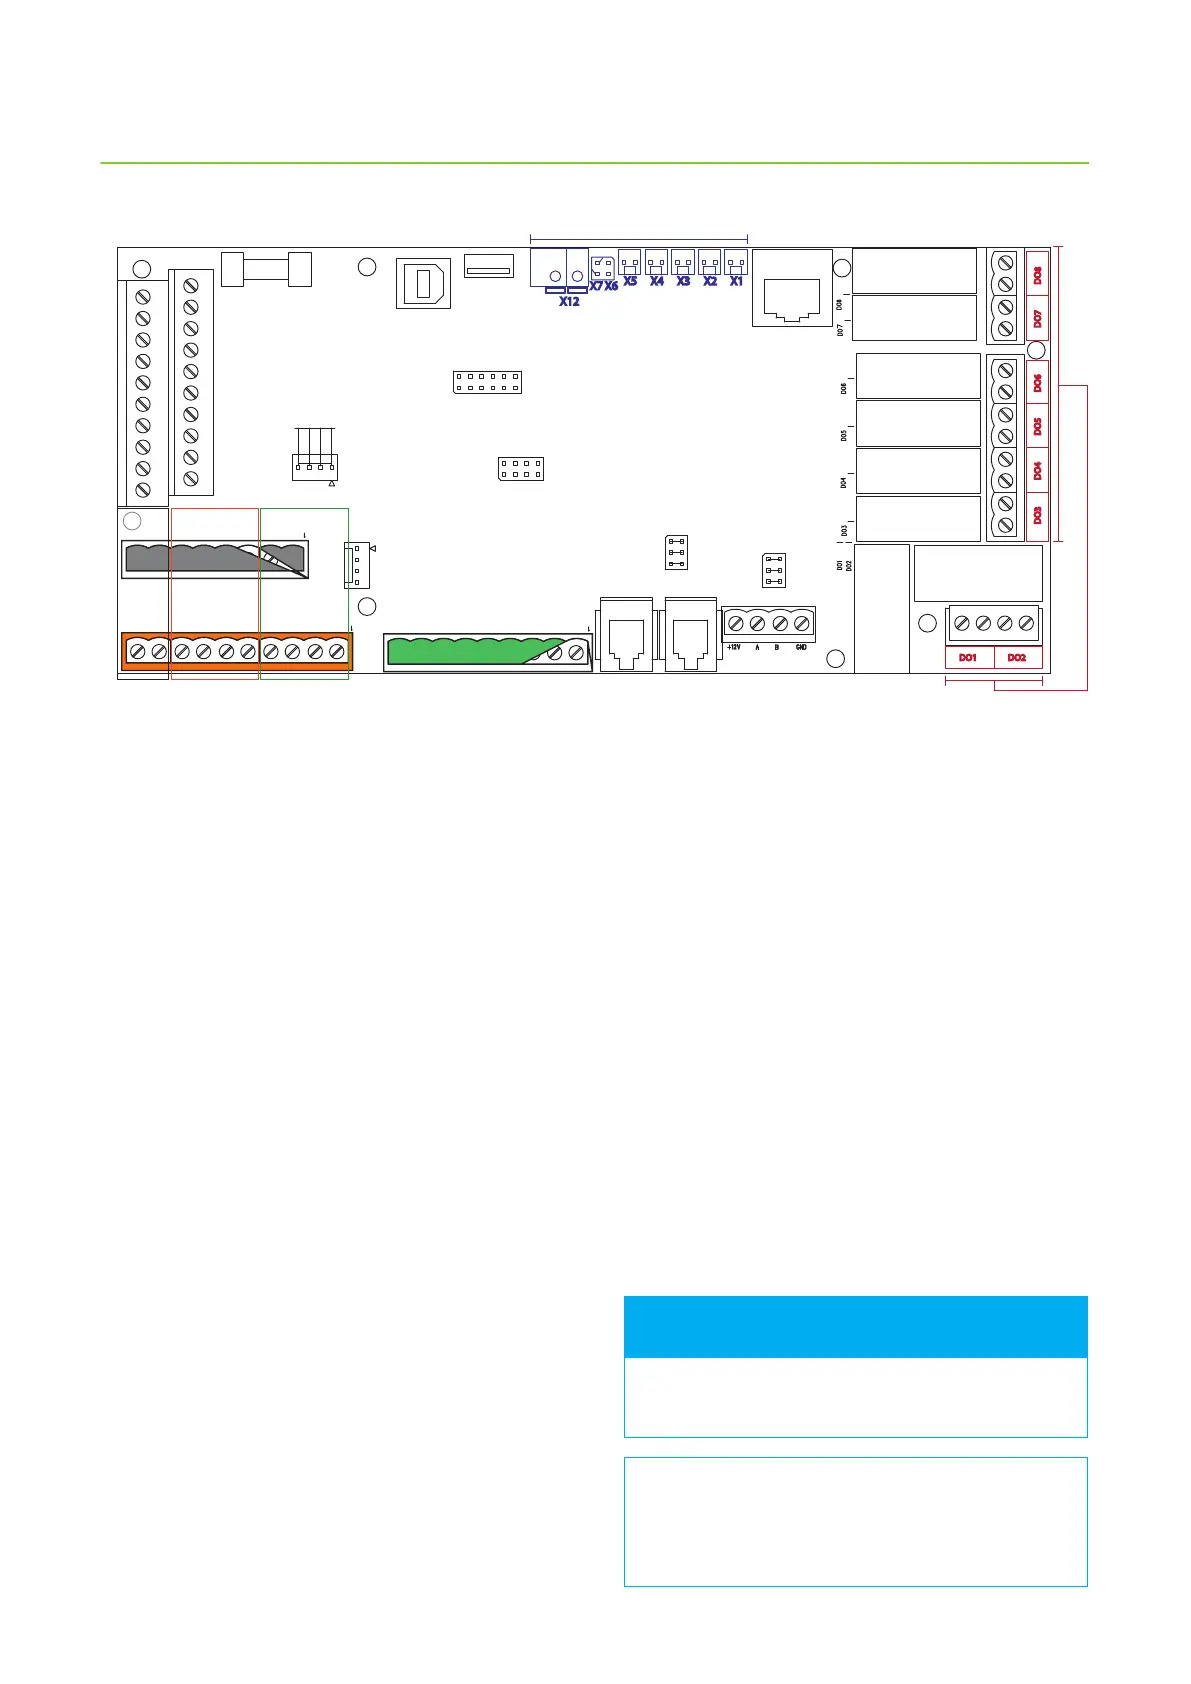
X1X2X3X4X5
X7
X24
X12
X23
X19
F3
X29
DO6DO5DO4DO3
DO1 DO2
X28X27
X26
X15
X8
24V
GND
JP5
JP2
eAir MOTHERBOARD
SLP
POISTO TULOLTO
AO5
AO3
DI4
DI3
DI2
DI1
AI4
AI3
AI2
AI1
X18
AO7
AO6
DI8
DI7
DI6
DI5
AI6
AI5
X9
X10
DI9
GND
AO4
DI12
GND
AO2
DI11
GND
A01
RHT30
X17
Ethernet
MODBUS-RTU
+24V
AO5
DI10
GND
GND
AI8
AI7
+5V
12345678910
123456789
12345678
RHT30
X6
DO8DO7
AO8
GND
AI10
AI9
AI8
AI7
KE
SI
VA
PU
2A
DO digital outputs
X1-X7, X12 Sensors
AI analog inputsDI digital inputsAO analog
outputs
eAir motherboard connections and their locations
Documenting the commissioning
• Fill in warranty information.
• Write down all possible changes made to the factory
settings, to be able to recall the settings if needed.
• Fill the air ow measurement document. A copy of
the document is at the end of this manual.
Warranty is not in eect for units that do not have
the air ow measurements documented.
It is very important that all changes in parameters
are written down. This way the information has
backup in case the automation is damaged
(e.g. by lightning strike).
FOR INFORMATION
When you want to set unit settings, tap the upwards
arrow in the main screen > choose Settings > scroll the
screen to System conguration > enter password 6143
> OK > I/O settings > choose AI settings (analog input
settings) or DI settings (digital input settings) > choose
the input you want to congure. Then tap the green
text on the row you want to congure, and select the
function for the selected input.