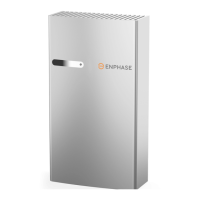
AC Battery Installation
© 2016 Enphase Energy Inc. 141-00036 Rev 01
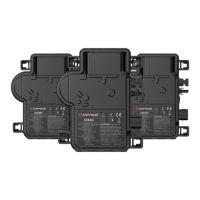
One Enphase Wall-Mount Bracket (BWM-16IN-B) for each battery. The wall-mount bracket
shipping box includes only the bracket. The brackets are sized to accommodate standard
residential stud spacing of 16 inches.
b. Make sure you have the following required items:
Enphase Envoy-S Metered communications gateway with production CT(s) and consumption
CT(s) installed and configured as described in the Enphase Envoy-S Metered Quick Install Guide.
When used with Enphase devices, the Envoy-S can control grid management functions and
monitor PV production and site consumption. When used with non-Enphase PV systems, it can
collect production and consumption data, but it does not control grid management functions of
non-Enphase PV system components.
NOTE: The Enphase AC Battery requires an internet connection (through the Envoy-S).
Maintaining this connection is important, not only for updating software and firmware, but
also for measuring the health of the battery. Failure to maintain an internet connection may
have an impact on the warranty. See enphase.com/warranty for full terms and services.
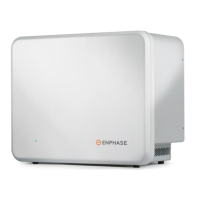
Mounting location that is structurally suited to bearing the weight of the AC Battery. The wall
must have appropriately spaced studs (16 in) or can be of masonry or other suitable structure.
NOTE: If the wall is not structured in a way that allows wall mount brackets to be attached
directly to the studs, a substructure is required, such as 1) metal strut, ¼ inch spring nuts,
and ¼ inch bolts or 2) horizontally mounted wood studs or strong plywood.
Tools: conduit fitting tools, drill, 5/32 in (4 mm) pilot bit, screwdriver, socket, wrench, adjustable
wrench, torque wrench, level, 5/32 in (4 mm) Allen key, and wire stripper.
Four ¼-inch (6 mm) diameter lag bolts/screws, 1 to 2 inches (25 to 50 mm) long depending on
attachment wall, for each wall-mount bracket. Check with a structural engineer and local
standards for requirements specific to your site.
Washers for use between fastener heads and wall-mount bracket.
Copper conductors for push terminals: 12 AWG (2.5 mm
2
to 4 mm
2)
rated at 75° C or 90° C. Strip
to 7/16 inch (11mm).
Gland or strain relief fitting: one for each used conduit opening in the AC junction box.
OCPD: 20A maximum over current protection and readily accessible disconnecting means in
accordance with local code requirements.
Personal protective equipment (PPE) for handling lithium ion batteries as required by local safety
standards.
c. Make sure you have the following optional items, if needed:
20A maximum AC disconnect
Conduit or raceway and fittings
Stud finder
d. Install the PV system and the Envoy-S as directed by the installation manuals.
e. To record the location(s) of the AC Battery(ies), peel the removable serial number label from each
battery and affix it to the respective location on a paper installation map. You will scan this map later
using the Enphase Installer Toolkit™ and your mobile device.
NOTE: If needed, you can find an installation map at the back of any Enphase Microinverter
manual. Always keep a copy of the installation map for your records.
 Loading...