14
The Scan Function
1. Select the desired channel to be scanned using the & buttons.
2. Press the [MEM] button to store the channel in the transceiver’s memory. [MEM] is
displayed on the LCD. This channel is now memorised to be scanned.
3. To add further channels, repeat steps 1 & 2.
4. To delete a channel from the transceiver’s scan list, press the [MEM] button on a channel
that displays the [MEM] icon until the icon disappears.
5. All channels programmed remain in the transceiver’s scan memory, even if the power is
switched off.
6. Adjust the squelch control until the white noise is eliminated.
7. To start scanning, press the [SCAN] key. The scan proceeds from the lowest to the highest
programmed channel number & stops on channels when a transmission is received.
8. To stop the scan at any time, press the [SCAN] key again.
VOX (Voice Operated Transmit)
Press the [MEM] button & switch the transceiver on. The VOX symbol & a "0" will flash. "0"
indicates VOX is switched off, 1 is for low sensitivity, 5 is for normal sensitivity, and 9 is for high
sensitivity. Use the [UP/DOWN] button to select the desired level, press [MEM] to
confirm, the transceiver is now set to VOX. To switch VOX off, go back into VOX programming
mode by holding the [MEM] key whilst switching on. Press the UP/DOWN button until the vox
level is "off" and press [MEM] to confirm.
In VOX mode the transceiver will react to your voice, and transmit automatically without you
having to press the PTT button. There is always a slight delay for the electronic switching &
consideration will need to be given. To get optimum performance from the VOX feature you
should use a noise cancelling headset or earpiece microphone (see accessory options).
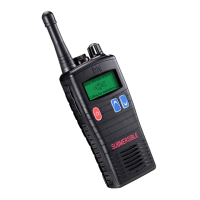
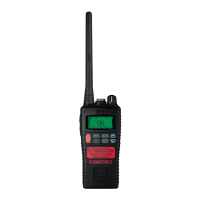
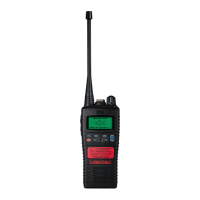
Functions
HT544
SIMPLEX / DUPLEX CHANNEL USE
Your transceiver has been factory programmed in accordance with FCC (USA), Industry Canada
and International regulations. The mode of operation cannot be altered from simplex to duplex
or vice versa. Simplex or duplex mode is automatically activated, depending on the channel and
the channel set and whether USA, Canadian, or International mode is selected.
Refer to the channel charts listed on pages 17-18 of this user manual.
If you have a licence to use a specific simplex or semi-duplex channel, contact your dealer who
may be able to programme your channel using the transceiver’s private channel memory.
CHANNEL A/B INSTANT ACCESS
For your convenience, two user assigned channels can be programmed for instant access. If the
[A/B] key is pressed and no channel A or B has been assigned, a short beep will be heard.
PROGRAMMING A/B INSTANT ACCESS BUTTONS
1. Hold down the [A/B] key and turn on the transceiver.
2. The letter A will appear on the display and dashes "_ _" indicate that no channel has been
designated channel A.
3. Press the [UP/DOWN] button until the desired channel number is displayed.
4. With the desired channel number displayed, press the [MEM] key once. The "A" will stop
flashing, indicating that the displayed channel is now designated channel A.
5. Press the A / B button again. The letter "b" will appear on the display.
Repeat steps 2 through to 4.
6. Switch transceiver off and on to exit this mode and save changes. If you wish to clear instant
access channels follow step 1 then press the [MEM] key. The “A” will flash. Now switch the
transceiver off and on again.
Note: Should you later wish to delete any stored channels simply press "MEM" key whilst in
A/B programming mode.
OPERATION OF A/B INSTANT ACCESS BUTTONS
Pressing the [A/B] button will toggle between A, B and the previous selected working channel.
Channel A is represented by the "A" to the left of the channel number on the LCD, & channel B
is represented by "B".
Note: Do not confuse this "A" with the one that is sometimes displayed to the right hand side
of the channel number (in USA and Canadian modes)
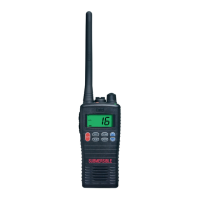
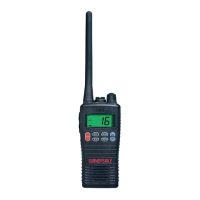
13
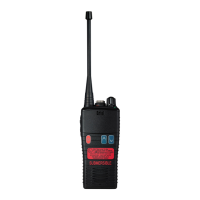
Channels
HT544