The Alt Key
The first end point of a new guideline will not snap to an existing guideline, because clicking near an
existing line will move or manipulate the existing guideline. To get around this, hold down the “Alt” key
while creating the new guideline. Holding down the “Alt” key will disable moving an existing guideline and
will allow the first end point of a new guideline to snap to an existing line.
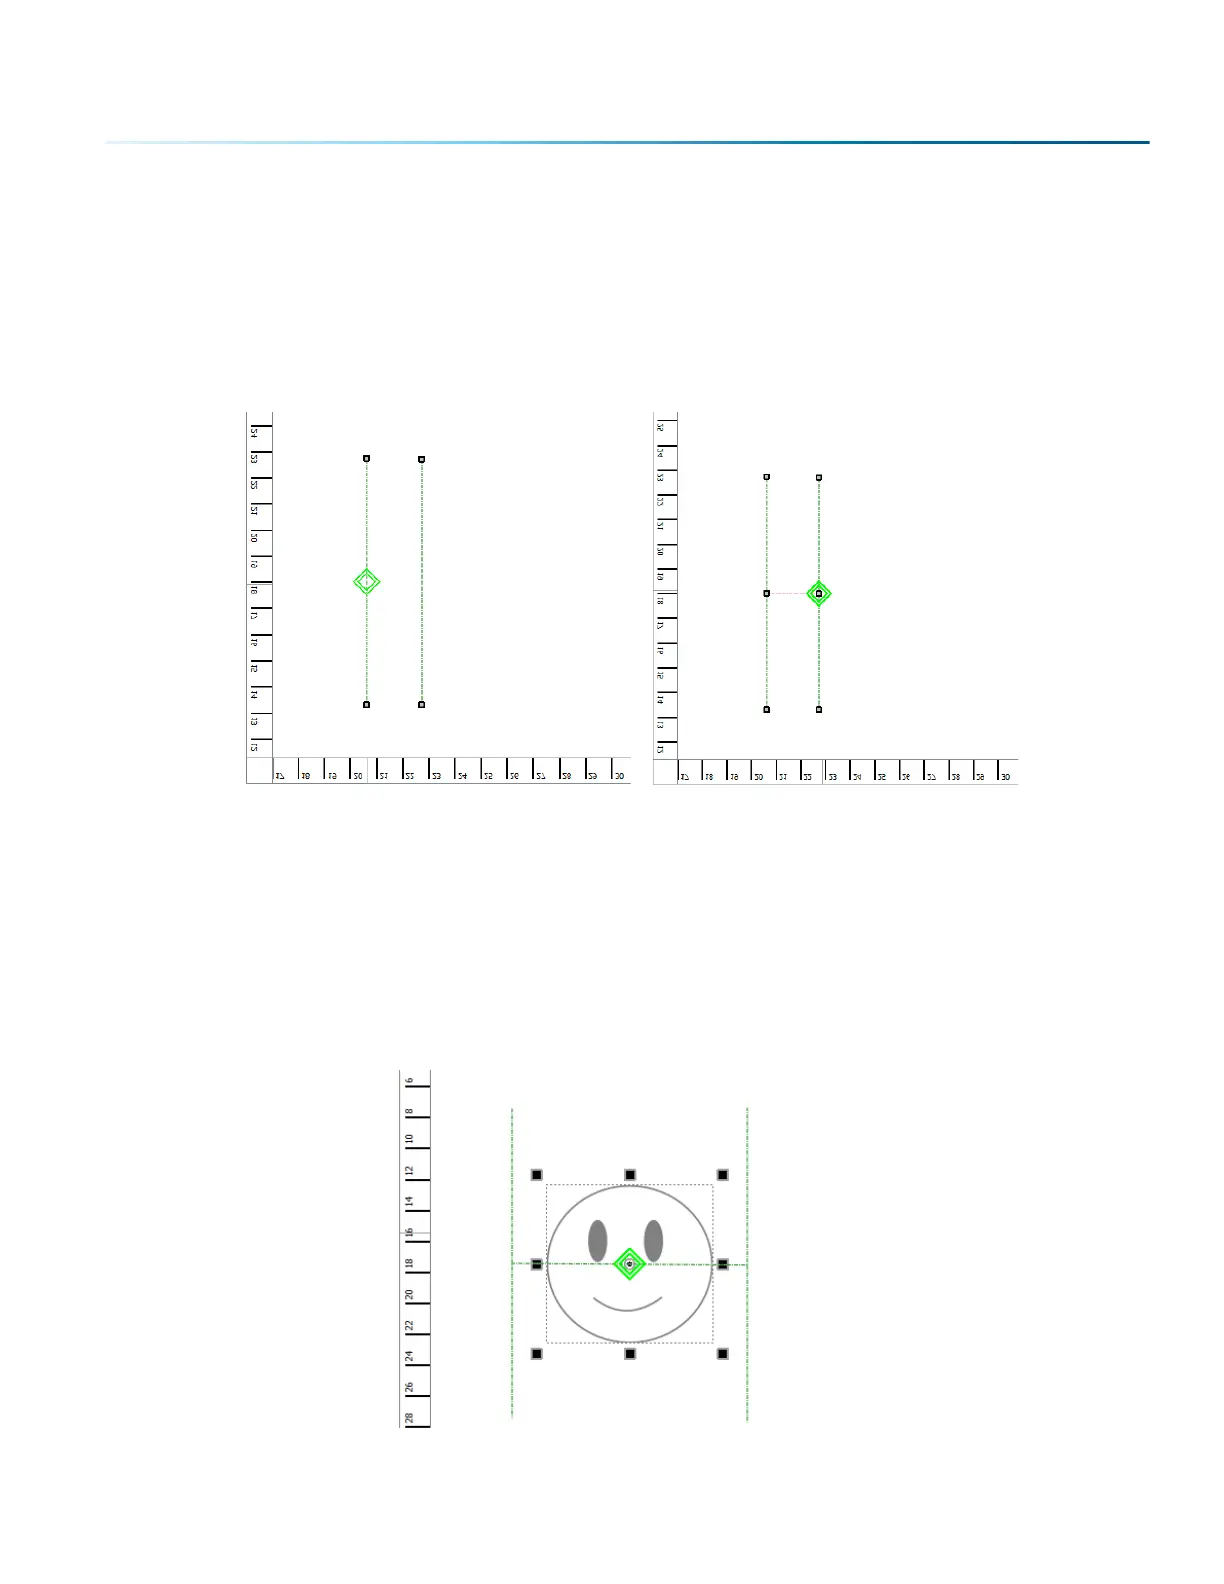
By holding down the “Alt” key while highlighting a previously drawn line, you will see a green square
appear where you want to start your new line. The green square indicates you are connecting lines
together.
Snapping can be turned o by unchecking the “Snapping” checkbox just above the job preview area.
Snapping Artwork to Guidelines
Artwork can also snap to guidelines. Once you have created your guidelines, switch back to the default
selection tool. Select your artwork and move it near a guideline. The corners, midpoints, and center of the
artwork will snap to points along the guidelines.
- 83 -
SECTION 5: THE LASER DASHBOARD
 Loading...


