16 Setting Up the Projector
Installing the Projector
To install the projector, you first need to determine the location, based on the size of your
screen (maximum diagonal image size). Use the table on page 15 as a guide to locating the
projector. Note the following dimensions:
■ Distance from the center of the lens to the mounting bracket holes: 2.32 inches (59 mm),
0.34 inch (8.6 mm) maximum vertical lens shift
■ Distance from the center of the lens to the center of the projector: 4.33 inches (110 mm),
0.30 inch (7.7 mm) maximum horizontal lens shift
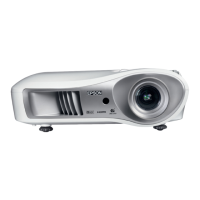
The following illustrations show the dimensions of projector:
5.63 in.
4.33 in.
15.98 in.
5.18
in.
2.32 in.
0.75 in.
0.45 in.
3 in.
11.81 in.
2.08 in.
6.3 in.
12.17 in.
PowerLite Cinema 400.book Page 16 Friday, July 7, 2006 2:24 PM

 Loading...