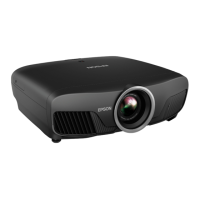
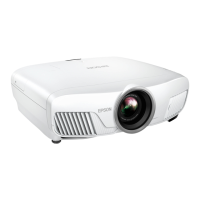
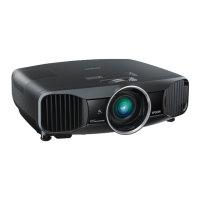
20 Setting Up the Projector
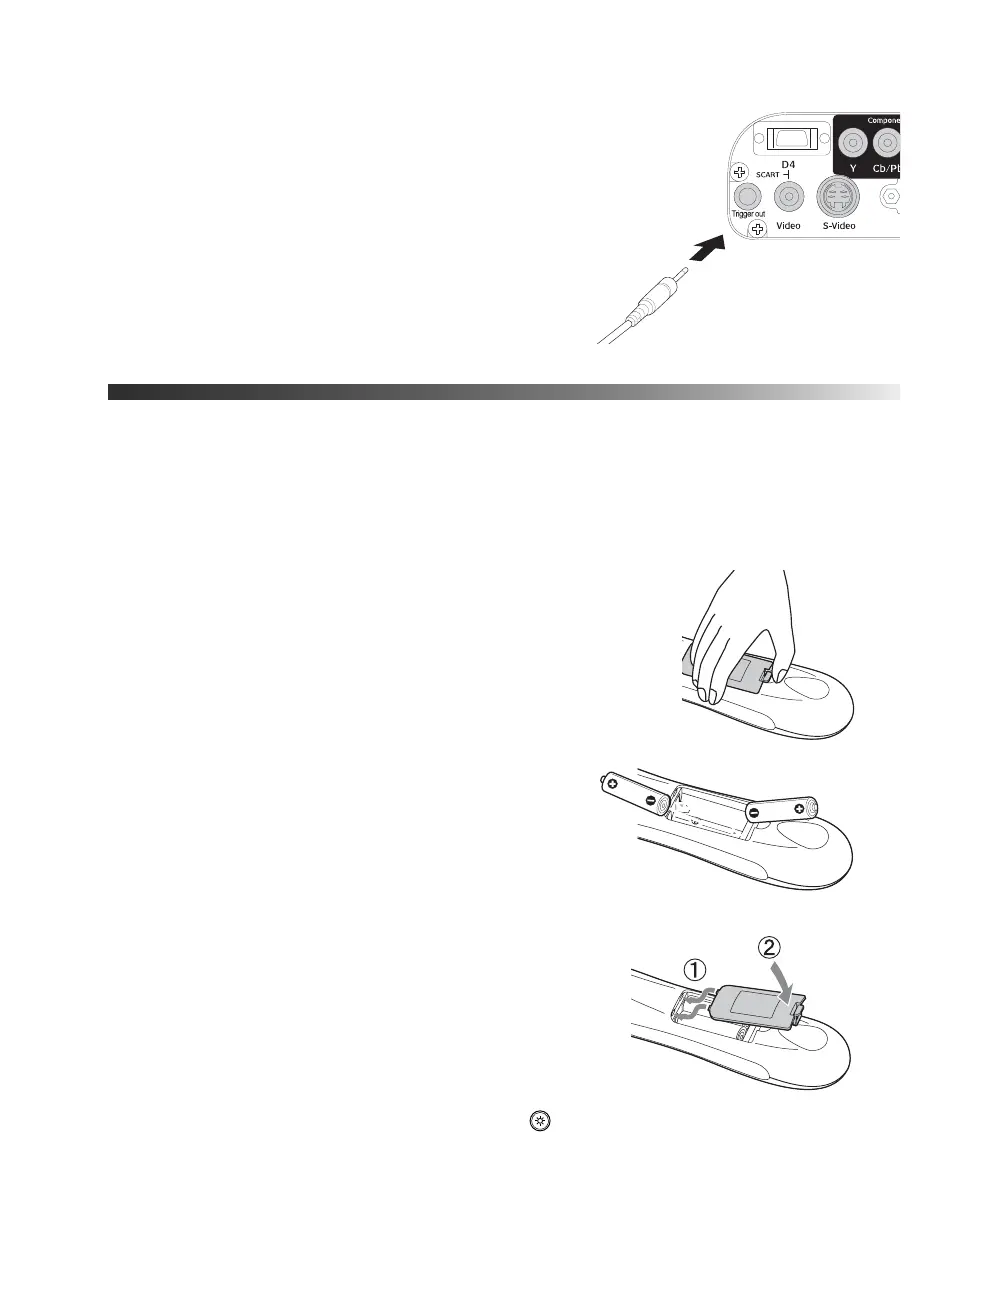
■ The Trigger out port outputs a 12-volt DC signal
when the projector is turned on. This lets a central
control system monitor whether the projector is on
or off, and can be used to raise or lower your
projection screen automatically when the projector
is in use.
Connect a 3.5-mm mini jack to the port, as shown.
Installing Batteries in the Remote Control
The remote control uses 2 AA batteries.
Warning: Keep batteries away from children. If a battery is swallowed, contact your doctor
immediately.
1. Release the tab and lift open the cover.
2. Insert 2 new AA batteries as shown.
3. Insert the tab on the cover and press it down until it
clicks into place.
Aim the remote control at the front or back of the
projector. Make sure you are within 30 feet of the
projector with the remote aimed within a 30° angle from
the infrared receivers.
When you suspect the batteries are weak, take the
remote control to a darkened room and press the illumination button. If the buttons do
not glow red, replace the batteries.
PowerLite Cinema 400.book Page 20 Friday, July 7, 2006 2:24 PM
 Loading...