6. Click OK to save your settings and close Epson Scan Settings.
Parent topic: Using the Network Interface Unit
Scanning to Network Computers from the Network Interface Unit - Windows
You can scan to a network computer directly from the Network Interface Unit (Windows only). You first
set up a scan job in Document Capture Pro and then select the computer you want to send the scanned
file to.
1. Start a scan job using Document Capture Pro.
2. Press the OK button on the Network Interface Unit.
3. On the LCD screen of the Network Interface Unit, select the computer you want to send the scanned
file to and press the OK button.
Note: If your scanner is part of a group, make sure to set the computer to the same group or it will
not show up on the LCD screen.
4. If you set up a password in Document Capture Pro, enter the password at the prompt.
5. Select a scan job and press the OK button.
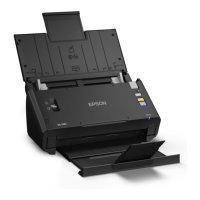
6. Press the start button on the scanner.
Your original is scanned and the file is sent to the network computer you selected.
Parent topic: Using the Network Interface Unit
33

 Loading...