EasyManuals Logo

Epson EB-X39 User Manual

Epson EB-X39
203 pages
To Next Page IconTo Next Page
To Previous Page IconTo Previous Page
Page #88 background imageLoading...
Page #88 background image
Wired Network Projection
88
If you want to connect the projector to the network using IPv6, select
IPv6 Settings to set the IPv6 setting to On, and then set the Auto
Configuration and Use Temporary Address settings as necessary.
a
To highlight the numbers you want from the displayed keyboard,
press the arrow buttons on the remote control. To select a
highlighted number, press [Enter].
h
To prevent the IP address from being displayed on the LAN standby
screen and Home screen, set the IP Address Display setting to Off.
i
When you finish selecting settings, select Complete and follow the on-
screen instructions to save your settings and exit the menus.
j
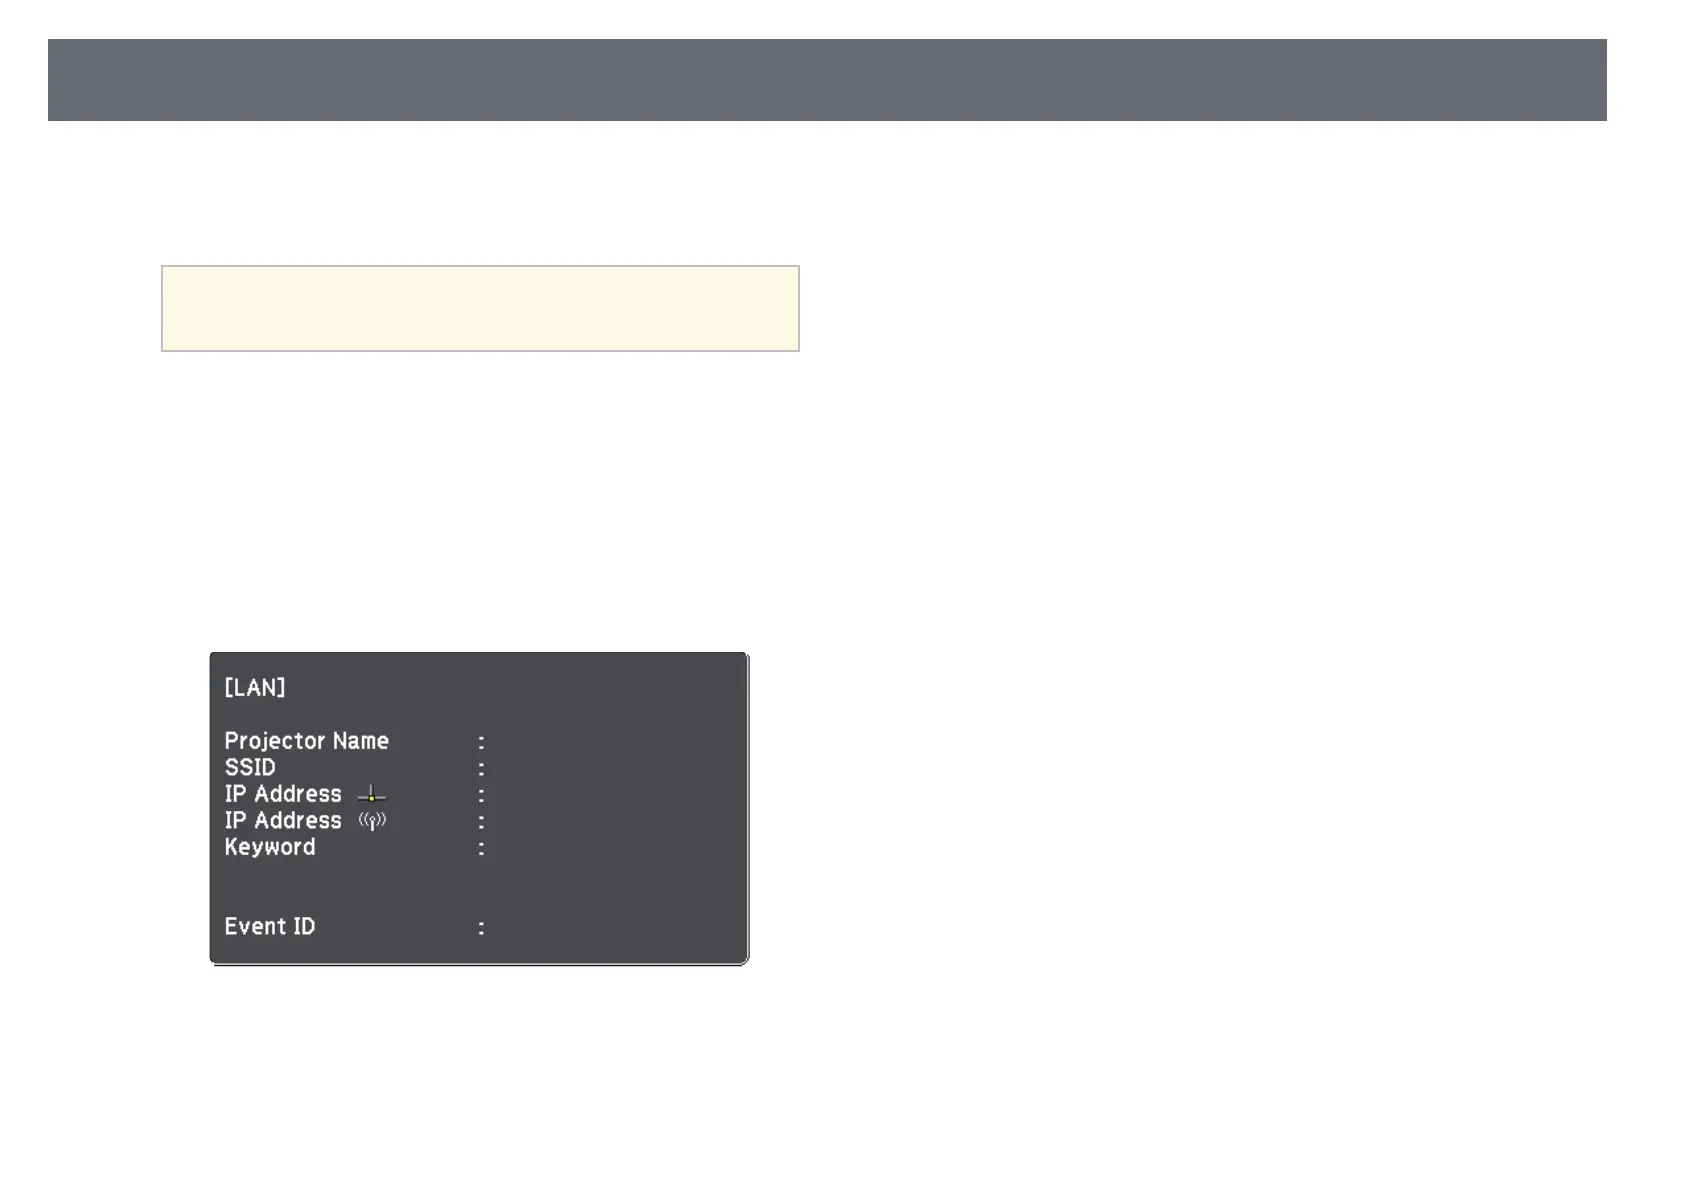
Press the [LAN] button on the remote control.
The wired network settings complete when you see the correct IP
address on the LAN standby screen.

Table of Contents

Questions and Answers:

Question and Answer IconNeed help?

Do you have a question about the Epson EB-X39 and is the answer not in the manual?

Epson EB-X39 Specifications

General IconGeneral
ResolutionXGA (1024 x 768)
Contrast Ratio15, 000:1
LCD Panel0.55 inch with MLA (D10)
Projection Ratio1.48 - 1.77:1
LensOptical
Screen Size30 inches - 300 inches
3DNo
Brightness3500 lumens
Lamp Life12, 000 hours (ECO mode)
ConnectivityHDMI, VGA, USB
Projection System3LCD
Keystone CorrectionVertical ±30 degrees, Horizontal ±30 degrees
Zoom1.2x
InterfacesHDMI in, VGA in, USB Type-A, USB Type-B, Composite in, Audio in
SecurityKensington lock, Password protection
Speakers2 W
Noise Level37 dB (Normal)
Dimensions302 x 237 x 82 mm (Width x Depth x Height)

Related product manuals