Canna/Clover
booklet.fm RevC
A5-Format booklet.fm
5/10/01 Durchlauf 2
L
Proof-Abzeichnung:
ABE M. Miyagawa, Takahashi_______
Takahashi _______
ABE G. Kok _______
16
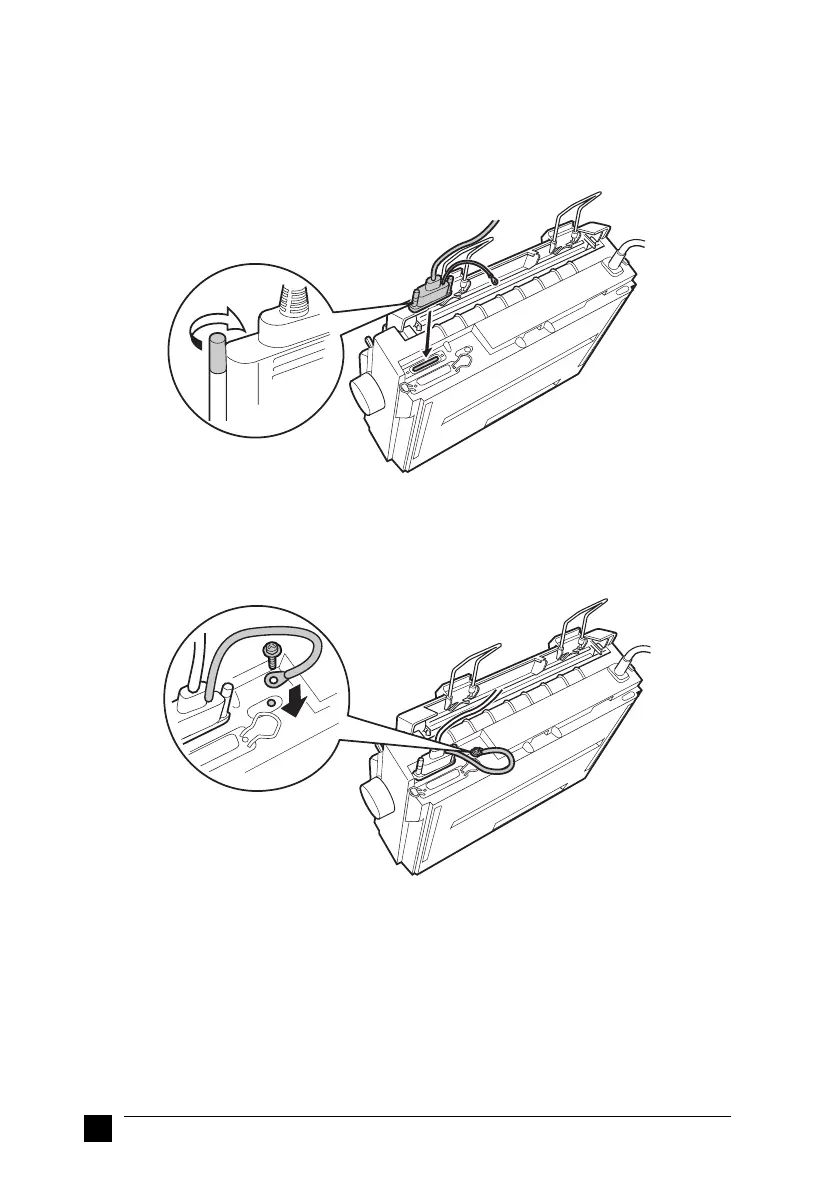
1. Turn off both the computer and the printer.
2. Plug the serial cable connector securely into the printer’s serial interface port.
Tighten the screws on both sides of the connector.
Note:
If there is a ground wire at the end of the cable, attach it to the ground connector
located to the right of the serial interface port.
3. Plug the other end of the cable into the computer’s serial interface port and then
tighten the screws on both sides of the connector. (If there is a ground wire at the
end of the cable, attach it to the ground connector at the back of the computer.)
4. Use the Default Setting mode to change the baud rate or parity bit, if necessary.
See “About Your Printer’s Default Settings” in chapter 3 of the online User’s
Guide.

 Loading...


