Canna/Clover
booklet.fm RevC
A5-Format booklet.fm
5/10/01 Durchlauf 2
R
Proof-Abzeichnung:
ABE M. Miyagawa, Takahashi_______
Takahashi _______
ABE G. Kok _______
11
EN
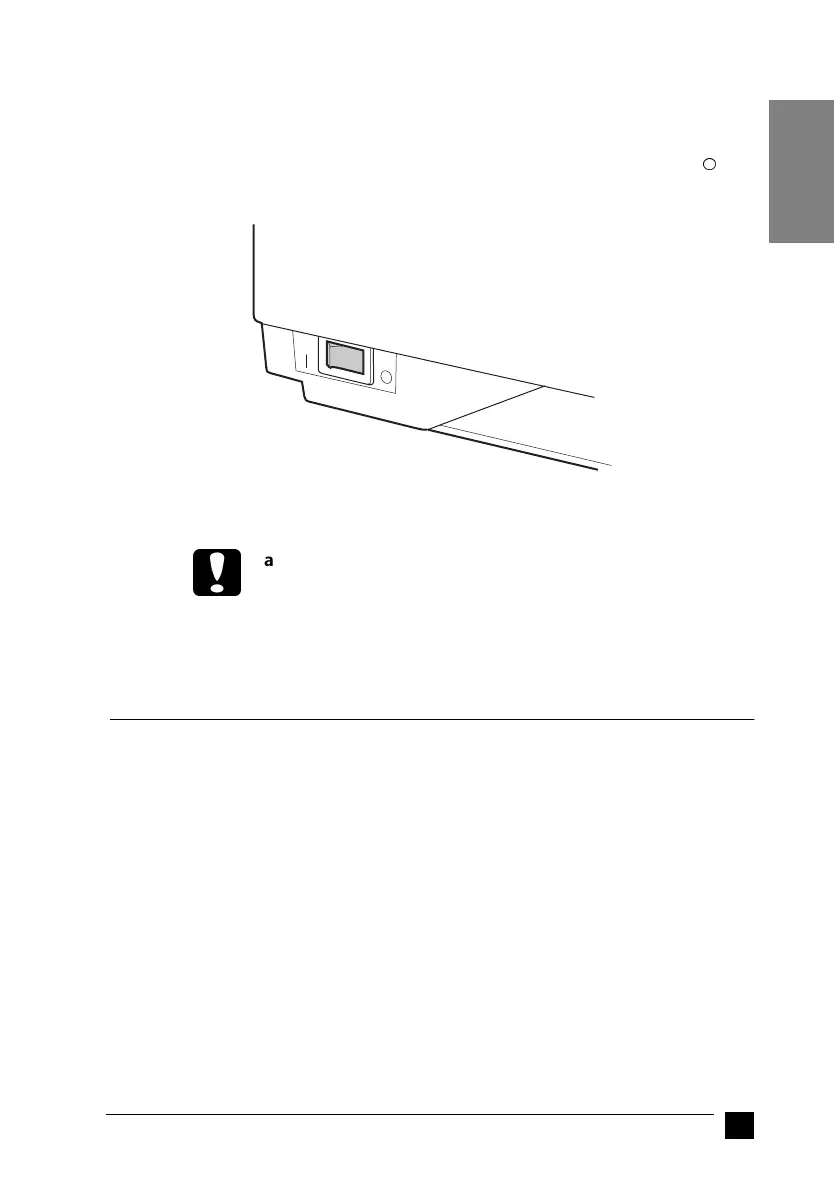
❚ Plugging in the printer
Follow these steps to plug in the printer:
1. Make sure the power switch on the printer is turned off. It is off when the
N
side
of the switch is pressed down.
2. Check the label on the back of the printer to make sure the voltage required by the
printer matches that of your electrical outlet.
c
Caution:
If the rated voltage on the printer and your outlet voltage do not match,
contact your dealer for assistance. Do not plug in the power cord.
3. If the power cord is not attached to the printer, connect it to the AC inlet on the
printer.
4. Plug the power cord into a properly grounded electrical outlet.
n Running the Self Test
Use the built-in self test function to check that the printer is working properly. You can
run the test with either continuous paper or single sheets. The procedure below describes
the test using single sheets, which is the easier way.
Follow these steps to run the self test:

 Loading...


