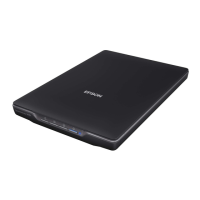
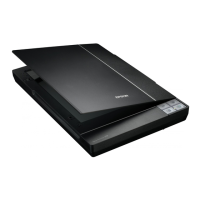
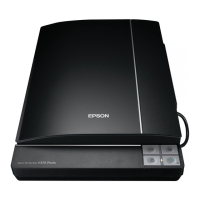
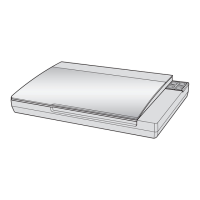
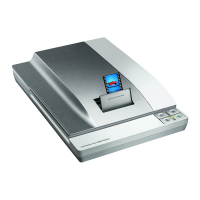
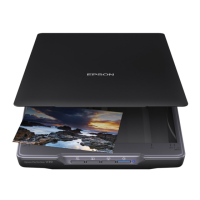
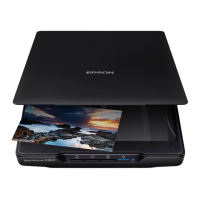
1. Place the originals on your scanner.
Note:
You can scan multiple photos at the same time. Make sure there is a gap of at least 20 mm (0.79 in.) between the photos.
Also, place each photo about 6 mm (0.24 in.) away from the edges of the scanner glass.
2. Start Epson ScanSmart and scan your originals.
❏ To scan from the scanner, press the
button on the scanner.
Epson ScanSmart opens and scanning starts.
❏ To scan from your computer, start Epson ScanSmart, and then click SCAN.
3. Check the scanned images, and edit them if necessary.
❏ Select Auto Cropping to crop scanned images automatically.
❏ You can also scan and add originals from Scan.
❏ You can use the buttons at the top of the screen to delete, rotate, or crop the scanned images, and adjust the
color.
❏ If you do not want to organize scanned images each time, select Skip this screen next time..
Scanning
>
Scanning Using Epson ScanSmart
>
Scanning and Saving Photos
32
 Loading...
