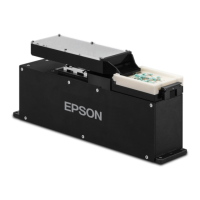
4. Maintenance and component replacement
Part Feeding 7.0 IF-240 Rev.5 29
4.3 Component replacement
For a list of the components which can be replaced directly by the customer, please contact
the supplier of your region. For any other repair, the product must be returned to the
manufacturer.
WARNING
For any kind of replacement, always use Epson products.
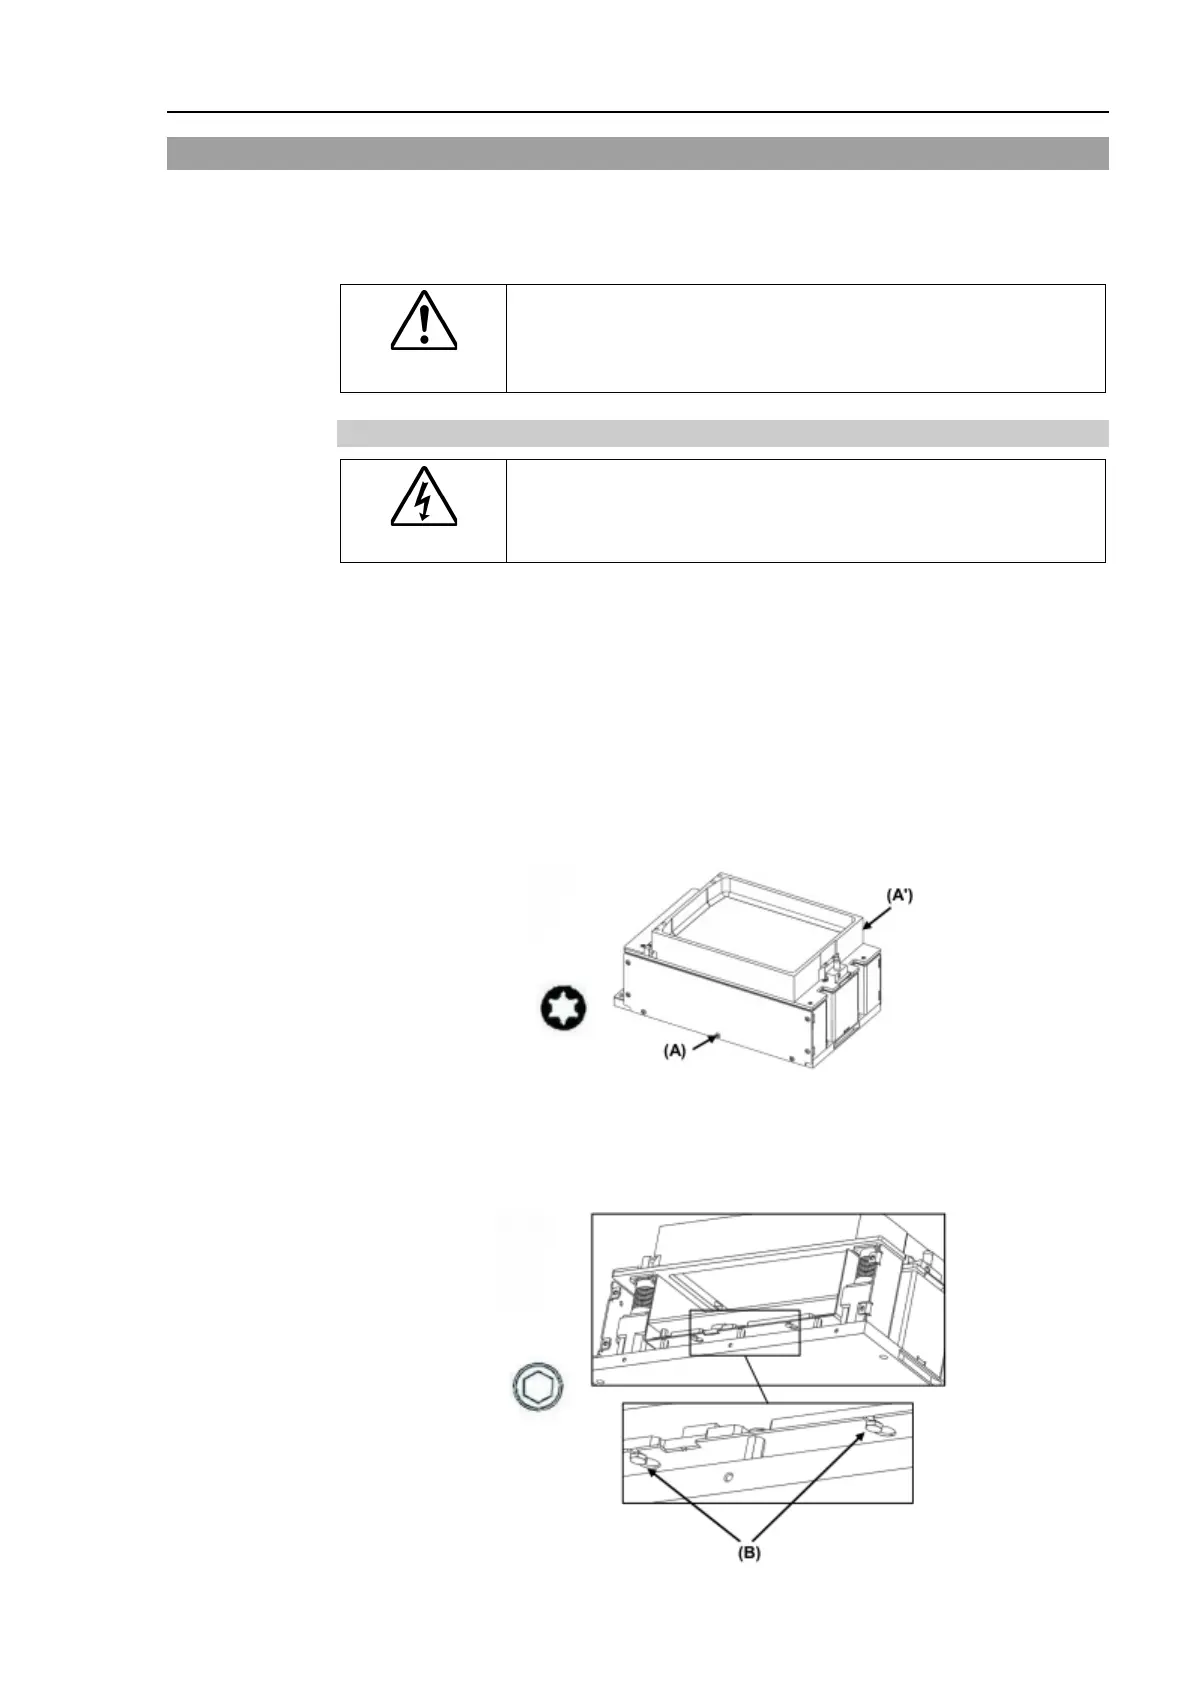
4.3.1 Exchanging / installing the backlight
Be sure that all power sources and other cables to the unit are
disconnected before changing the backlight.
Material needed:
- New backlight assembly ordered from the supplier of your region.
(Please ask part code to the supplier.)
- Flat wrench size 5.5
- Torx key size 10
Step 1
Unscrew the 7 screws on both sides (A) and (A’) and remove the two side covers Use a
Torx key size 10.
Step 2
On both sides, unscrew the four bolts (B). Use a flat wrench size 5.5.