EPSON Stylus COLOR 600
8 - EPSON Stylus COLOR 600 1/97
3. Make sure paper is loaded in the printer.
Caution:
Use paper that’s at least 8.2 inches wide. Otherwise
the print head will spray ink directly onto the platen.
4. Hold down the E load/eject button and press the Ppower
button to turn on the printer. Then release both buttons.
The printer prints one page containing the printer’s ROM
version, page count code, and a nozzle check pattern. The
following sample is in black and white, but the actual
printout is in color.
W0186 02BB
5. After it prints the page, turn off the printer. Remember to
reconnect the interface cable, then turn on the printer and
your computer.
Printing from Windows
When you want to print from your Windows application, you
click the print icon or choose
Print from the File menu. You
can then choose which pages to print, the number of copies,
and other options. The settings that describe your print job—
whether you want to use color or black ink, for example—are
part of your printer driver software.
Setting Printer Options from Windows
Applications
This section describes the preferences you’ll need to set for all
your everyday printouts.
Note:
The settings you select through your Windows
application apply only until you exit that application. Then
the driver settings return to the driver’s default values or
the values selected through the Windows95 Printer
Properties or Windows3.1 Control Panel.
Follow these steps to check printer settings from your word
processor or other Windows software:
1. Click the print icon or choose
Print or Print Setup from
the File menu. You see a printing dialog box.
If you choose
Print, you first see a Print dialog box that
contains the settings you change most often, including the
number of copies and the pages you want printed.
2. Make sure your EPSON Stylus COLOR 600 printer is
selected, and then click the
Printer, Setup, Properties, or
Options button. (You may have to click a combination of
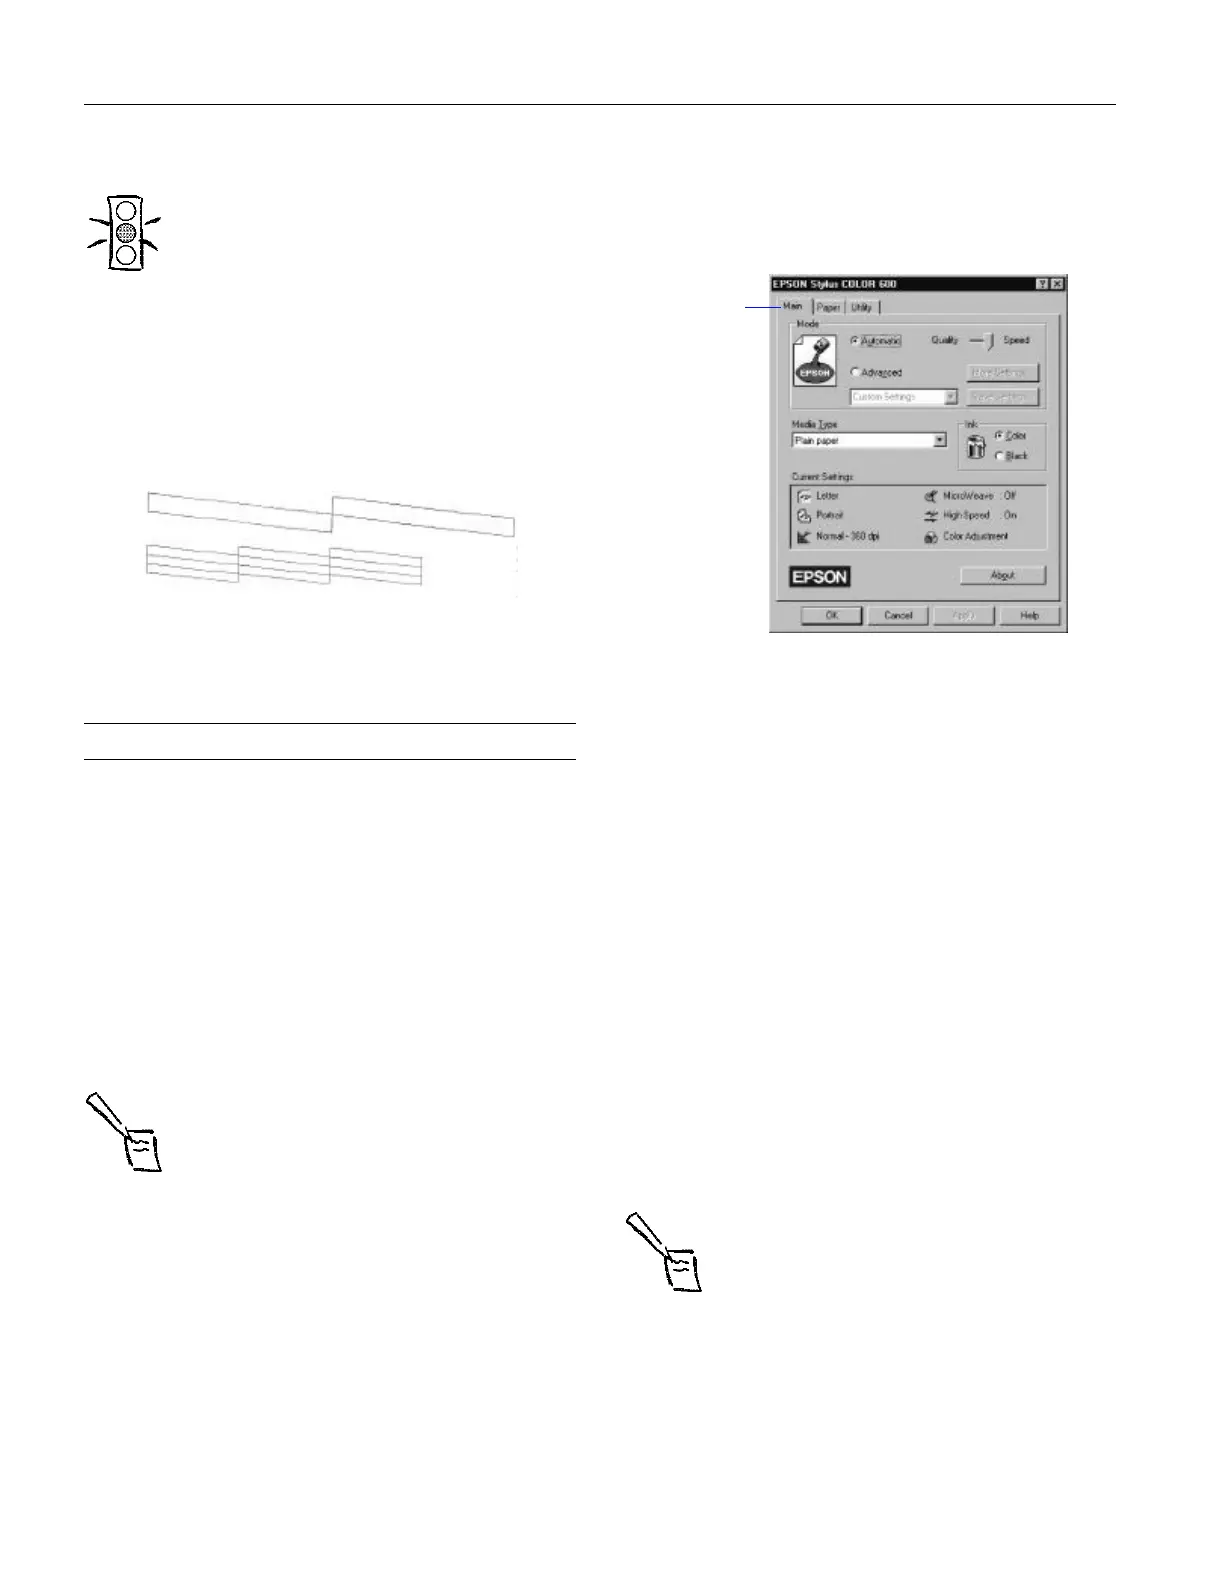
these buttons.) You see a dialog box like the following:
3. If you do not see the dialog box shown in step 2, click the
Main tab.
4. Make sure the Mode option is set to
Automatic. The
printer software determines the best settings according to
the Media Type and Ink settings you make. This is the
easiest way to get good printing results for all kinds of
documents, on all types of paper.
5. Choose the
Media Type you want to print on from the
following list (you may need to scroll through the list). If
you are not sure which setting to select for your media, refer
to the table on page 16.
❏ Plain paper
❏ 360 dpi Ink Jet Paper
❏ Photo Quality Ink Jet Paper
❏ Photo Quality Glossy Paper
❏ Photo Quality Glossy Film
❏ Ink Jet Transparencies
The type of media you choose determines the print quality
or resolution you can use.
Note:
For printing at the highest resolution (SuperFine
quality at 1440dpi), you need to use one of the
photo quality media. For the best printing at any
resolution, always use EPSON media.
6. Choose Color or Black ink. If you are printing black text, a
draft, or if you want colors to print as varying shades of
gray, select
Black for faster printing.
Main tab
 Loading...


