11
Setting Up Your Stylus Scan 2000
English
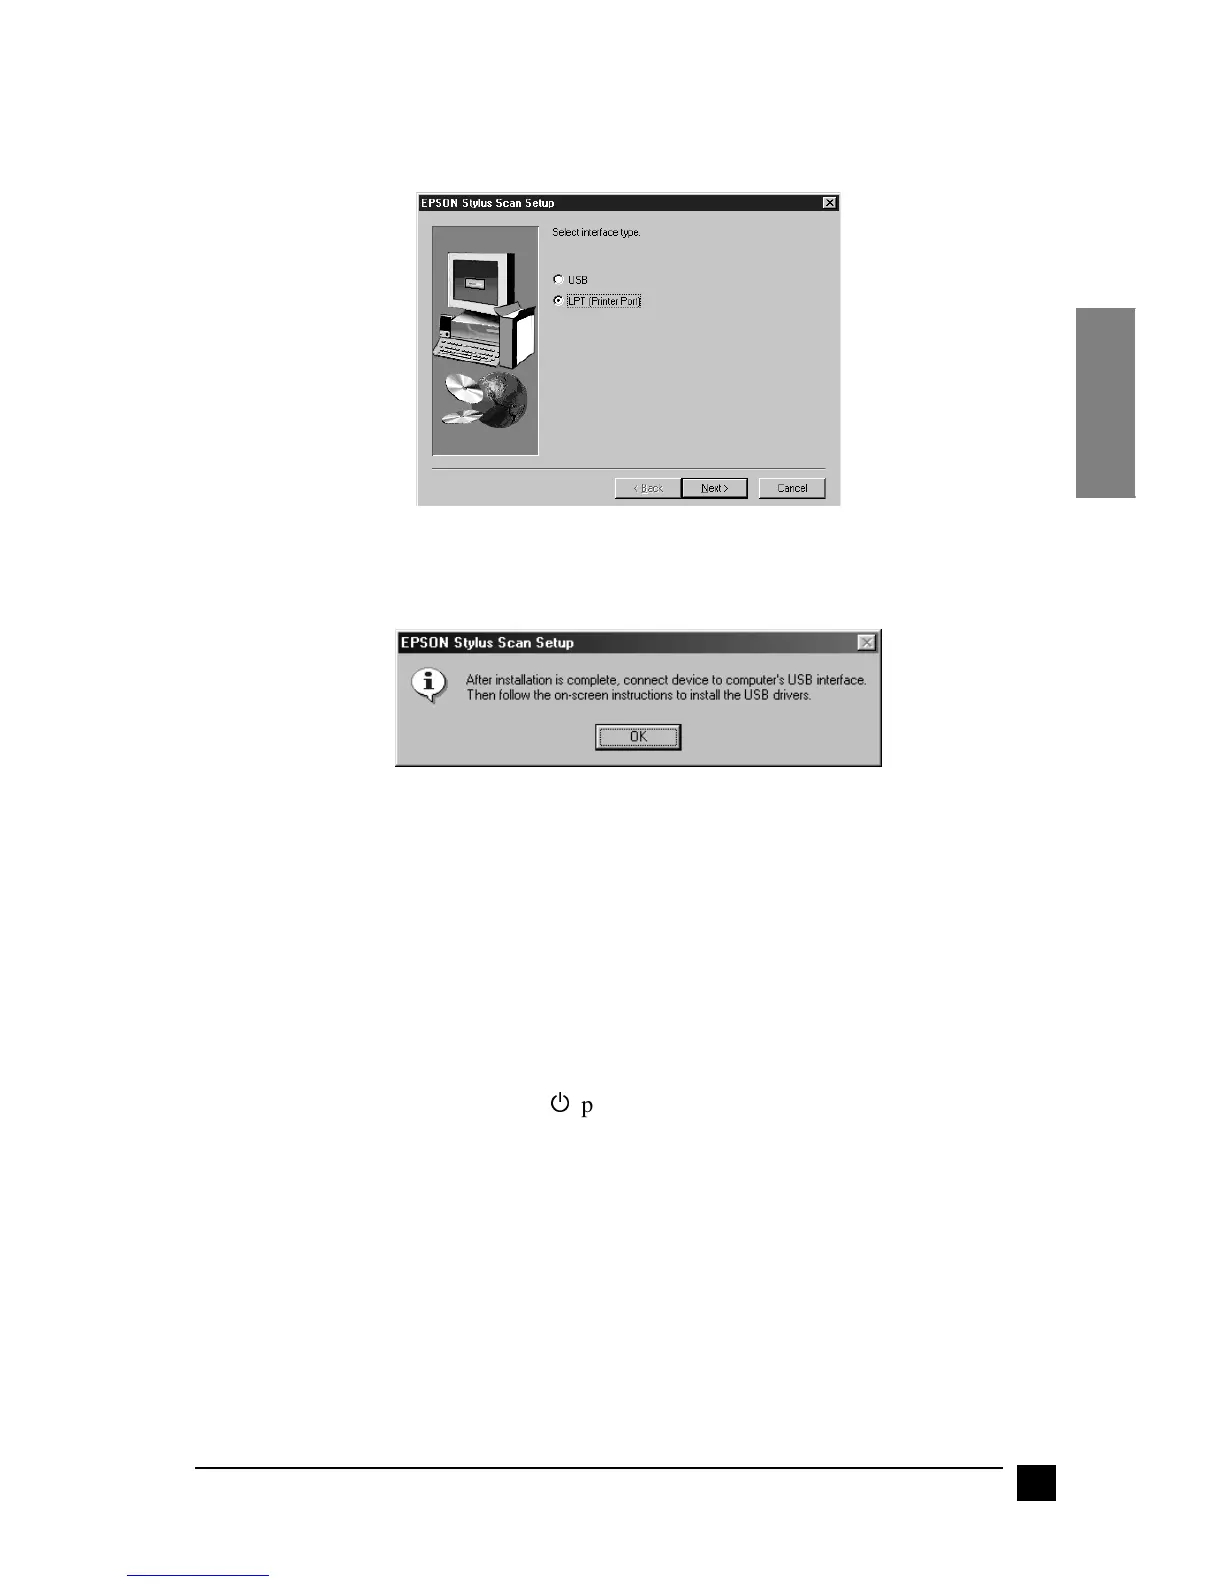
8. In Windows 98, the following dialog box appears. Select LPT (Printer Port) or
USB, then click Next to begin installation.
Note:
If you are connecting your Stylus Scan to the USB port, the following message
appears.
Click OK. Installation for other applications begins automatically. Follow the
on-screen instructions.
9. Parallel connection:
When installation is complete, click OK to start the EPSON Screen Calibration
utility.
Note:
Be sure to calibrate your screen and Stylus Scan to ensure that the colors of
reproduced images closely match the originals.
USB connection:
After the applications have been installed, restart your computer. Then turn on the
Stylus Scan by pressing the
P
power button.
Plug the appropriate end of the cable into the USB port on the back of the Stylus
Scan. (The end that fits the Stylus Scan has a different shape from the end that fits
the computer.)
Note:
To connect the Stylus Scan to a USB port, you need a standard shielded USB
cable.
Connect the other end of the cable to the computer’s USB port.

 Loading...


