18
Setting Up Your Stylus Scan 2000
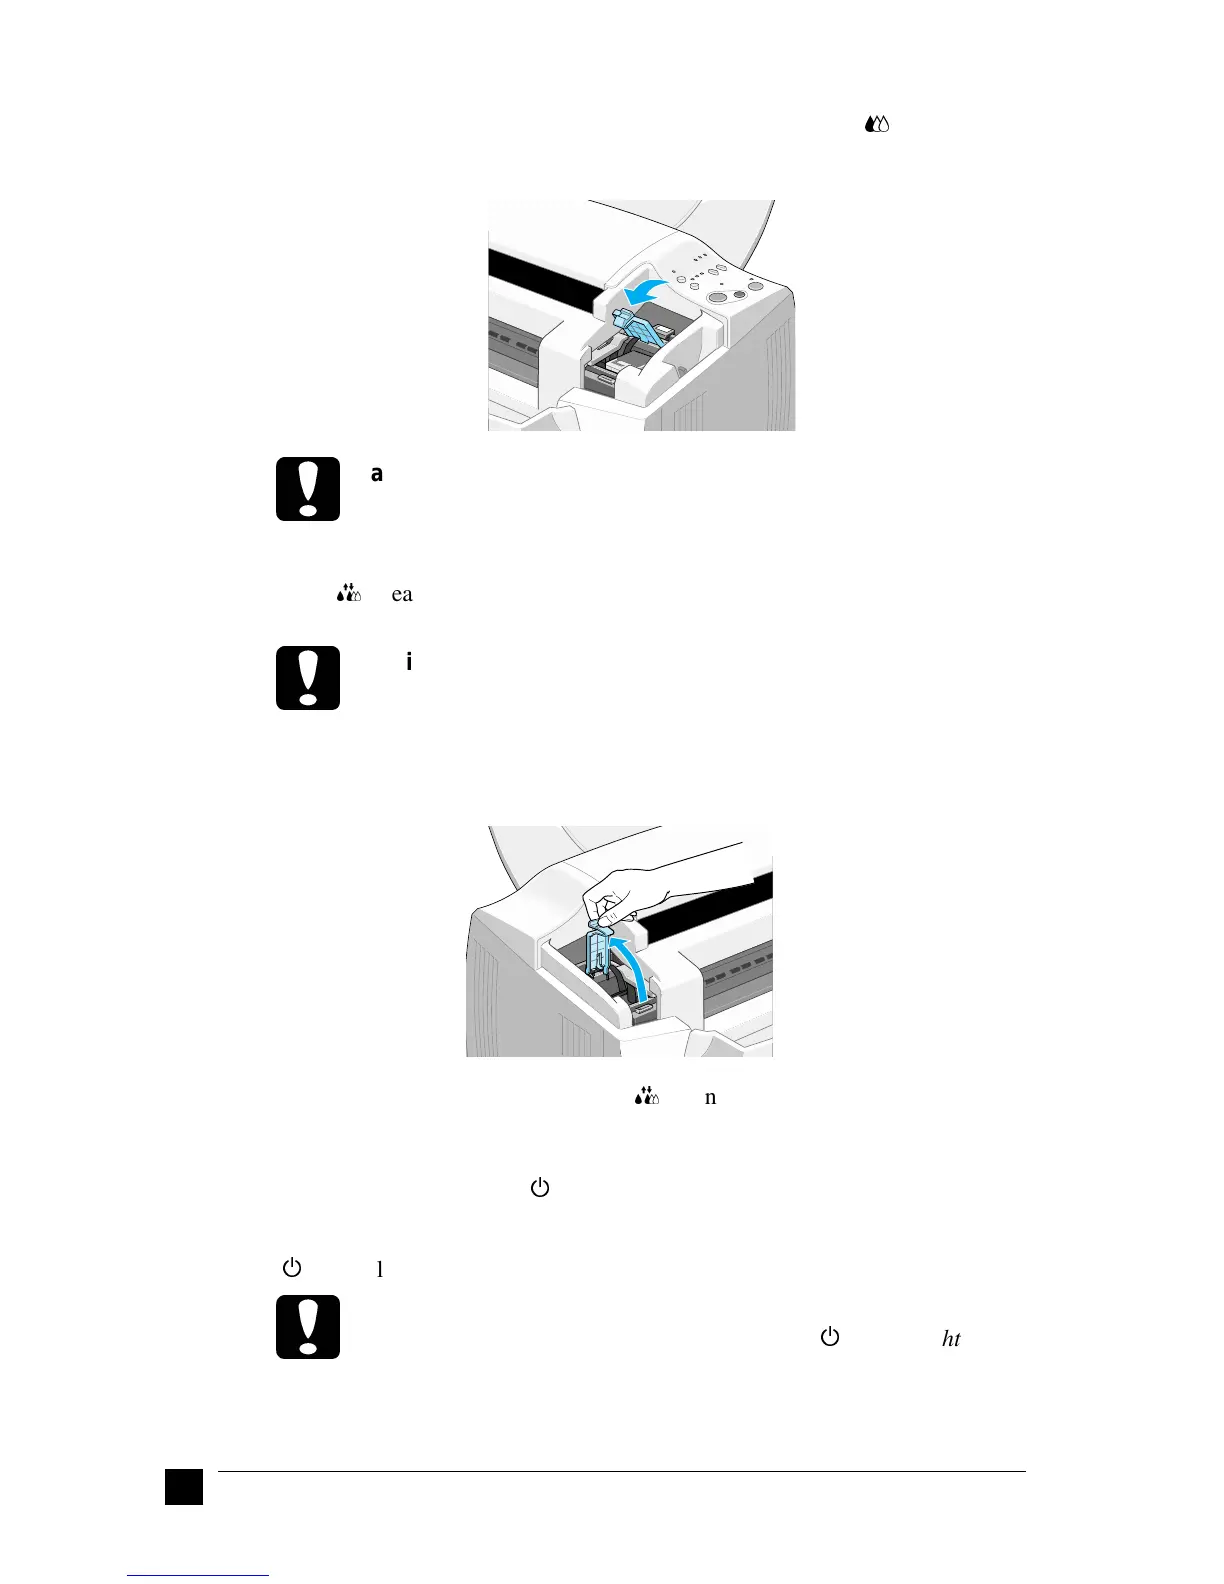
6. Press the ink cartridge clamp down until it locks into place. The
A
ink out light
goes off after you close the clamp.
c
Caution:
Once you install the ink cartridges, do not open their clamps again
until you replace the ink cartridges. Opening the clamps makes the
cartridges unusable.
7. Press the
R
cleaning button and release quickly. The print head moves left to the
black ink cartridge installation position.
c
Caution:
Install both ink cartridges. If either of the cartridges is not installed,
the EPSON Stylus Scan will not work.
8. In order to install the black ink cartridge, lift up the ink cartridge clamp on the left
and proceed as described in steps 4 to 6.
9. When installation is complete, press the
R
cleaning button and release quickly.
The EPSON Stylus Scan moves the print head and begins charging the ink delivery
system.
While the ink is charging, the
P
power light flashes and the Stylus Scan produces
a variety of mechanical sounds. These sounds are normal. When the ink delivery
system has been charged, the print head returns to its home (far right) position and
the
P
power light comes on.
c
Caution:
Never turn off the EPSON Stylus Scan while the
P
power light is
flashing.
10. Close the front cover.

 Loading...


