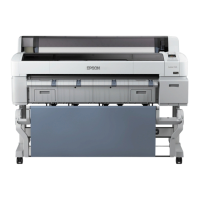
Epson SureColor T-Series User’s Guide
Using the Control Panel Menu
143
Output Size Auto
*
The hard clip area of the PS command of the data becomes the base
output size. The actual output size depends on the Margin Options
setting.
When the data does not contain a PS command, the smallest rectangle
area of in the following illustration including the print object
becomes the base output size.
A
Series/US-ANSI/US
-ARCH/B
Series/Photo
Series/Others
Choose the base output size from the compatible standard sizes. The
actual output size depends on the Margin Options setting.
For a cut sheet, this setting is available only when the data does not
contain a PS command.
If the data contains a command, this setting is not available, and the hard
clip area of the PS command becomes the base output size.
User Defined Select this option when outputting at non-standard sizes. After selecting
this setting, set Paper Width and Paper Height. You can set in 0.1 mm
increments.
Paper Width
T7270/T7270D: 89
*1
to 1,118 mm
T5270/T5270D: 89
*1
to 914 mm
T3270: 89
*1
to 610 mm
Paper Height
127 to 4,620 mm
The actual output size depends on the Margin Options setting.
*1. The smallest size supported by the printer is 254 mm wide × 127 mm
long. If a smaller size is entered for this setting, the document will print
with wider-than-expected margins, which must be trimmed.
Margin 3mm
*
Select the top, bottom, left, and right margin values.
For a cut sheet, the bottom margin is 14 mm regardless of the settings.
5mm
Item Description
 Loading...