Introduction User’s Guide
A.8
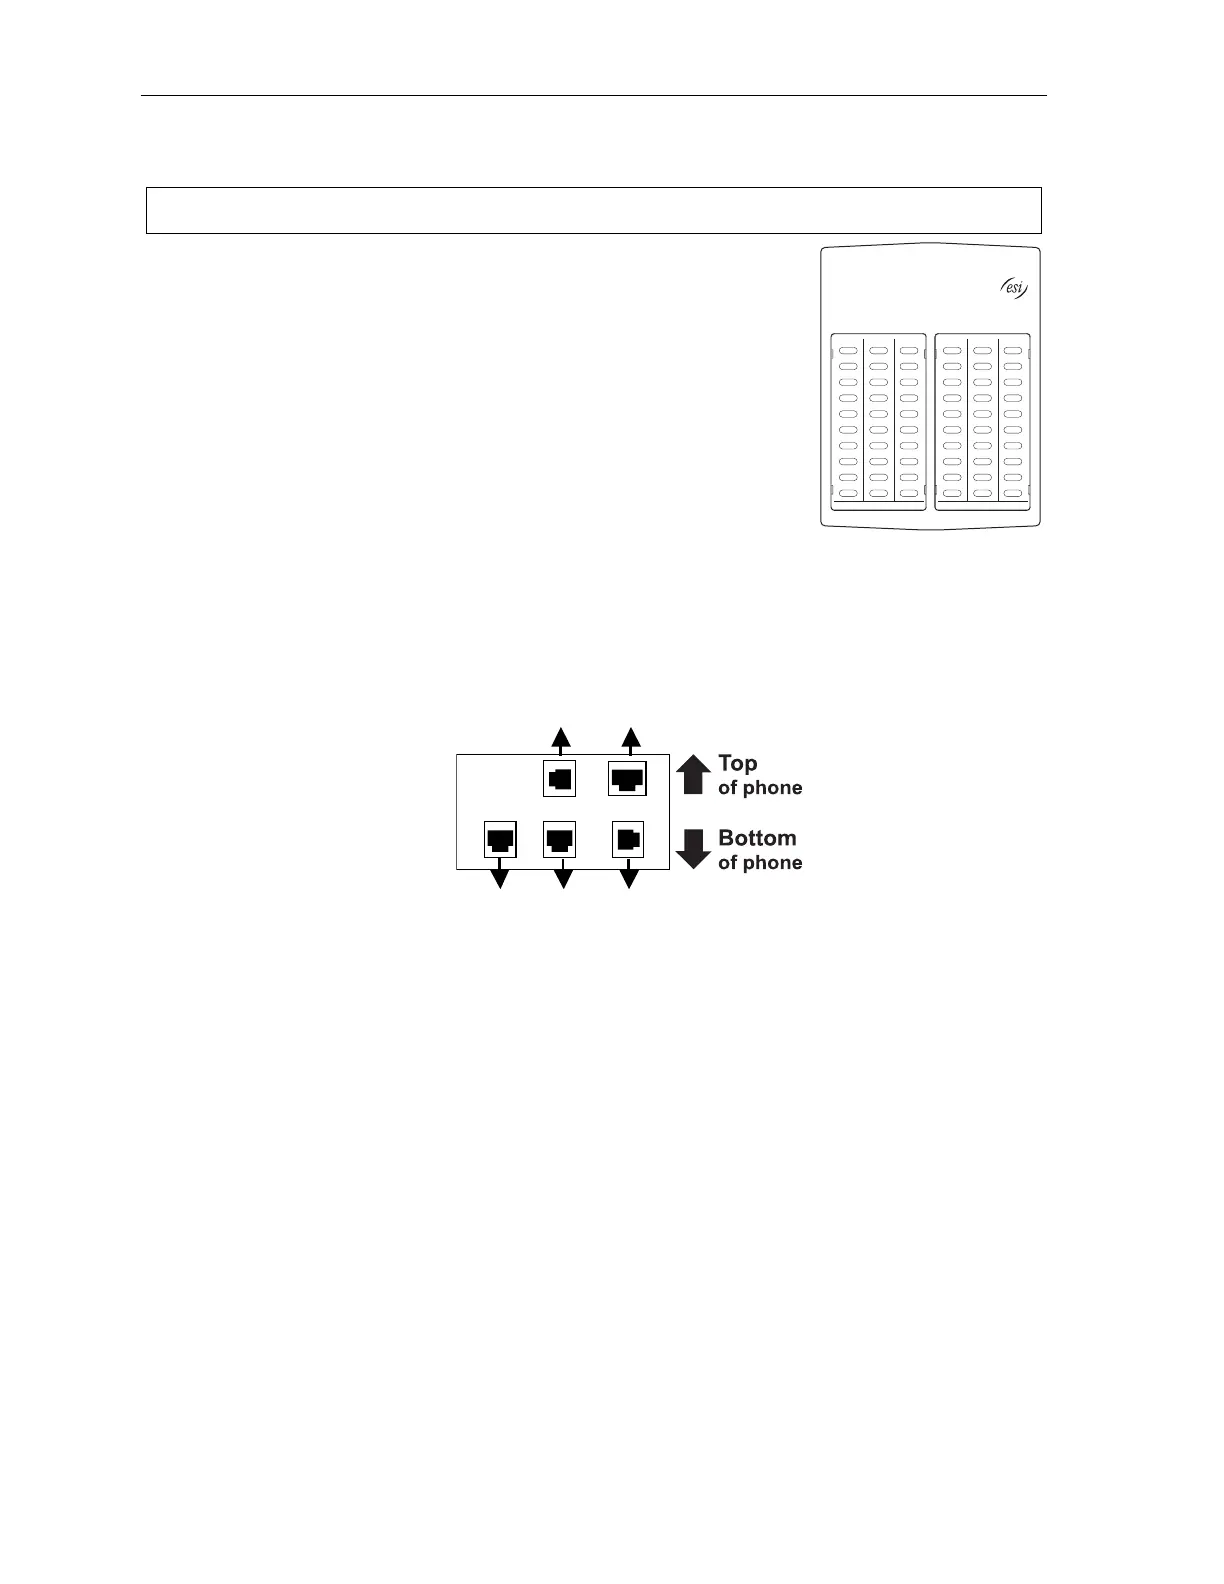
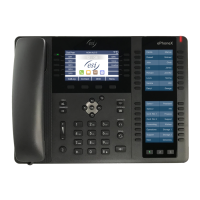
60-Key Expansion Console connection
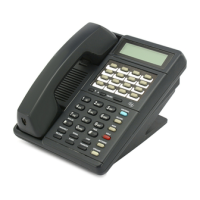
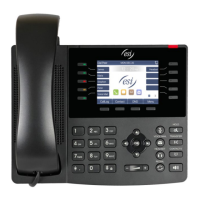
Notes: The 60-Key Expansion Console can be connected to only a 48-Key Feature Phone.
1. The 60-Key Expansion Console (right) includes an expansion cable.
Connect one end of the expansion cable to the appropriate connector
on the bottom of the Feature Phone (below).
Then, connect the other end of the expansion cable to the 60-Key
Expansion Console.
2. To keep cabling out of the way, thread the expansion cable into the
slots on the bottom of the phone and 60-Key Expansion Console.
3. Program the keys on the 60-Key Expansion Console using the same
procedure as with the Digital Feature Phone (press PROGRAM 2).
4. If necessary, remove the clear plastic overlay from the keys on the
Expansion Console.
5. For maximum convenience, label the paper overlay to show how
the keys are programmed (your Installer or System Administrator can do this with ESI software).
6. Install the labeled paper overlay on the 60-Key Expansion Console.
7. Install the clear plastic overlay over the paper overlay, to protect it.
8. Use the provided Velcro
®
tape to attach the left side of the 60-Key Expansion Console to the right
side of the 48-Key Feature Phone.
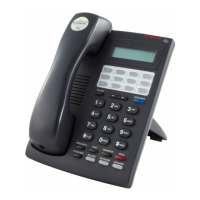
Connectors on bottom of
48-Key Digital Feature Phone
(headset jack shown)
Line cord
to wall
To 60-Key
Console
Handset
(TAPI)
to PC
To
headset