User’s Guide Introduction
A.7
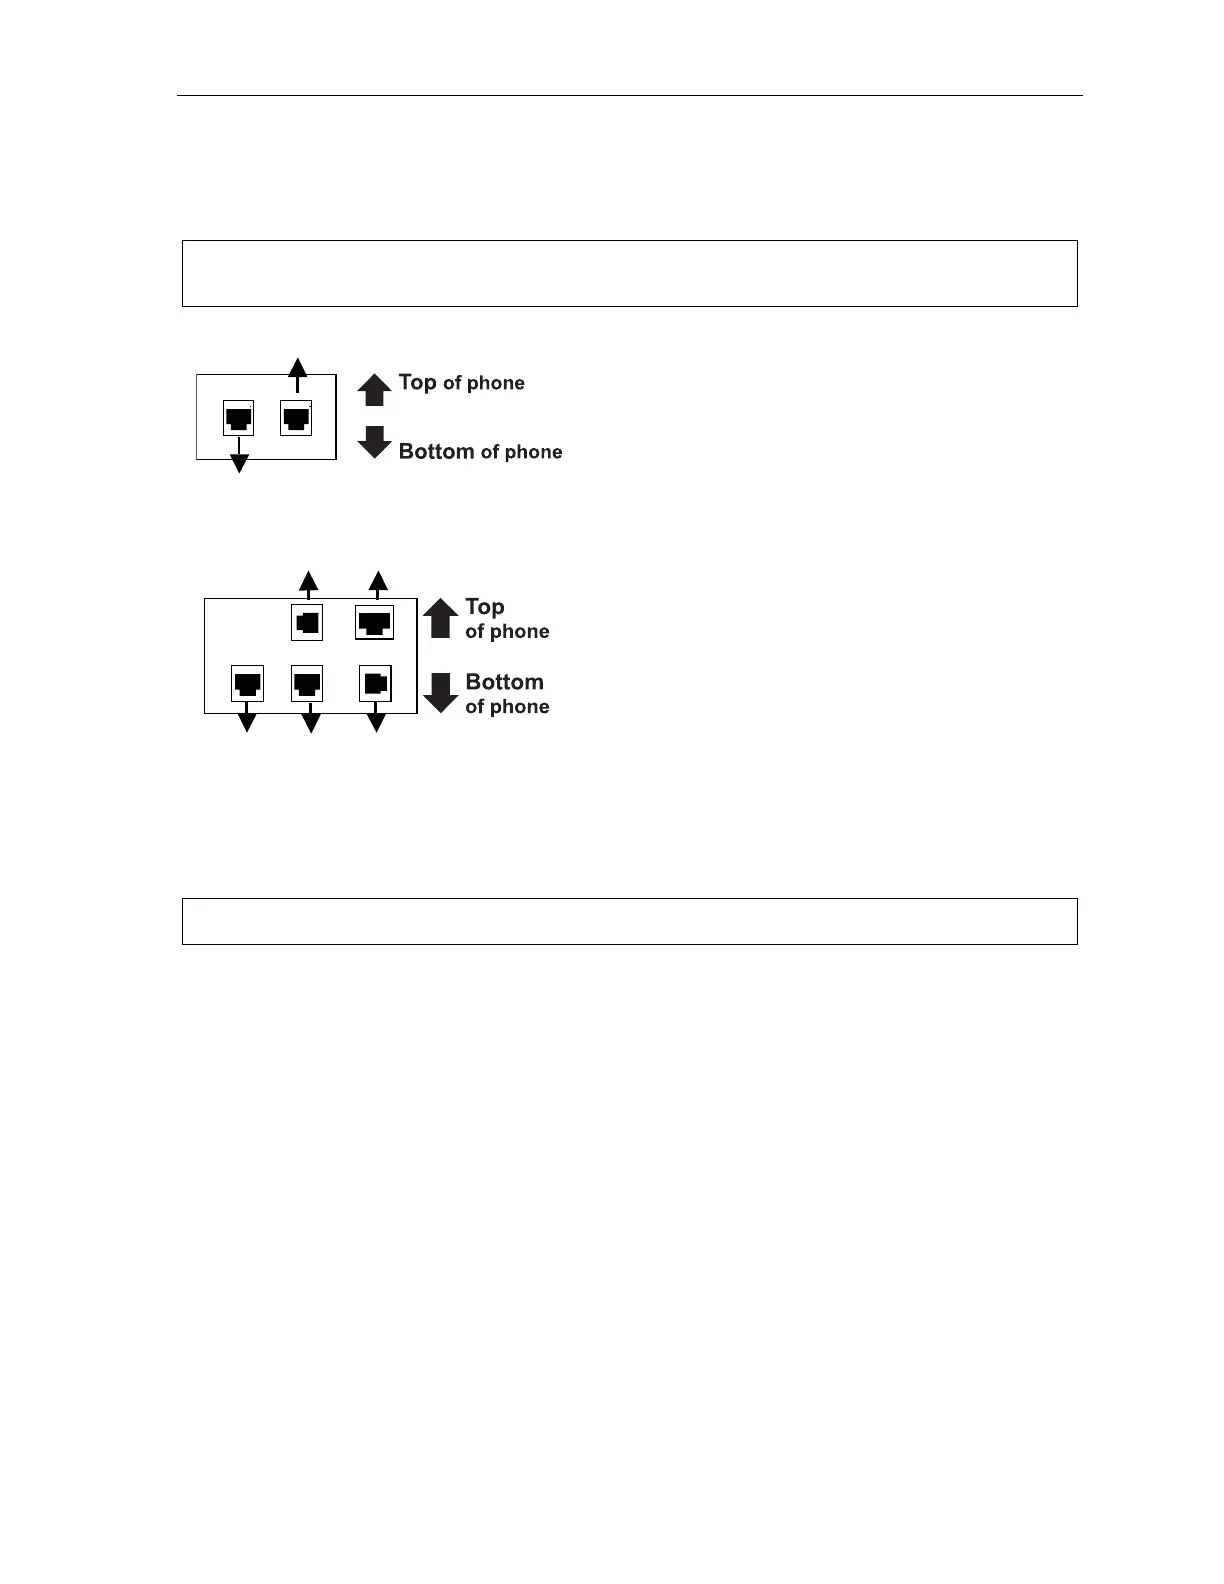
Connecting your ESI phone
Use the diagram (below) to connect your ESI phone. The diagram represents the panel on the
phone’s underside.
Note: The “Top of phone” and “Bottom of phone” references in this diagram shows the correct vertical
orientation of the phone — i.e., the part with the display is the top.
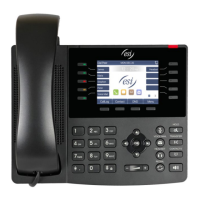
12-Key Feature Phone
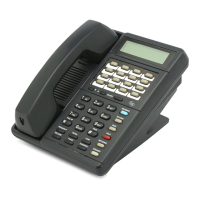
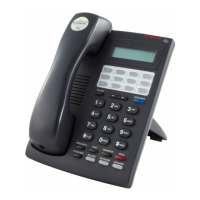
24-Key Feature Phone
• Connects like a basic phone.
• Handset plugs into right-side jack.
• Line cord plugs into left-side jack.
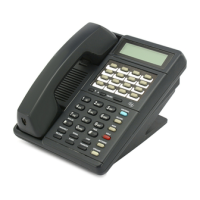
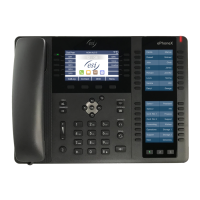
48-Key Digital Feature Phone
In addition to how the 24-Key Feature Phone connects
to the handset and line cord, note the following:
• TAPI version includes a cable for connecting to your
PC’s serial port.
• 60-Key Expansion Console cable (included with each
Console) uses standard RJ-11 telephone connectors.
Note: Use the wall mount hook (located under the handset) when the phone is in the furthest upright position.
Line cord
to wall
Handset
Connectors on bottom of
48-Key Digital Feature Phone
(headset jack shown)
Line cord
to wall
To 60-Key
Console
Handset
(TAPI)
to PC
To
headset