4
Operator's Manual
22200, 25502
|
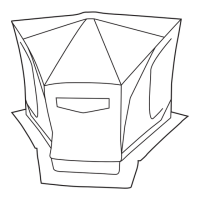
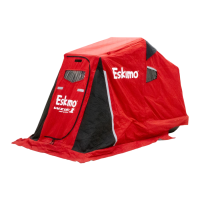
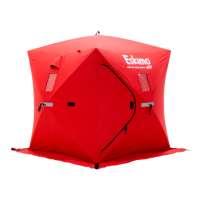
EVO™ Crossover Ice Shelter
Check for parts online at www.GetEskimo.com or call 800-345-6007 M-F 8-5 CDT
ASSEMBLY INSTRUCTIONS
TOOLS NEEDED:
• (2) 7/16” Wrenches
• Phillips head screwdriver
• Cordless drill (optional
ASSEMBLY NOTES:
• This ice shelter should be assembled in a garage
or basement setting due to the time and length
of assembly. Identify and familiarize yourself
with all parts and hardware before assembly.
Allow 1-2 hours for assembly.
• The use of a cordless drill with socket will make
assembly of your ice shelter much quicker. Be
sure to set the drill speed on low so you do not
over tighten any nut and bolt combination.
• If a tracking kit is purchased with the shelter it
should be mounted to the sled before assembly
of the ice shelter for convenience.
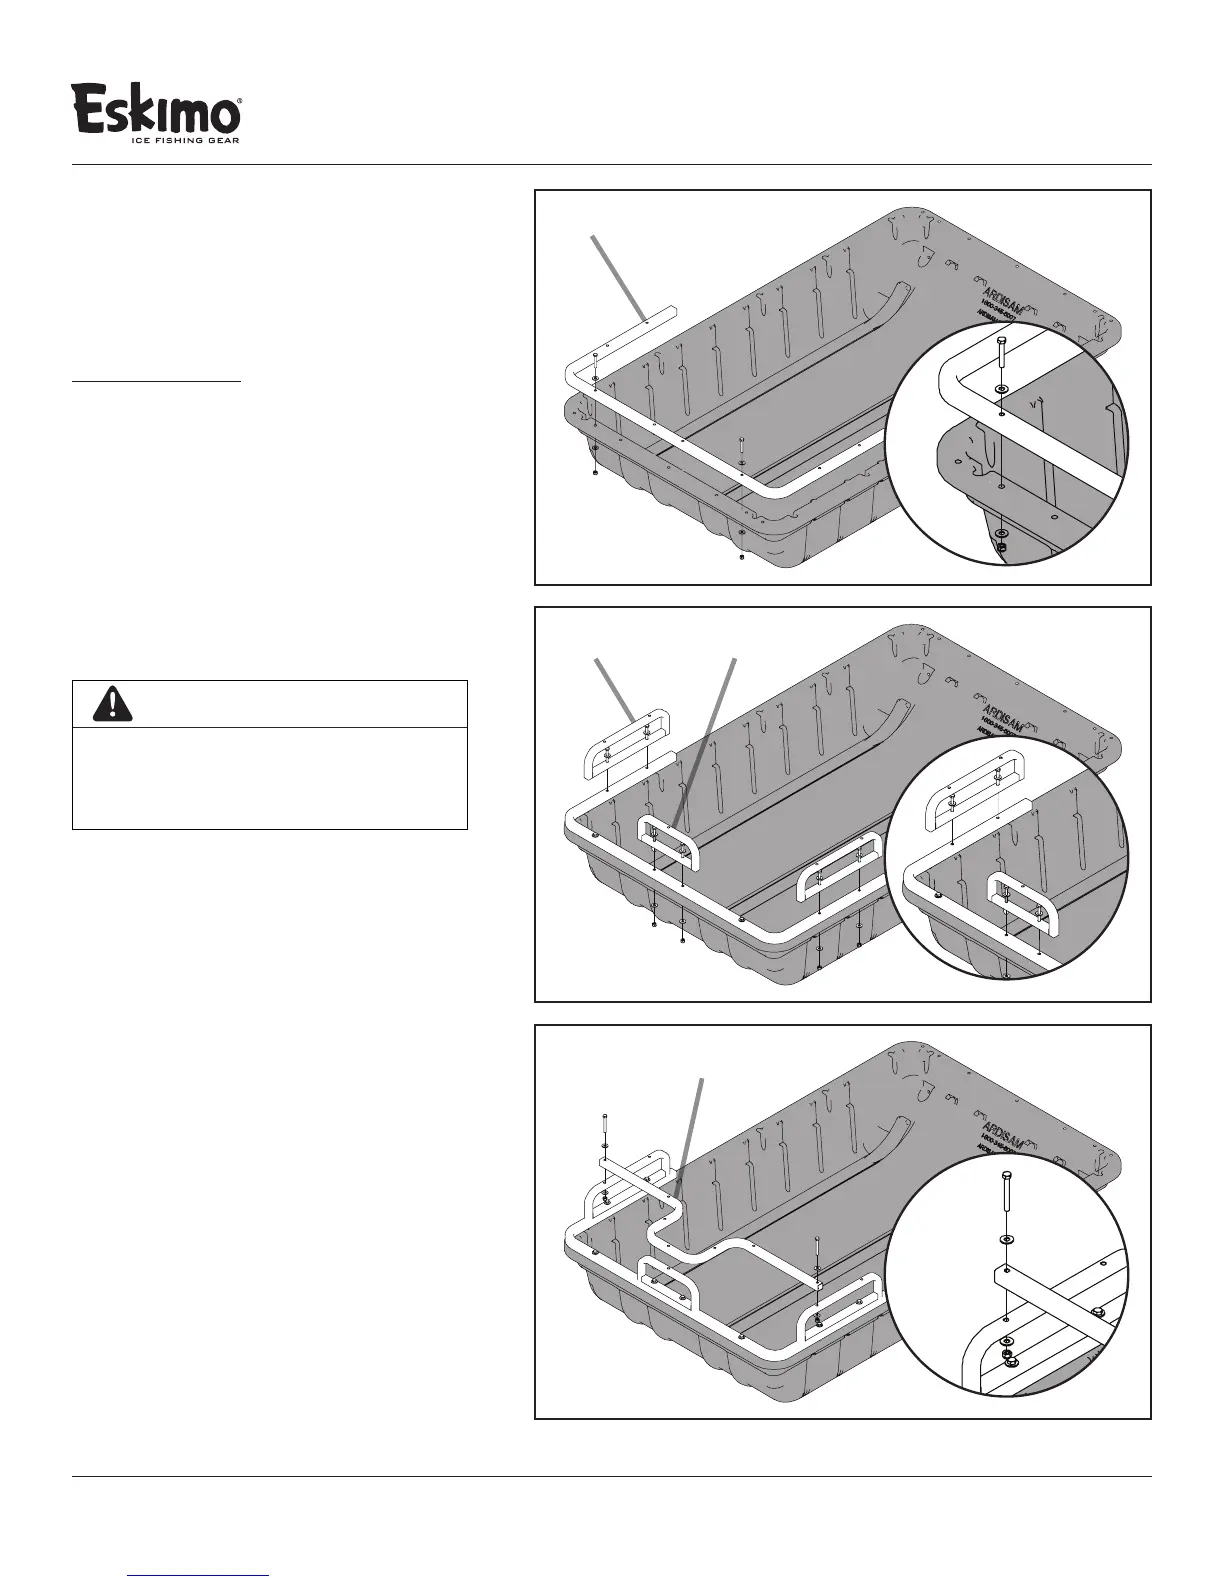
1. [ FIGURE 1 ]
Assemble part (#22001) base tube to sled
(#69190) using: (2) ¼ - 20 x 1¾” bolts
(#48250), (2) Nyloc nuts (#67538), (4) ¼”
washers (#48261).
2. [ FIGURE 2 ]
Assemble (2) Side Risers (#21998) and (1)
Front Riser (#21997) to sled and base tube
using: (6) ¼ - 20 x 2½” bolts (#48270), (6)
Nyloc nuts (#67538), and (12) ¼” washers
(#48261).
3. [ FIGURE 3 ]
Assemble Front Seat loop (#21999) to Side
Risers (#21998) using: (2) ¼ - 20 x 2¼” bolts
(#48271), (2) Nyloc nuts (#67538), and (4)
¼ washers (#48261).
FIGURE 1
#22001
#21999
#21998 #21997
FIGURE 2
FIGURE 3
IMPORTANT ASSEMBLY TIP
DO NOT FULLY TIGHTEN ANY NUT AND
BOLT COMBINATION UNTIL INSTRUCTED IN
LATER NOTES. THIS WILL HELP WITH HOLE
ALIGNMENT FOR ALL PARTS.